The post Adventure Bike Guide for Riders Over 40: Choosing Your First Bike first appeared on It's Better On The Road.
]]>Choosing an adventure bike can feel overwhelming, but I’m here to help you think it through. And let me tell you, there are a few key things I’ve learned that might surprise you.
- First, don’t let age hold you back – adventure riding is absolutely for us ‘older’ folks.
- Second, when it comes to off-road, lighter is seriously better, like mind-blowingly better.
- And finally, it’s okay to choose a bike with your heart, even if it’s not the most ‘sensible’ choice on paper. Your first bike is a journey of discovery in itself.
Let’s dive into it.

If you’d rather watch this guide, here’s my original video on the topic:
Adventure Bike Choices for the Over 40s
Choosing an adventure bike is not an easy task, especially when you’re starting out a bit later in life. There are so many factors to consider, and honestly, it can feel a bit overwhelming. We are all different, right? We have different body sizes, different budgets, and we live in different places with different riding opportunities. Bike availability also varies depending on where you are in the world – what’s available in the US might not be in Europe or Australia, and vice versa.

And then there are our ambitions. What do we actually want to do with the bike? Are we dreaming of tackling serious off-road trails, or are we more focused on comfortable long-distance touring with some gravel roads thrown in?
Let’s be honest, many of us have been dreaming about this for a long time. We’re the prime targets for all the cool marketing videos from the big bike brands, showing us what’s possible with these incredible machines. We see Pol Tarres and Chris Birch doing insane things, and it’s hard not to get caught up in that hype.

There’s also the peer pressure aspect. Maybe you have friends who are already riding, and they all have a certain type of bike. You want to join them, to fit in, and there’s a temptation to just get the same bike as everyone else.
With all of this swirling around, it’s impossible for anyone to just pick the perfect bike for you. But what I can do is help you think through the process a little bit. My goal is to help you reason through these choices so you can make a decision that’s right for you.
Defining Adventure Bike
First, let’s clarify what we even mean by “adventure bike.” It’s a pretty broad term, but for me, it means a bike that’s capable of taking me to far-off places, at least on multi-day trips. I want to be able to load it up with luggage, and I want to be able to handle rugged roads and some degree of off-road riding. Not necessarily hardcore single-track, but definitely more than just smooth pavement.

The Motorcycle Spectrum: From Dirt to Road
To understand the options, let’s think about a spectrum of bikes. On one end, we have dirt bikes. These are machines built purely for dirt, and often for competition. On the other end, we have road bikes, designed for 100% asphalt. And in between, there’s a whole range of bikes that blend off-road and road capabilities.
Moving from the dirt bike side towards the road, we first encounter dual-sport bikes. These are typically in the 300cc to 700cc range and are often single-cylinder machines that look a lot like enduro bikes. Popular examples include the Honda CRF300L and the Kawasaki KLX300 (though I believe the KLX300 isn’t available in Europe). There are also larger dual-sports like the KTM 690 Enduro R, Husqvarna 701 Enduro, and my own AJP PR7.
Honda CRF300L

Kawasaki KLX300

KTM 690 Enduro R

Husqvarna 701 Enduro

AJP PR7

Then, coming from the road bike side, we have the adventure bikes, or ADV bikes. This category is quite broad, ranging from bikes with just a little off-road capability to those that are surprisingly capable in the dirt. Within the ADV category, we can further break it down into big ADV bikes, mid-size ADV bikes, and a newer category that’s really gaining traction: light ADV bikes.
Big ADV Bikes
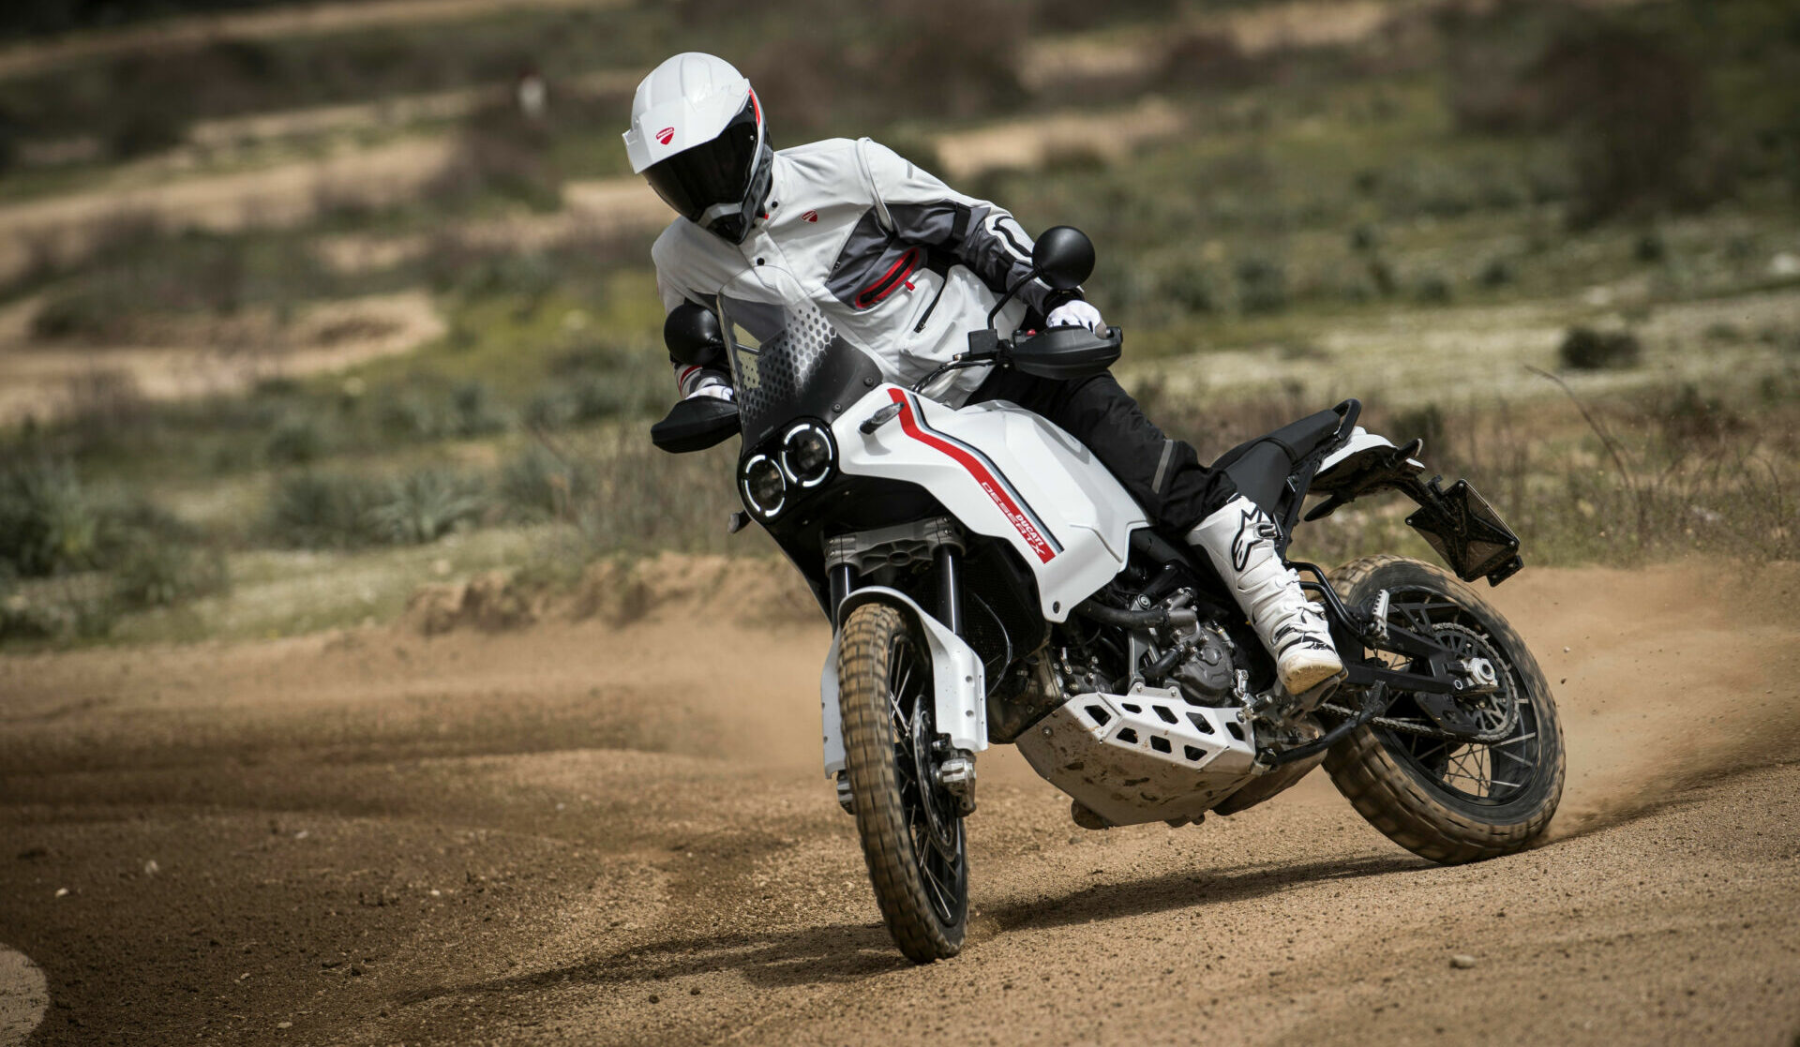
Let’s start with the big ADV bikes. These are typically 1000cc and up, and they weigh in at 240 kilos (around 530 pounds) or more. They are powerful, packed with electronics, and designed for comfort. Think cruise control, traction control, electronic suspension – all the bells and whistles. These are bikes like the BMW GS 1300 Adventure, KTM 1290 Super Adventure, and Ducati Multistrada V4.
BMW GS 1300 Adventure

KTM 1290 Super Adventure

Ducati Desert-X
Mid-Size ADV Bikes
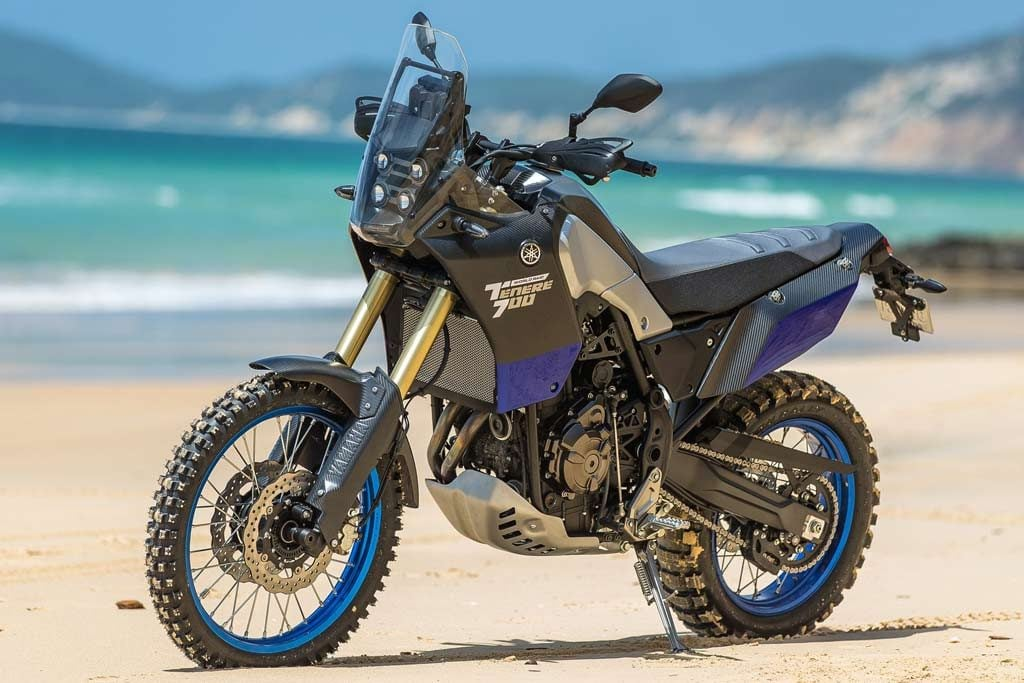
Next, we have the mid-size ADV bikes, generally in the 700cc to 900cc range. This is where you find bikes like the Yamaha Ténéré 700 (which I own), the KTM 890 Adventure, Triumph Tiger 900, and BMW F 850/900 GS. These bikes offer a good balance of power, weight, and features, making them versatile for both on-road and off-road riding.
Yamaha Ténéré 700
KTM 890 Adventure

Triumph Tiger 900

BMW F 850 GS

BMW F 900 GS

Light ADV Bikes
A really exciting trend right now is the rise of light ADV bikes. These are generally in the 350cc to 500cc range. There are a lot of new models coming out in this category. They tend to be simpler, more affordable, and importantly, lighter and smaller than their bigger siblings. Examples include the Royal Enfield Himalayan 450, the CFMOTO 450MT (which is a bit heavier for its class, but still very approachable), and upcoming models like the BMW GS 310 and Aprilia Tuareg 400.
Royal Enfield Himalayan 450

CFMOTO 450 MT

BMW GS 310 (Prototype)

Aprilia Tuareg 457

My Personal Bike Philosophy: Light and Maintainable
For my own riding, I’ve ruled out dirt bikes. While some people convert them into adventure bikes, they are really designed for competition. Their engines are built for maximum performance and require very frequent maintenance. Road bikes, obviously, aren’t what I’m looking for either. And while big ADV bikes have a lot of power and features, they also come with a high price tag and a lot of weight.
What I personally focus on is a bike that is as light as possible while still meeting my needs for long-distance travel. I also want a bike that is relatively easy to maintain because I like to work on my bikes myself in my garage, and I enjoy learning about their mechanics.
The Influence Factor: Marketing, Dreams, and Peer Pressure
When it comes to choosing a bike, I think a lot of people today are influenced by external pressures. Marketing, social media, influencers – it all plays a role. I know for a fact that I’ve sold a few Ténéré 700s just through my YouTube channel and sharing my experiences.
My own story is a good example of how influence works. Back in 2017, I watched “Long Way Round,” and they were riding BMW GSs. I also had two friends who were already planning adventures on BMW R 1200 GS Adventures. So, naturally, I ended up getting a BMW R 1200 GS Adventure myself.
We started riding those bikes together, and having the same bike as my friends gave me a sense of belonging and confirmation that I’d made the right choice. I rode the BMW for a year, but I started realizing that I wanted to go off-road more. I was ending up in places where the big GS just didn’t belong. Or, at least, I’d need a team of friends to help me get it unstuck!
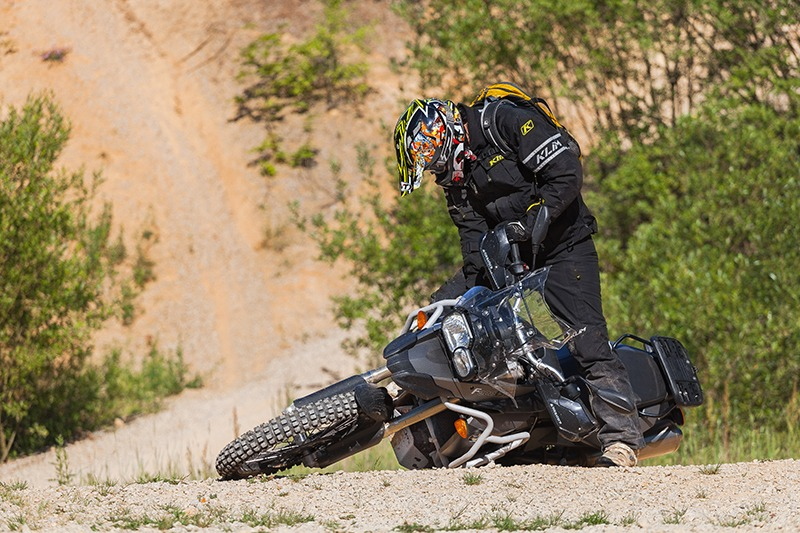
I realized I needed a lighter bike. I didn’t have much experience with enduro bikes or anything like that at the time. The GS was actually the first “off-road” motorcycle I ever owned. Then, when the Yamaha Ténéré 700 came out, I fell in love with it just from the pictures. I ordered one before I even had a chance to test ride it. When I finally got it, it was fantastic. It felt so much lighter and more agile than the GS.

I’ve been having fun on the Ténéré 700 for 83,000 kilometers now. I’ve taken it on very long trips, and it’s been great for that. For long trips, my priority is to get to my destination, so I tend to avoid really challenging off-road sections because of the risk of getting stuck or damaging the bike. I keep the off-road riding relatively mild, but still enjoy exploring rougher roads and trails. The Ténéré 700 has been excellent for that kind of riding.
The Lighter Side: The 500cc Revelation
I have pushed the Ténéré 700 into some pretty challenging places, sometimes even over my head in terms of difficulty. There were times when I thought, “This is it. This is what adventure riding is like. It’s tough, the bike is heavy, and you’re going to be exhausted.”

But then, I got invited to ride with my friend Steve, who’s a lifelong biker with tons of experience on enduros and rally bikes.
Steve made a comment that really stuck with me: “It’s always easier with a small bike. You’re never out riding thinking, damn, I wish this bike weighed 100 kilos more.“ It’s so true!
He let me test ride his KTM 500 EXC-F, which weighs just over 100 kilos (around 220 pounds). And it was a revelation. My mind was blown.
I had never had so much fun off-road.
It felt like my riding skills instantly doubled. Suddenly, I could go anywhere. I was riding through places that I had previously thought were impossible, based on my experience with the 200+ kilo bikes. I would just aim for an obstacle, give it some gas, and I was through with no effort.
Riding the KTM 500 was a real eye-opener in terms of how much weight affects your off-road ability. After that experience, I test rode a few other bikes and eventually ended up with the AJP PR7. It looks similar to the KTM 500 in some ways, but there are some key differences.
The AJP is about 40 kilos (almost 90 pounds) lighter than the Ténéré 700, and importantly, the weight is carried much lower, closer to the footpegs.

I live in a region where I can’t really use a pure enduro machine like the KTM 500 for everything because of road riding requirements to get to the trails. The AJP PR7 offers a good compromise, being road-legal and still incredibly light and capable off-road.
Mountain Bike Skills: A Transferable Advantage
I have to confess, I had a bit of a head start when it came to off-road skills. For about 3-4 years before getting into adventure riding, I was heavily into mountain biking, particularly downhill and riding in rough terrain. On a 12-15 kilo mountain bike, I learned to move around, to anticipate terrain changes, and to time my movements.

Those skills transferred quite easily to a larger motorcycle. The main difference was the weight, which shifted the timing of everything. But the basic riding position and fundamental skills were already there from mountain biking.
So, I believe that any kind of training on a small two-wheeled machine is incredibly beneficial. Ideally, everyone who wants to get into adventure riding should have a small dirt bike or trial bike to play around with and develop those fundamental skills.
The “One Bike” Reality: Prioritizing Lightness
However, I know that for many people, the reality is wanting to own just one bike for both practical reasons and budget. We buy that one bike, and we want to start riding it, have fun, and learn. Looking back at my own journey, and knowing what I know now, I would say to myself (and to anyone starting out): get the lightest bike that still meets your essential travel requirements.

If you plan to ride with a passenger regularly, you’ll need a bike that can handle that, which might mean going a bit bigger. Make sure the bike is comfortable enough for the kind of distances you want to cover, but still aim for something as light and manageable as possible.
Because let me tell you, wrestling with a heavy bike in challenging terrain – sand, mud, single-track, steep loose gravel – can quickly take the fun out of riding.
I remember being alone in some tough spots with my heavier bike, genuinely questioning if adventure riding was even for me. It just wasn’t enjoyable anymore. I started doubting my abilities. But then, on a lighter bike like the KTM 500, I was amazed. “Can I actually do this? Am I this good?” The difference was night and day.

I asked Steve in that video, “Did you ever feel like you wanted a bike that weighed 100 kilos more?” The answer, of course, is a resounding no.
The weight difference is huge, especially when you’re still gaining experience. A lot of your energy, particularly in slow-speed off-road situations like sand or technical trails, goes into simply keeping a heavy bike upright.
The Weight Demonstration: Ténéré 700 vs. Lighter Bike
Let’s look at a quick demonstration to illustrate this. Imagine the Ténéré 700. It’s top-heavy, with a lot of weight carried up high. If you’re on a trail and the bike starts to lean, even just a little bit… once it reaches a certain point, you really feel the weight, and you’re struggling to keep it upright, even on tiptoes. And if it leans just a bit further, it starts to feel incredibly heavy, and down you go.

Now, compare that to a lighter bike. It’s a totally different story. Lower weight, lower center of gravity. If it starts to lean, you have so much more time and less effort required to correct it and keep it upright.

Dream Bikes vs. Practical Bikes: Following Your Heart (Within Reason)
So, is it possible to make the perfect “how to choose a bike” video? Honestly, no. It’s impossible to give a one-size-fits-all answer. If you have a dream bike – the bike you’ve been dreaming about for years – and now, after 40, you finally have the chance to get it, then maybe that’s the right bike for you, even if it’s not the objectively “best” choice on paper.
Sometimes, the goal is simply to own and ride that dream bike. Go for it.

I’m definitely someone who chooses bikes with my heart, or maybe my “influenced” heart! And as you start riding, you’ll begin to discover what kind of rider you actually are. You might have different ideas about your riding style before you start compared to what you realize once you get some miles under your belt.

So, be open to changing your opinions and preferences as you gain experience. Make your best effort to choose a good first bike to start with, but be prepared to potentially sell it and get something different later – maybe smaller, maybe bigger, maybe more comfortable, depending on what you learn about your own riding.
Learning by Doing: The Alaska to New Zealand Example
A great example of this “learn as you go” approach is a YouTube channel I’ve been following called Una Moto. It’s about a guy who just got his motorcycle license, bought a bike, made a few modifications, and is now riding from Alaska to New Zealand on that bike. He’s learning and adapting as he goes, encountering all sorts of challenges along the way.

While you might not be planning a round-the-world trip, watching his journey can be really insightful. You can see the kinds of situations he gets into and how he deals with them. It’s a great way to learn and get inspired.
Final Thoughts: Start Riding and Join the Conversation
So, that’s my perspective as someone who started adventure riding a bit later in life. I’m not sure if I’ve made you any smarter with all of this, but hopefully, it’s given you some things to think about. And remember, there are tons of experienced riders in the comments section who can offer their own recommendations and advice.
If you do end up getting a bike, please share your experience in the comments. Join the discussion. And I’ll continue to produce more content on bike choices, riding skills, and everything else related to starting adventure riding after 40.
The post Adventure Bike Guide for Riders Over 40: Choosing Your First Bike first appeared on It's Better On The Road.
]]>The post Motorcycle Suspension: Master Sag, Preload, Damping for Bikes first appeared on It's Better On The Road.
]]>Here are three unconventional truths about your motorcycle suspension that you need to grasp right now:
- Your stock suspension is probably better than you think. Before you rush out to buy expensive upgrades, give your current setup a chance. A proper setup of your existing suspension can make a world of difference.
- Sag is everything. If you ignore sag, you’re missing the most fundamental aspect of suspension tuning. Seriously, if you don’t at least think about sag after reading this, I haven’t done my job.
- Preload is your best friend (for free!). Forget complex adjustments for a moment. Just understanding and using preload correctly can dramatically improve your ride, especially when you load up your bike for a trip.
Think of it like this: your coffee machine is set up for some fancy barista, and your office chair is designed for someone else. Your bike’s suspension? It’s likely set up for a mythical “average” rider, who probably doesn’t exist. Just like you adjust your chair and coffee machine, you need to adjust your suspension. And no, unless you are a 75-kilo Dutch lady (which is who my T7 seemed to be set up for!), the factory settings probably aren’t perfect for you. So stick around, and let’s dive into the world of motorcycle suspension.
If you’d rather watch this guide, here’s my original video on the topic:
Building Suspension from Scratch
Let’s start simple, building a suspension system from the ground up. Imagine your motorcycle frame. Now, let’s add a wheel. If we just weld that wheel directly to the frame, we’re in for a very bumpy ride. Every imperfection in the road would be directly transmitted to you. Not ideal.
To improve this, we hinge the wheel to the frame using a swingarm. Now, the wheel can move up and down independently of the frame. Much better, right? But there’s still a problem.
If we put the bike on the ground now, the swingarm will just pivot, and the bike will collapse. We need something to support the bike and allow for controlled movement. That’s where the spring comes in.
The Spring: The Heart of the System
The spring is the first crucial component of our suspension. By placing a spring between the bike’s frame and the swingarm, we prevent the bike from collapsing and introduce the ability to absorb bumps.

Now, we need to consider sag. Sag is simply how much the suspension compresses when you sit on the bike. It’s a critical measurement because it dictates how much suspension travel is available for bump absorption and affects your bike’s handling.

Why Sag Matters
Too much sag, and you’ll use up too much suspension travel just sitting on the bike. This leaves less travel to absorb bumps, potentially leading to a harsh ride and bottoming out. On the other hand, too little sag (or no sag) means the wheel can’t extend downwards to follow dips and holes in the road. Remember, suspension isn’t just for comfort. It’s crucial for maintaining traction by keeping the wheel in contact with the road surface at all times. Suspension also heavily influences handling, affecting braking, cornering, and overall stability.

Most motorcycle manuals provide recommended sag values, both for the front and rear suspension. A general rule of thumb is around 30% of the total suspension travel as rider sag. This means that when the suspension is fully extended, and you sit on the bike, it should compress about 30% of its total travel.
This is why spring rate, or spring stiffness, is so important. It’s not just about comfort. Incorrect sag due to the wrong spring rate dramatically affects handling.
Too much rear sag, and your bike will feel stable at high speeds but sluggish in corners.
Too little sag, and the front end will be lower, making the bike turn in quickly in technical sections but feel unstable and wobbly at higher speeds.
Preload: Fine-Tuning for Weight
Okay, you’ve got your spring, and the sag is (hopefully) close to correct. But what happens when you decide to load up your bike for a trip, adding luggage and maybe a passenger? Suddenly, your carefully set sag is completely off. It’s sagging way too much.
Do you need to swap out your spring every time you change your load? Thankfully, no. That’s where preload comes to the rescue. Preload is an adjustment that compresses the spring before you even sit on the bike.
Think of it this way: a spring has a spring rate, often measured in Newtons per millimeter (N/mm) or kilograms per millimeter (kg/mm).
Let’s use kg/mm for simplicity. A spring rate of 1 kg/mm means that it compresses 1mm for every 1 kilogram of force applied. It’s linear, so 2kg compresses it 2mm, and so on.

Now, if you preload the spring by compressing it, say, 3mm using a preload adjustment, it will take 3 kilograms of force just to start moving the spring. Without preload, it would react to even the smallest weight. By adding preload, you essentially shift the spring’s working range, making it support more weight before compressing into the sag zone.
So, when you add luggage or a passenger, you can increase preload to compensate for the extra weight and bring your sag back to the correct range. This is why preload adjusters are often designed to be easily accessible and adjustable, sometimes even without tools.
Setting Sag: A Practical Approach
How do you actually set the correct sag? While there are fancy tools, a simple method works just fine. You need to measure the suspension travel in three states: fully extended, bike weight only (free sag), and with rider and gear (rider sag).

For my bike, I use a piece of cord with a screw and two markers. The screw goes into a hole in the axle. I mark a point on the rear fender with some tape. First, I lift the rear wheel off the ground to get the fully extended measurement. This is my starting point, the first marker on my cord.

Then, I measure down 6cm (60mm) from that point on the cord and make a second marker. Why 6cm? My bike, a Ténéré 700, has 200mm of rear suspension travel, and 30% of 200mm is 60mm. This 60mm represents my target rider sag.

Now, with all my riding gear on, I sit on the bike in my normal riding position. I check the position of the second marker on the cord relative to the mark on the fender. If the cord’s marker is above the fender mark, I have too much sag. If it’s below, I have too little.

On my Ténéré 700, the preload adjuster is a large, easily accessible knob. This is designed for frequent adjustments. You turn it to compress or release the spring, changing the preload and therefore the sag. There’s no single “magic” preload setting. It depends entirely on the weight on the bike. Adjust it as needed!
Spring Rate vs. Preload: Knowing the Difference
It’s tempting to think, “If my spring is too soft, can’t I just crank up the preload to get the right sag?” The answer is yes, to a degree, but it’s not ideal. A spring that is fundamentally too weak for your weight will have other negative characteristics beyond just sag. It might compress too easily through its travel, feel “mushy,” and not perform optimally.

If you use too much preload on a weak spring to achieve the correct rider sag, you might end up lifting the entire bike higher than intended. This can negatively affect handling and geometry. This leads us to the concept of free sag.

Rider sag (or race sag) is the sag measurement with you and your gear on the bike – the one we’ve been focusing on so far. Free sag is how much the bike sags under its own weight, without you on it. After setting rider sag with preload, you should check free sag. There should be a noticeable amount of free sag, indicating that the suspension is not completely topped out by excessive preload.

A small amount of free sag, around an inch or 2.5cm, suggests that the spring rate is reasonably well-matched to your weight and that the preload adjustment is within a good range. If there’s virtually no free sag, even with minimal preload, it’s a strong indication that your spring is too stiff. Conversely, if you need maximum preload to achieve correct rider sag and still have excessive free sag, your spring is likely too soft.

With the right spring rate and properly set sag, you’re halfway to a well-sorted suspension. But if we went riding now, we’d have another problem: a bouncy, uncontrolled ride. That’s where the damper comes in.
The Damper: Controlling Motion

The spring stores and releases energy, but on its own, it oscillates wildly. The damper’s job is to control this motion, preventing the “pogo stick” effect. Dampers use hydraulic resistance to slow down suspension movement, both during compression and rebound.
Imagine a syringe filled with oil. Pushing the plunger is easy with air, harder with water, and even harder with thicker oil. The resistance to movement depends on the fluid viscosity and the size of the opening the fluid is forced through. Motorcycle dampers work on the same principle. They consist of a cylinder filled with oil, a piston, and valves with adjustable orifices.

By adjusting the size of the valve openings, we control the speed at which oil can flow through the damper. Smaller openings create more resistance and slower movement; larger openings allow faster movement. There are two primary damper adjustments: compression and rebound.
Compression damping controls the speed at which the suspension compresses when encountering a bump. Rebound damping controls the speed at which the suspension extends back to its original position after compression. These adjustments are typically made using clickers or screws on the suspension components.
Adjusting Compression and Rebound
Unlike preload, which is easily measured and set based on sag, compression and rebound adjustments are more about feel and fine-tuning. Your bike likely came with factory settings for compression and rebound, usually listed in the owner’s manual.
These settings are a good starting point. They are often expressed in “clicks” from the fully closed position. For example, the manual might specify “9 clicks out” for rear compression damping. This means you turn the adjuster clockwise until it’s fully closed, then counter-clockwise 9 clicks.
Compression Damping: If your suspension bottoms out too easily on big bumps or feels too soft and dives excessively under braking or in corners, you might need to increase compression damping. Increasing compression damping makes it harder for the suspension to compress, providing more support.
Rebound Damping: Rebound damping is perhaps the trickier adjustment. Too little rebound damping can make the ride feel bouncy or shaky, as the suspension springs back too quickly after compression. Too much rebound damping, and the suspension can “pack down.” This happens when the suspension compresses on a bump but doesn’t extend back out quickly enough before encountering the next bump. Over time, the suspension effectively gets “stuck” lower in its travel, reducing available suspension and making the ride harsh.
Rebound is the adjustment I typically touch the least. Once I find a setting that works well, I usually leave it alone. Compression damping, however, I might adjust more frequently depending on the type of riding. For technical, rough terrain, I might increase compression damping for more support on bigger hits. For smoother gravel touring, I might soften the compression to improve small bump compliance and comfort.
Key Takeaways: Suspension Simplified
So, what are the main points to remember?
- Prioritize Spring Rate and Sag: Get the correct spring rate for your weight and set your sag properly. This is the foundation of good suspension performance.
- Utilize Preload: Use preload to fine-tune sag for varying loads. It’s a simple and effective adjustment.
- Understand Compression and Rebound: Experiment with compression damping to control bottoming and dive. Adjust rebound damping cautiously to prevent a bouncy ride or packing down.
Before you consider expensive suspension upgrades, take the time to understand and adjust your stock suspension. You might be surprised at how much improvement you can achieve just by properly setting it up. For Ténéré 700 owners, especially pre-2023 models like mine, you can even try my personal suspension settings as a starting point. Just adjusting the clickers can unlock a lot of hidden potential in your stock suspension and demonstrate that you can achieve a much better feel without immediately spending money on aftermarket components – except perhaps for springs if needed.
Get your springs and sag sorted first. Then you can think about all the fancy suspension upgrades and bling for your bike. It’s all about getting the basics right first.
Thanks for reading! I hope this has demystified motorcycle suspension for you. Leave your questions and comments below, and feel free to correct any mistakes I’ve made in the comments. Let’s learn together!
The post Motorcycle Suspension: Master Sag, Preload, Damping for Bikes first appeared on It's Better On The Road.
]]>The post Mastering Adventure Ride Navigation: Syncing, GPX Files, Routes first appeared on It's Better On The Road.
]]>If you’re new to the ADV scene, terms like GPX files and Trans Euro Trail downloads might sound like another language. But trust me, navigating this world is easier than you think, and in just a few minutes, you’ll be well on your way to becoming a navigation pro. Here are three key things to keep in mind as we dive in:
- Syncing is your friend: Forget the hassle of manually transferring files between devices. Modern navigation apps offer seamless online syncing, letting you plan on your computer and ride with your phone or tablet without missing a beat.
- GPX is the universal language: Whether you’re sharing rides with friends using different apps or downloading epic routes like the Trans Euro Trail, GPX files are the key to compatibility and sharing.
- Routes vs. Tracks: Know the difference: Understanding the nuances between routes and tracks is crucial for effective navigation and choosing the right format for your adventure style.
If you’d rather watch this guide, here’s my original video on the topic:
Seamless Navigation Across Devices: The Power of Online Syncing
When you’re juggling a laptop for planning, a phone for quick checks, and maybe even a tablet for on-the-go navigation, device management can quickly become a headache. One of the first hurdles for anyone getting started is figuring out how to move those carefully crafted routes and trails from your computer to your phone, or vice versa.

Thankfully, there’s a simple solution: navigation apps with online syncing. These apps, and just about every navigation app these days, act like a central hub, automatically synchronizing your projects across all your devices. Think of apps like Stegra – some call it the “Spotify of navigation” – Locus Map, OsmAnd, and Calimoto. They all offer online planning tools that effortlessly sync to your devices. Even DMD is developing its own syncing capabilities.
Let me show you how easy it is. Say I’m on my computer, planning a ride from my garage to a scenic spot, aiming for some adventurous gravel roads. I create my route in my chosen app, give it a name like “Garage Demo,” and save it.

Now, I switch over to my phone, open the same app, and navigate to my routes. Lo and behold, there’s “Garage Demo,” ready to go. I can select it, and just like that, I’m ready to ride, with the route loaded and waiting.
The same magic happens on my tablet. Fire up the app, and “Garage Demo” is there again, ready for action. It’s truly “easy peasy” as I like to say. Plus, many of these apps let you create groups and collaborate with riding buddies on projects, making planning group rides a breeze.
GPX Files: The Universal Translator for Adventure Rides
While syncing apps are incredibly convenient, the reality is that not everyone operates within the same app ecosystem. Some of your friends might be die-hard Garmin users, while others prefer different apps. And then there’s the wealth of shared routes and tracks available online, like the legendary Trans Euro Trail. This is where GPX files become indispensable.

GPX stands for GPS Exchange Format. It’s essentially a universal file format designed for sharing GPS data between different devices and software. A GPX file acts as a container, holding waypoints, tracks, routes, and all the essential information about your trip in a way that any compatible device can understand.

Think of it as a common language that allows seamless communication between different navigation systems. GPX files are incredibly versatile and easy to share. You can send them via email, text message, or download them from websites. They can be imported and used on a wide range of devices, from Garmin units and tablets to computers and smartphones.
Rugged GPS with a bright 5.5” display, built for any adventure.
- Durable and weather-resistant (IPX7)
- Preloaded on-road and off-road maps
- Hands-free calling and live traffic updates
- Limited battery life at max brightness (but supports bike plug-in)
Importing GPX Files: Downloading Trans Euro Trail and Routes from Friends
Let’s walk through importing GPX files, starting with downloading the Trans Euro Trail (TET). Head over to the Trans Euro Trail website, transeurotrail.org. Navigate to your desired section – in this case, Sweden – and download the relevant GPX file.

This download gives you a file, likely named something like “s.GPX,” containing all the waypoints and tracks for the Swedish TET.
Now, to get this into your navigation app, open your online planner, and look for an “import” function and select the downloaded GPX file.

Since the TET GPX file can be quite large, give it a moment to load. Once imported, you can organize it within your app. I’ll add it to a collection named “TET Sweden” and display it on the map.

And now I’m set – the Trans Euro Trail Sweden, loaded and ready to explore. Having it in Stegra, or your chosen navigation app, means it’s now accessible on all your synced devices.
Importing a GPX file sent by a friend is just as straightforward. Let’s say a buddy emails you a ride file. The process is similar for text messages or other sharing methods.
Open the email, and you’ll see the attached GPX file. Instead of just clicking to view the file’s cryptic code, look for an “Open with” or “Share” icon, usually located in the lower corner on mobile devices.

This will present you with a list of apps to open the GPX file with. If your navigation app isn’t immediately visible, scroll through the options. Select your app and it will import the track your friend shared.
Voila! The track from your buddy is now loaded in your app, ready for your next ride.
Transferring GPX Files to Devices Without Online Syncing: Google Drive to the Rescue
What if you’re using a device or app that doesn’t yet offer online syncing, like DMD2 (though they are actively working on it!) or other systems? For Android devices, Google Drive provides a handy workaround.

On your computer, access Google Drive – which I have installed across all my devices. Simply drag and drop the GPX files you want to transfer into your Google Drive storage. This could be the “Ride Buddy” file, the Trans Euro Trail GPX, or any other route you want on your tablet.
Since Android is deeply integrated with Google Drive, accessing these files on your tablet is seamless. In your navigation app – DMD2 in this example – navigate to the GPX import section. Look for an option like “Load File,” which should directly access your Google Drive.

Within Google Drive, locate the GPX folder and select the file you want to load – in this case, the Stegra route. Tap to load it, and the GPX track will appear on your map.

You can then customize the track’s appearance – I’ll change the color to blue for better visibility. And just like that, the GPX file is on your tablet, ready for your ride.

This Google Drive method is a reliable way to transfer GPX files to Android devices, particularly useful for apps that don’t yet have built-in syncing.
Sharing Your Rides: Exporting GPX Tracks
Now, let’s flip the script and look at sharing your own epic rides with friends. Most navigation apps allow you to record your rides, creating a track of your journey.
Once you’ve finished recording a ride, you’ll typically find it saved within your app. In Stegra, for example, after ending a recording, your ride appears as a saved track.
To share this ride as a GPX file, look for a “Share” or “Export” button. Selecting this option usually allows you to save the track to your Google Drive.

Choose your GPX folder in Google Drive and save the file there. Now, your ride is saved as a GPX file on Google Drive, ready to be shared. You can easily send it to friends via email or share a link.

Alternatively, if you’ve saved your ride as a project within your navigation app, you can typically export it as a GPX file directly. In Stegra, you can find your saved projects, select the ride you want to share – like the “GPX Demo” – and choose the “Download GPX” option.

The app will then prompt you to choose how you want to share the GPX file – email, messaging apps, and more are usually available options. Sharing your rides in GPX format is incredibly easy.
Routes vs. Tracks: Understanding the Key Differences
So, we’ve covered creating, importing, and sharing routes and tracks using apps and GPX files. But it’s essential to understand the fundamental difference between a route and a track, as this impacts how you navigate.

A route is what you’re likely familiar with from car GPS navigators or apps like Google Maps. It relies on a map and a navigation engine. You set a destination, and the navigator calculates a route based on the map data, considering roads and available paths.
Because a route uses map information, it can provide turn-by-turn directions, guiding you along roads and paths known to the map.

In contrast, a track is essentially a digital breadcrumb trail of where someone has actually been. Tracks are typically recorded during a ride or journey at set intervals – say, every second – capturing GPS location points and timestamps.

Tracks don’t rely on a map for navigation instructions. Instead, a track is simply a series of GPS points plotted on a map. Many GPX files you download, especially for adventure riding, are tracks.
When you load a track onto your navigation device, it appears as a line overlaid on the map – like drawing a line on a paper map. You see your current location in relation to the track line. If you deviate from the track, you’ll see yourself moving away from the line and need to find your way back to it.

For adventure riding, especially on routes like the Trans Euro Trail, I often prefer navigating with tracks. I don’t necessarily need turn-by-turn instructions; the track provides a guide, and I enjoy the freedom to explore within the general path.

It’s worth knowing that some apps and Garmin devices offer the option to convert a track into a route. This attempts to generate turn-by-turn directions from a track.
However, because a track is simply a recording of where someone went, it might go off-road, across fields, or even across water where there are no mapped roads. When displayed on a map, the track accurately shows the path taken, regardless of mapped roads.

But when you convert a track to a route, the navigation software uses its map data to create a route that approximates the track, but it will follow mapped roads and trails.
So, if you convert a Trans Euro Trail GPX track – which often includes off-road sections and deviations from standard roads – into a route for turn-by-turn navigation, the converted route might differ slightly from the original track. It might try to stick to recognized roads and trails, potentially missing some of the intended off-road or more adventurous sections of the original track. You might not be riding exactly where the original track intended.

Hopefully, this has clarified the basics of adventure riding navigation, GPX files, and the crucial difference between routes and tracks. If you were a complete beginner to all of this, I hope you now feel a lot more confident navigating the digital side of adventure riding. Thanks for tuning in!
The post Mastering Adventure Ride Navigation: Syncing, GPX Files, Routes first appeared on It's Better On The Road.
]]>The post Top 10 Unique and Practical Gifts for Motorcycle Riders for 2025 first appeared on It's Better On The Road.
]]>Your time is valuable, so here are the top 3 picks for 2025. If you’re looking for more, just keep scrolling.
|
4.8
|
5.0
|
4.5
|
|
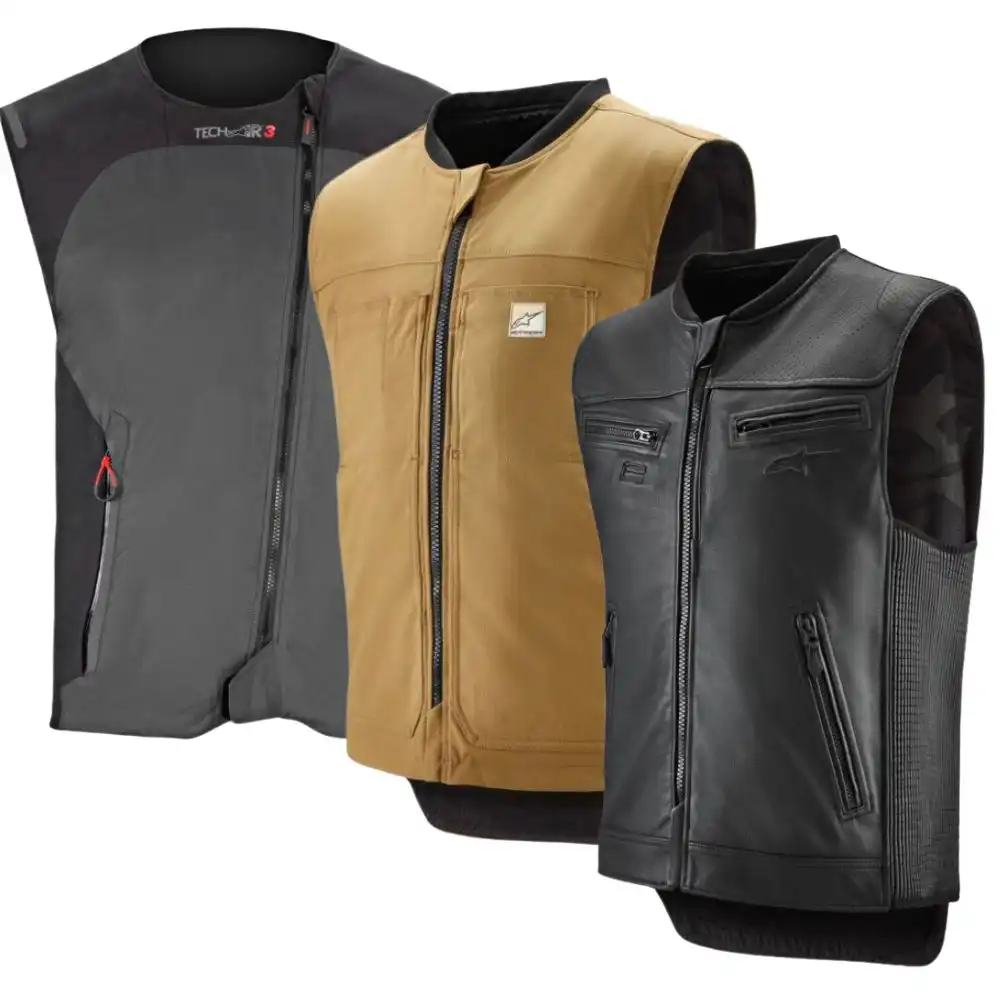
Hands down the best gift is a motorcycle airbag - we recommend the Alpinestars Tech Air 3 and 5 - this will keep your rider 50x safer than any motorcycle jacket, and we've done the math on that. |
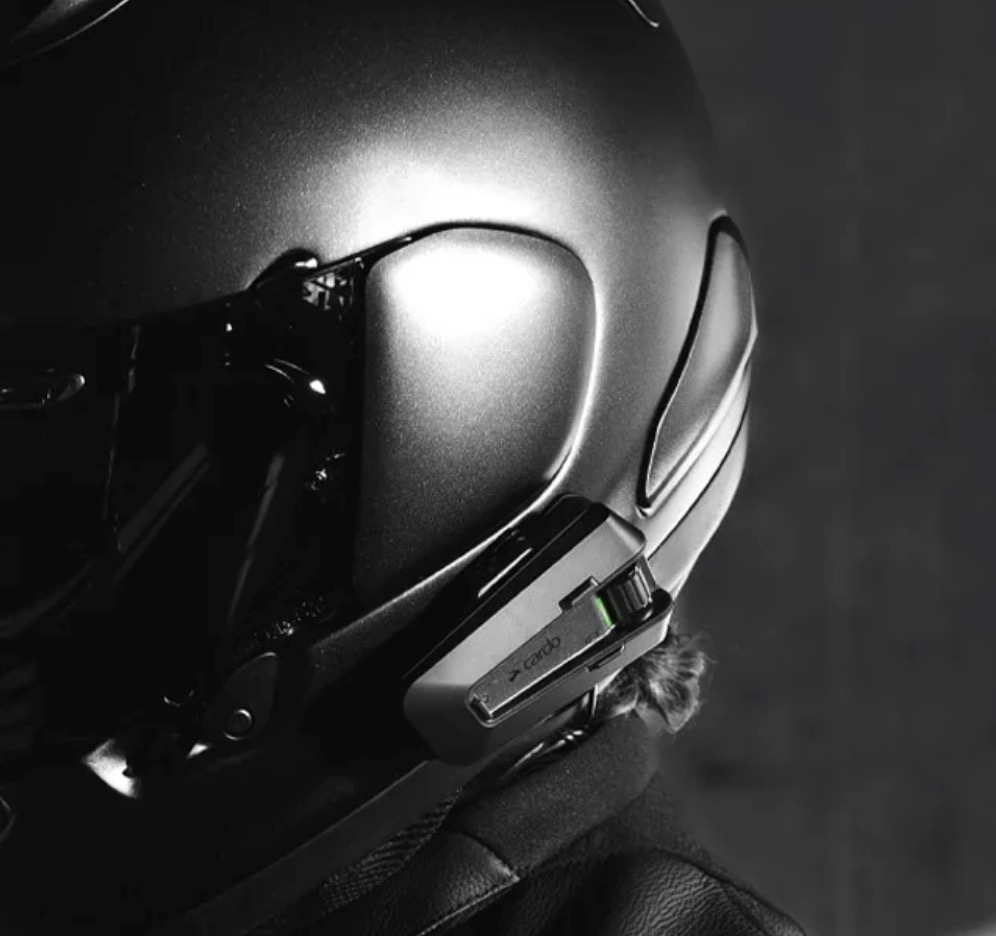
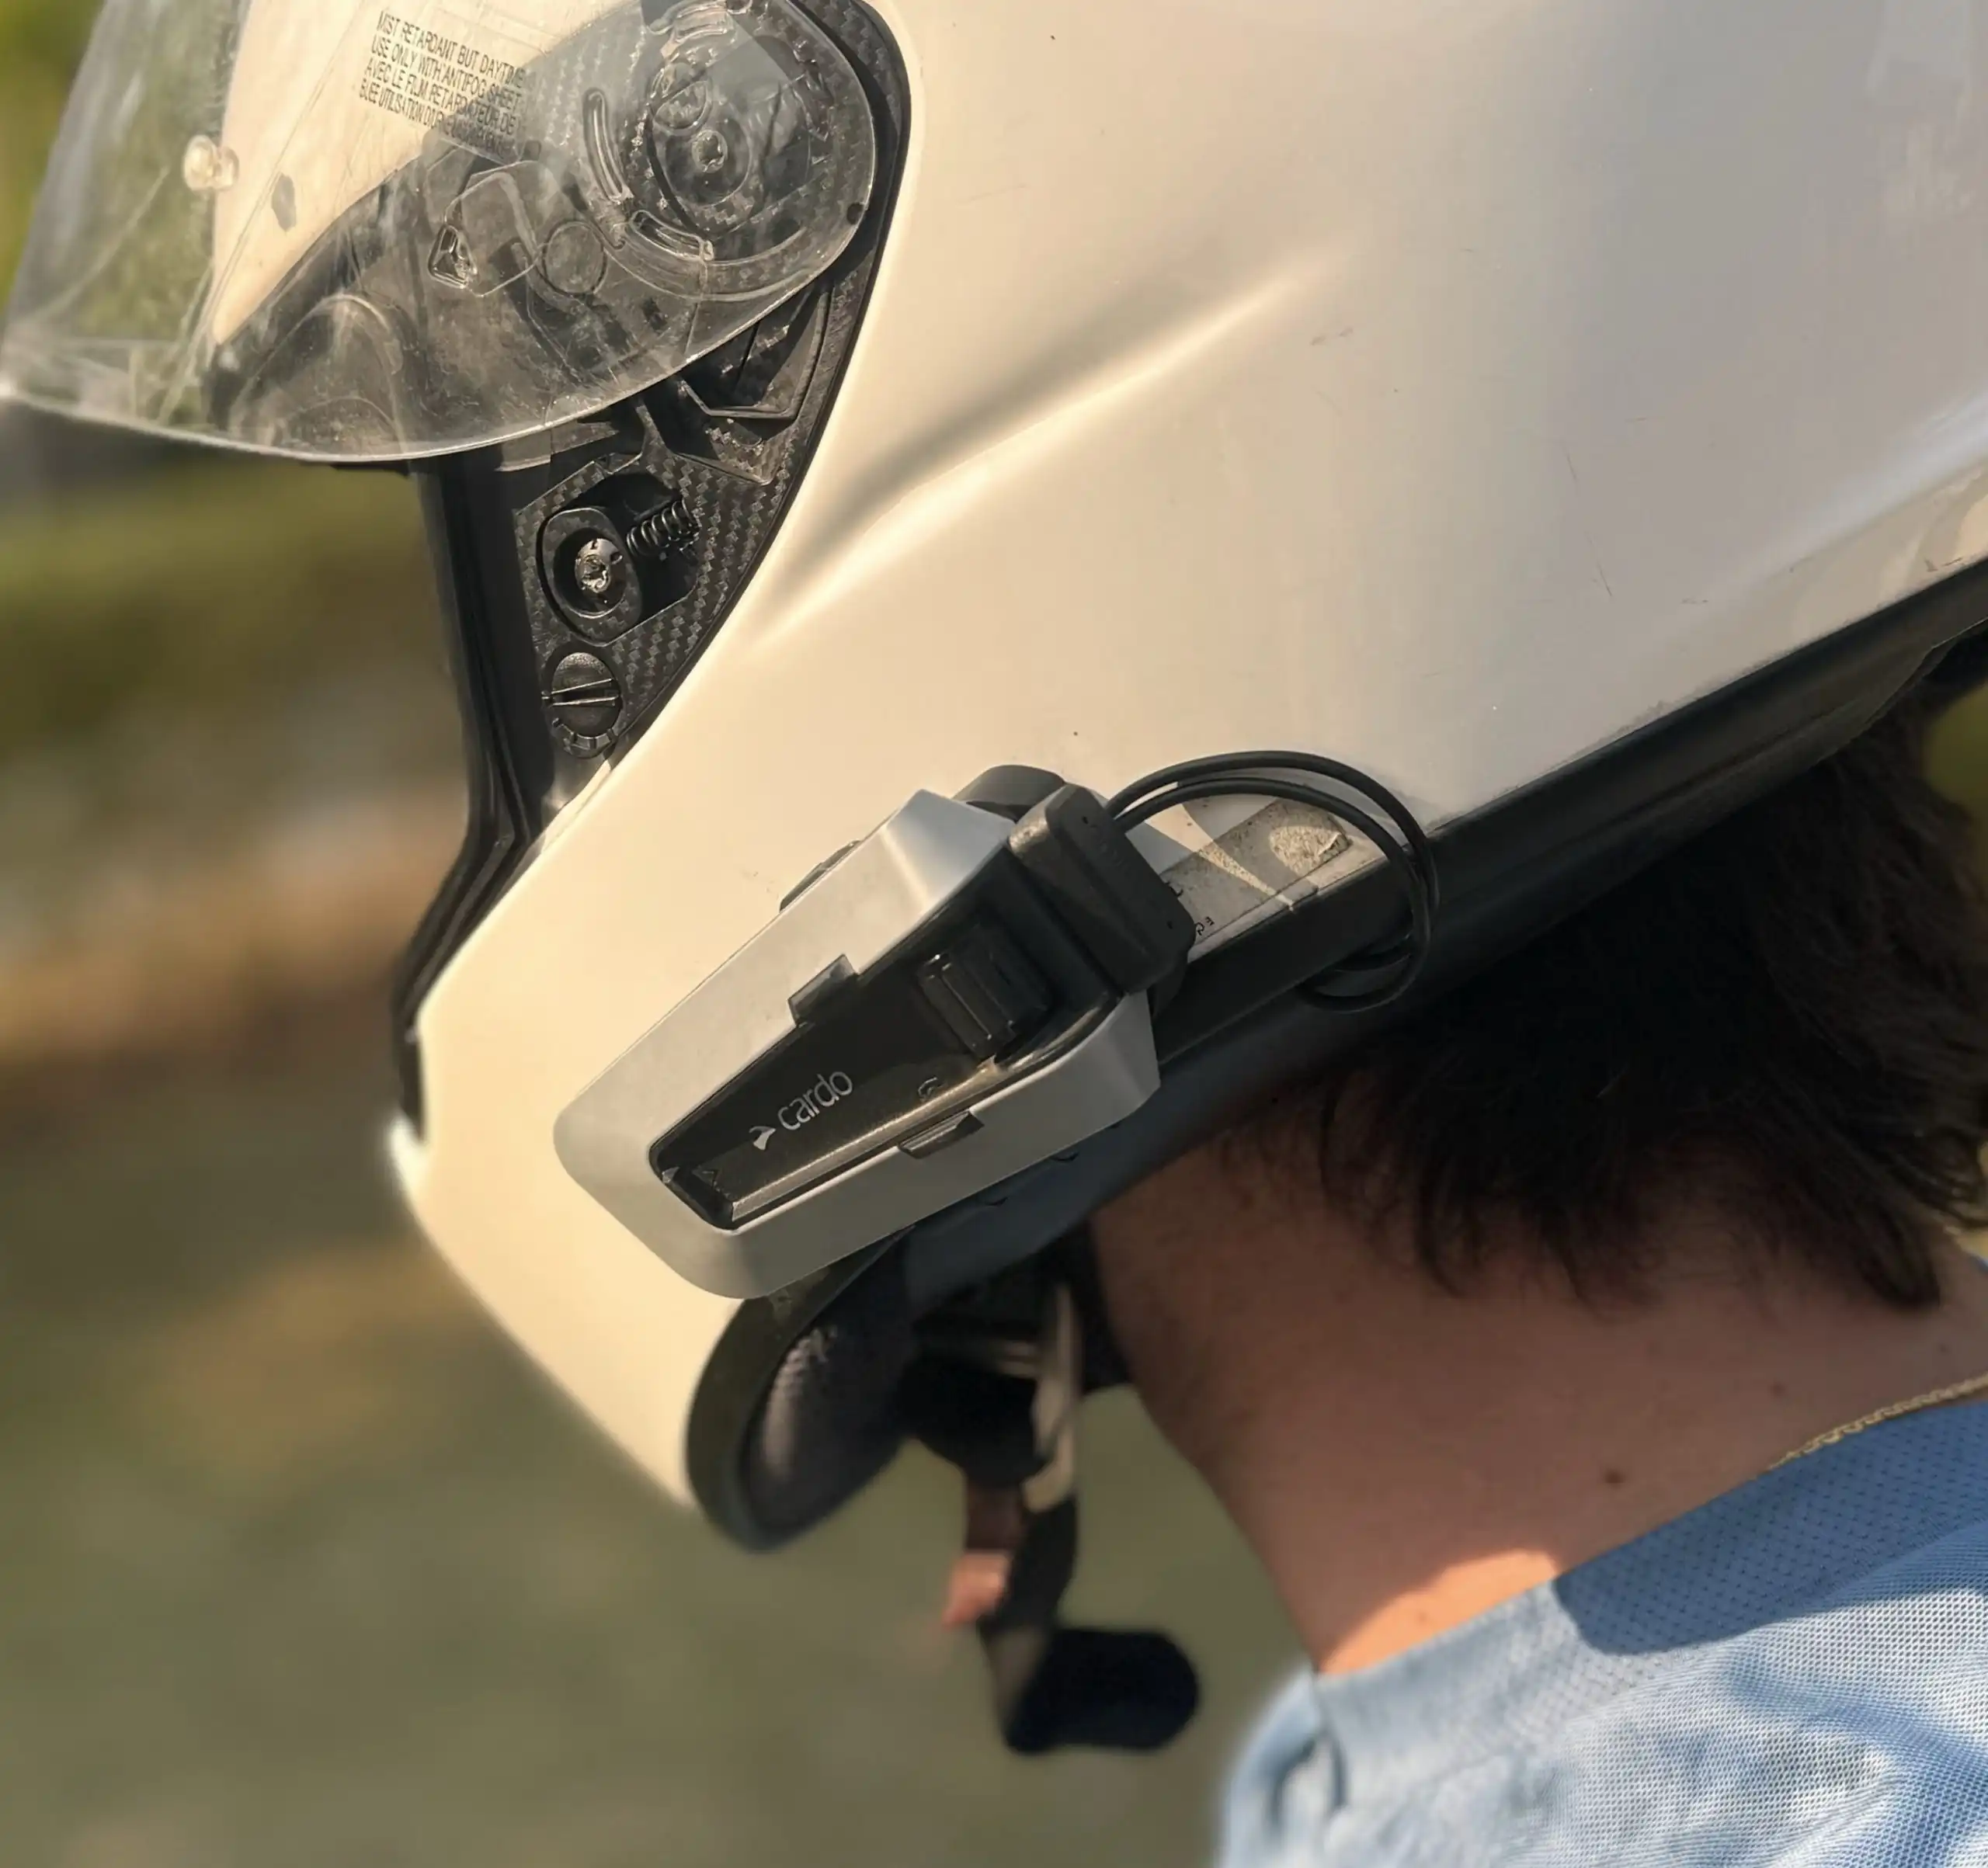
The Gold Standard in motorcycle communication units. Not just comms but music, GPS, and calls all seamlessly operated handsfree while you ride. Simple to use, rugged and reliable, with premium sound and long battery life. |
The only camera a rider needs: 8K waterproof action camera with replaceable lenses that captures 360 degrees, then allows you to pick the angle after you shoot. This bundle is one-and-done for riders including mounts and lens guard. |
Hands down the best gift is a motorcycle airbag - we recommend the Alpinestars Tech Air 3 and 5 - this will keep your rider 50x safer than any motorcycle jacket, and we've done the math on that.
The Gold Standard in motorcycle communication units. Not just comms but music, GPS, and calls all seamlessly operated handsfree while you ride. Simple to use, rugged and reliable, with premium sound and long battery life.
The only camera a rider needs: 8K waterproof action camera with replaceable lenses that captures 360 degrees, then allows you to pick the angle after you shoot. This bundle is one-and-done for riders including mounts and lens guard.
We still have 9 more gift ideas and some bonuses for you in the full list below. Click the list icon in the lower right to see them all and click any item for more details. We have phone holders, jackets, earplugs, gloves and more in this list.
And one which I didn’t have time to add to the list this year are the new Pando Moto Skin underlayers – I’ve been wearing them over the last few months and LOVE the fact that I get the protection of a set of track leathers but I can wear my favorite jeans and jackets over top. And Pando is running an insane deal for Black Friday this year…
READER DEAL: For limited time, get 15% off Pando Moto gear with our code road15. This deal beats Revzilla, Amazon and everyone else.
Getting the Right Gift for a Rider
We here at It’s Better On The Road understand both sides of that equation: from the giver to the receiver. Givers who don’t ride want to make sure their riders enjoy their time on two wheels while also staying safe: we have a few perfect picks for you, including the best value piece of safety equipment that fits under any jacket – and more protective than 50 jackets combined.
These will make good gifts whether you ride in upstate New York, the plains of Texas, the mountains of California, the coastlines of Florida or any other wonderful road or trail on this beautiful Earth.
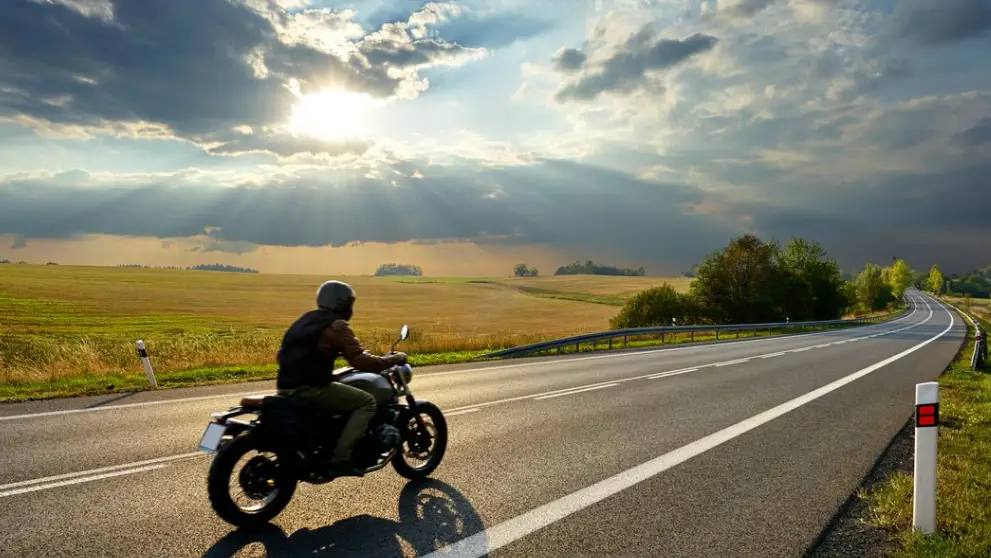
We also have some gifts you might want to buy for yourself, if you ride – like the easiest and most secure motorcycle phone holder, a complete motorcycle wash kit, and a very practical lightweight motorcycle jacket that you can wear off the bike too.
Other gift lists will give you dull recommendations like action cameras, a motorcycle backpack, motorcycle lift, or motorcycle covers… that’s like giving a mother a box of diapers for Christmas. Not a good look.
They’ll also recommend kitschy crap that most actual riders don’t care for: like a motorcycle parking sign or motorcycle cuff links.
But to my friends reading this, I have a soft spot for classic motorcycle movies so I wouldn’t mind getting the Marlon Brando in The Wild One Schott 118 Perfecto jacket, thank you very much!
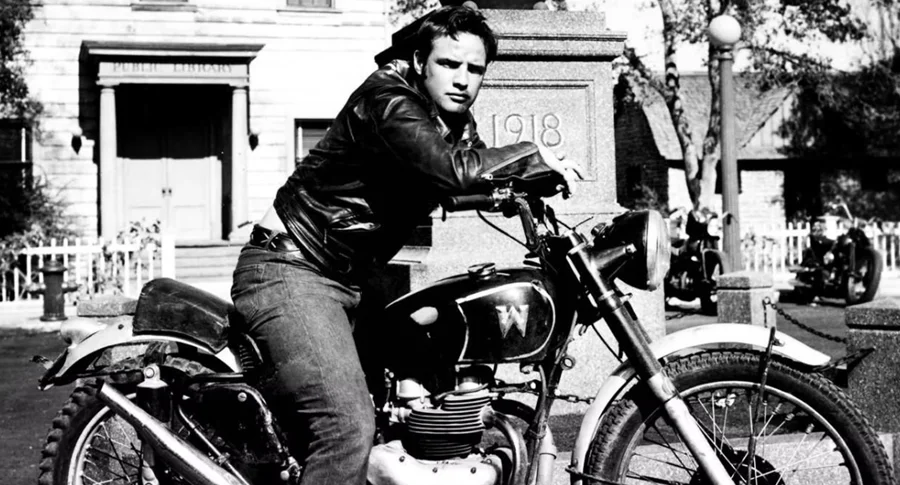
This list is different. To create this list, I polled my motorcycle riding friends about what they’d like to receive as gifts. But I also cross-referenced that with what their spouses and friends wished they had… leading to a nice mix of gifts that will impress any rider and improve their safety on the road as well.
Everything on this list is a solid pick for a gift, but we all know experiences >>> things, so consider booking the rider in your life a rental or guided tour through EagleRider. They’ll appreciate you cutting out a special time for them and the memories they make will last a lifetime. Especially if you go along with them!
9 Gift Ideas and 4 Bonuses for Any Motorcycle Rider
I've included nine great products below you could buy as gifts for a biker, as well as a whopping four bonuses you can stuff in a stocking or give if you'd rather your rider decides what they want.
No matter the holiday - Christmas, Hanukkah, Father's Day, or a birthday (either the rider's or the bike's) - you'll find something on this list to suit. These products start at just $9, so you have no excuse not to pick something up! A few are major motorcycle purchases, like motorcycle jackets, but most are around $50-$150.
If you can't decide, you could always pick up a Revzilla gift certificate: buy online and print, no shipping or shopping trip required. You can load one certificate with any amount from $5 (if you want to lob an insult!) up to $500.
Let's get in to the list of top products for your favorite motorcycle rider.
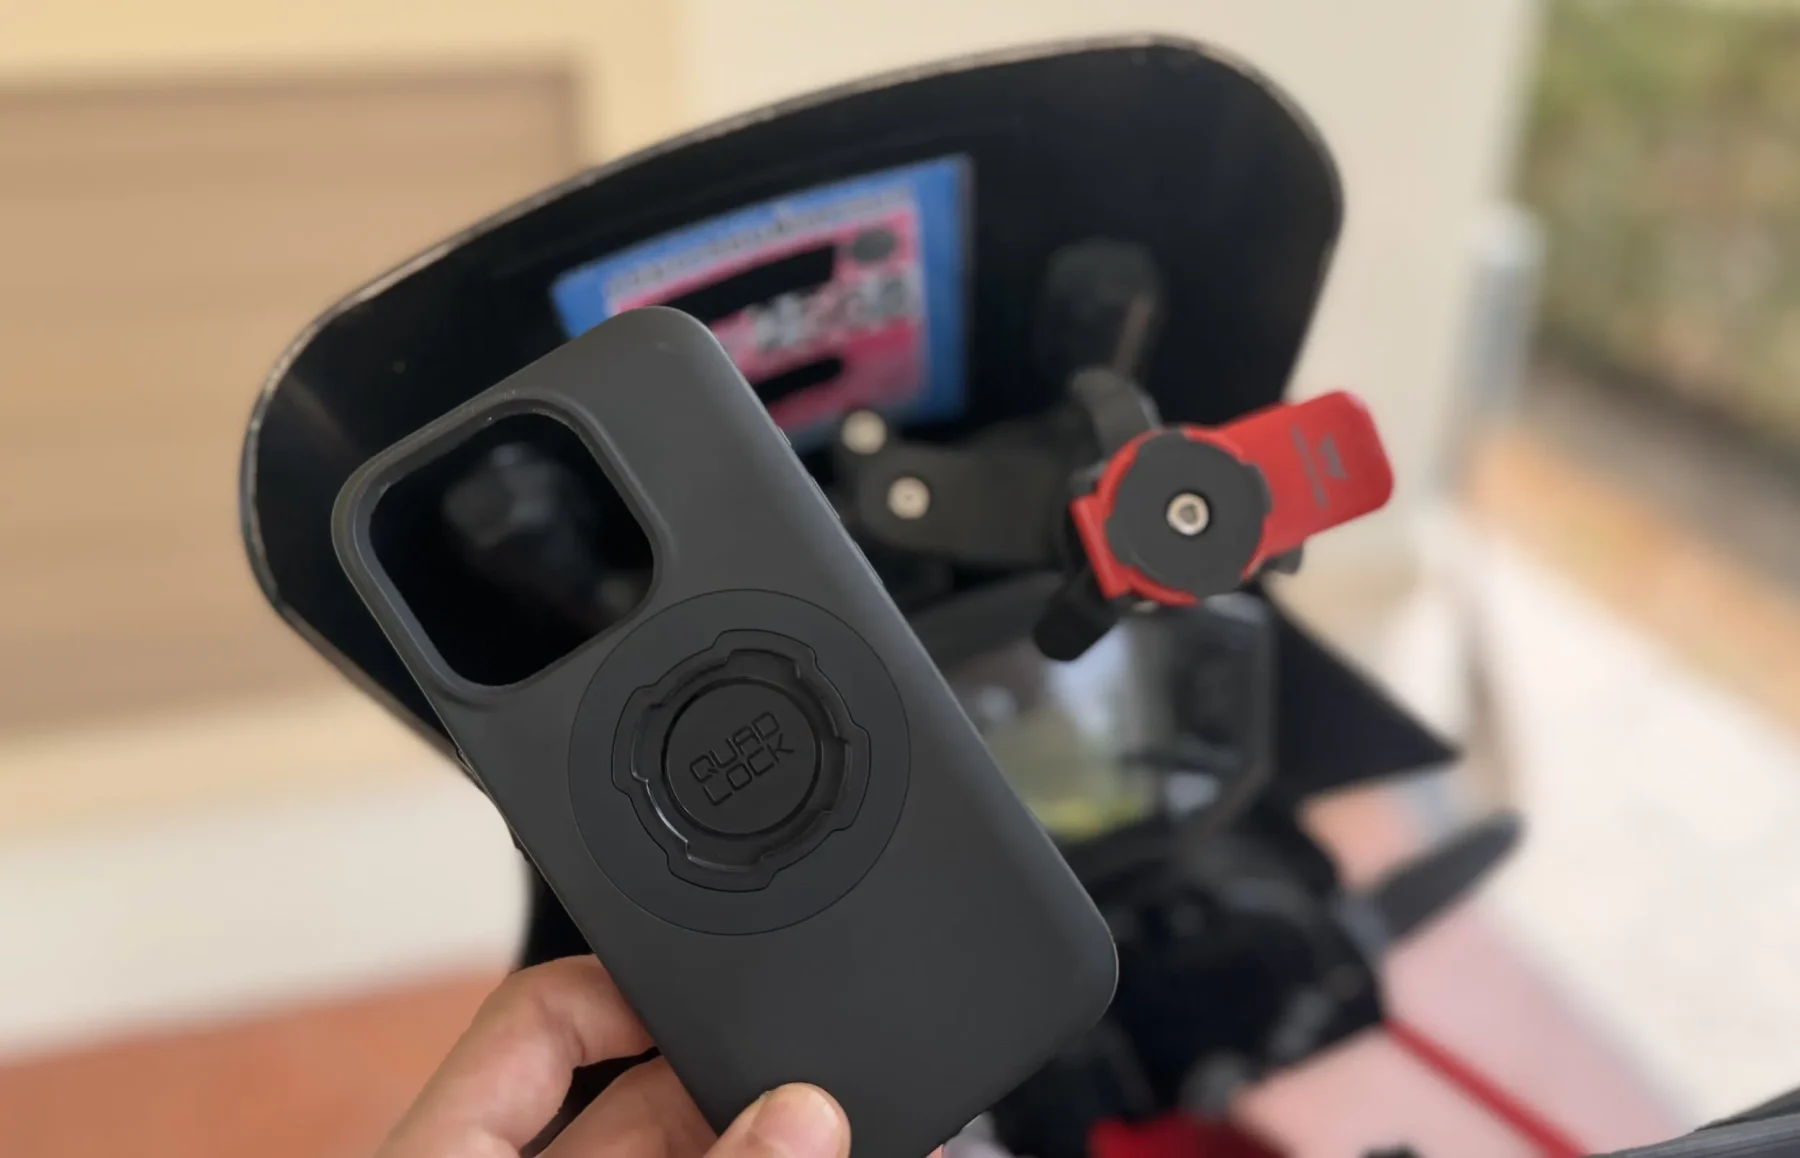
Quad Lock Motorcycle Handlebar Mount: Best Phone Holder for Any Rider
Price: $50 - $100
Specifications:
- Mount Type: Handlebar mount, fitting handlebar sizes 22m (⅞”), 25mm (1”), 28mm (1-⅛”), 32mm (1-¼”) (diameter)
- Compatibility: Universal mount for most popular phone models, from iPhones to Android
- Orientation: Supports landscape and horizontal
- Quality: Excellent, with over 6,000 5-star reviews on Amazon
Pros:
- Insanely easy to connect and disconnect phone from mount - unlike any other mount
- Simple to install with included hex key tool
- Flexible mount supports landscape and horizontal phone orientation
Cons:
Need a Quad Lock phone case or adapter on your phone
I've lived many years without a phone mount on my bike and done just fine. But now that I have one, I can't imagine how I ever lived without one... and every friend of mine who has a phone mount says the same.

However, not all mounts are made equal. Many a $1,000 new phone has turned to dust under a semi-truck tire due to low-quality yet seemingly "nice" phone holders. On top of that, many mounts are finicky and annoying to use, or transfer all the force of the engine's rattling right to the delicate lenses within a modern cell-phone's camera.
A phone mount makes navigation, music, and taking calls on a motorcycle SO much easier, it's well worth every penny to get a high quality phone mount that just works.
Quad Lock is the perfect phone mount today, hands down. Their reputation among motorcyclists is pristine. Their mount options are endless (from fork mounts, to handlebar, to mirror, to ball and socket that can be used with RAM mounts)

I swear SpaceX could put an iPhone on a Quad Lock Ball adapter with a RAM claw mount on the side of a Falcon 9 and it would make it to space without breaking a sweat.
Quad Lock's patented dual-stage lock design is loved by motorcycle riders because it allows for easy connection and disconnection of a phone. No screwing or stretching required, just push the phone down and twist. Unlock most other phone mounts, this can be done with one hand, which is a huge plus when you're trying to manage gloves, a bike, a helmet and more.
The only downside of the Quad Lock system is that it needs a dedicated case to be used with the phone that's going on to the mount. However, all is not lost if your rider loves their existing phone case! Quad Lock also sells a very slim adapter that can stick on to any phone case.
Quad Lock also sells tons of amazing accessories for their mounts - even a charger option which allows the rider's phone to wirelessly charge through the mount itself (using the bike's battery). How amazing is that...
Yes, the price on the Quad Lock is higher than many other phone mounts - but the value just FAR surpasses any other mount.

Tip: I highly recommend you pick up this small accessory that absorbs vibrations from the motorcycle so they aren't transferred to the delicate internals of the cell phone. It's a cheap insurance policy against potential damage.
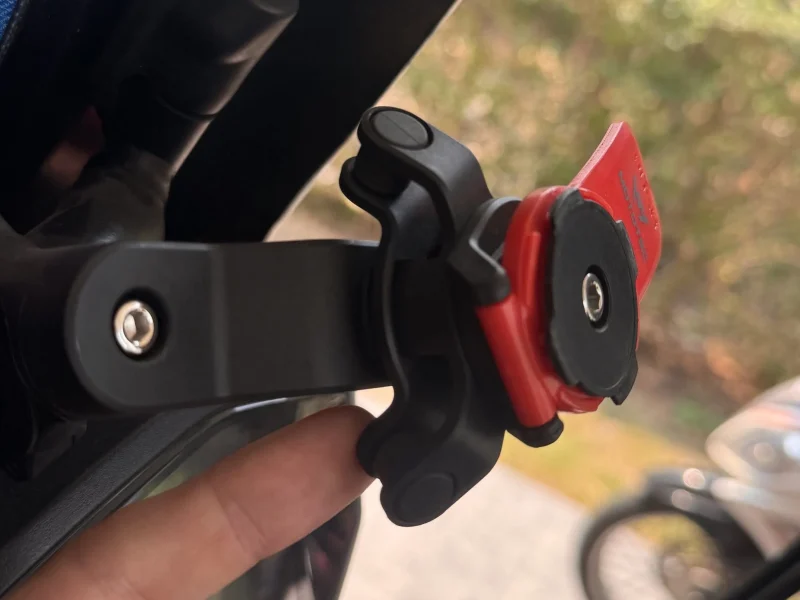
Rating:
- Security: 5/5
- Installation: 5/5
- Flexibility: 5/5
Price: 4.5/5
Cardo Bluetooth: Affordable Motorcycle Communication System
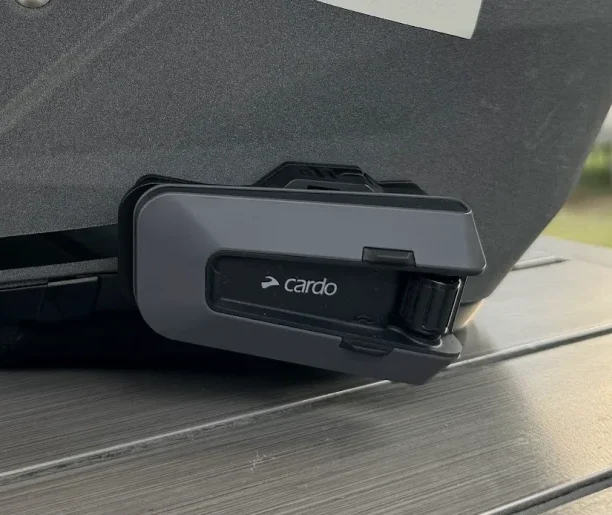
Price: $100 - $350
Specifications:
- Connects to any cell phone for seamless navigation, music streaming and calls
- Battery Life: Up to 13 hours
- Intercom Range: Up to 1 mile / 1.6 km between each rider, with up to 16 riders connected at once for the Cardo Packtalk Edge unit. For the budget Spirit unit, up to 1/4 mile or 400 meters with 1 other rider or passenger (universal connectivity too - connect to other brands)
- Fully waterproof! (Unlike Sena)
Pros:
- Stay connected with other riders and loved ones on the road
- Easily control navigation and music with voice commands or glove-friendly buttons
- Durable and waterproof construction
- Affordable and great value (from the <$100 Spirit to the premium Edge)
Cons:
Speakers get tinny at high volumes (but I have a solution for that below...)
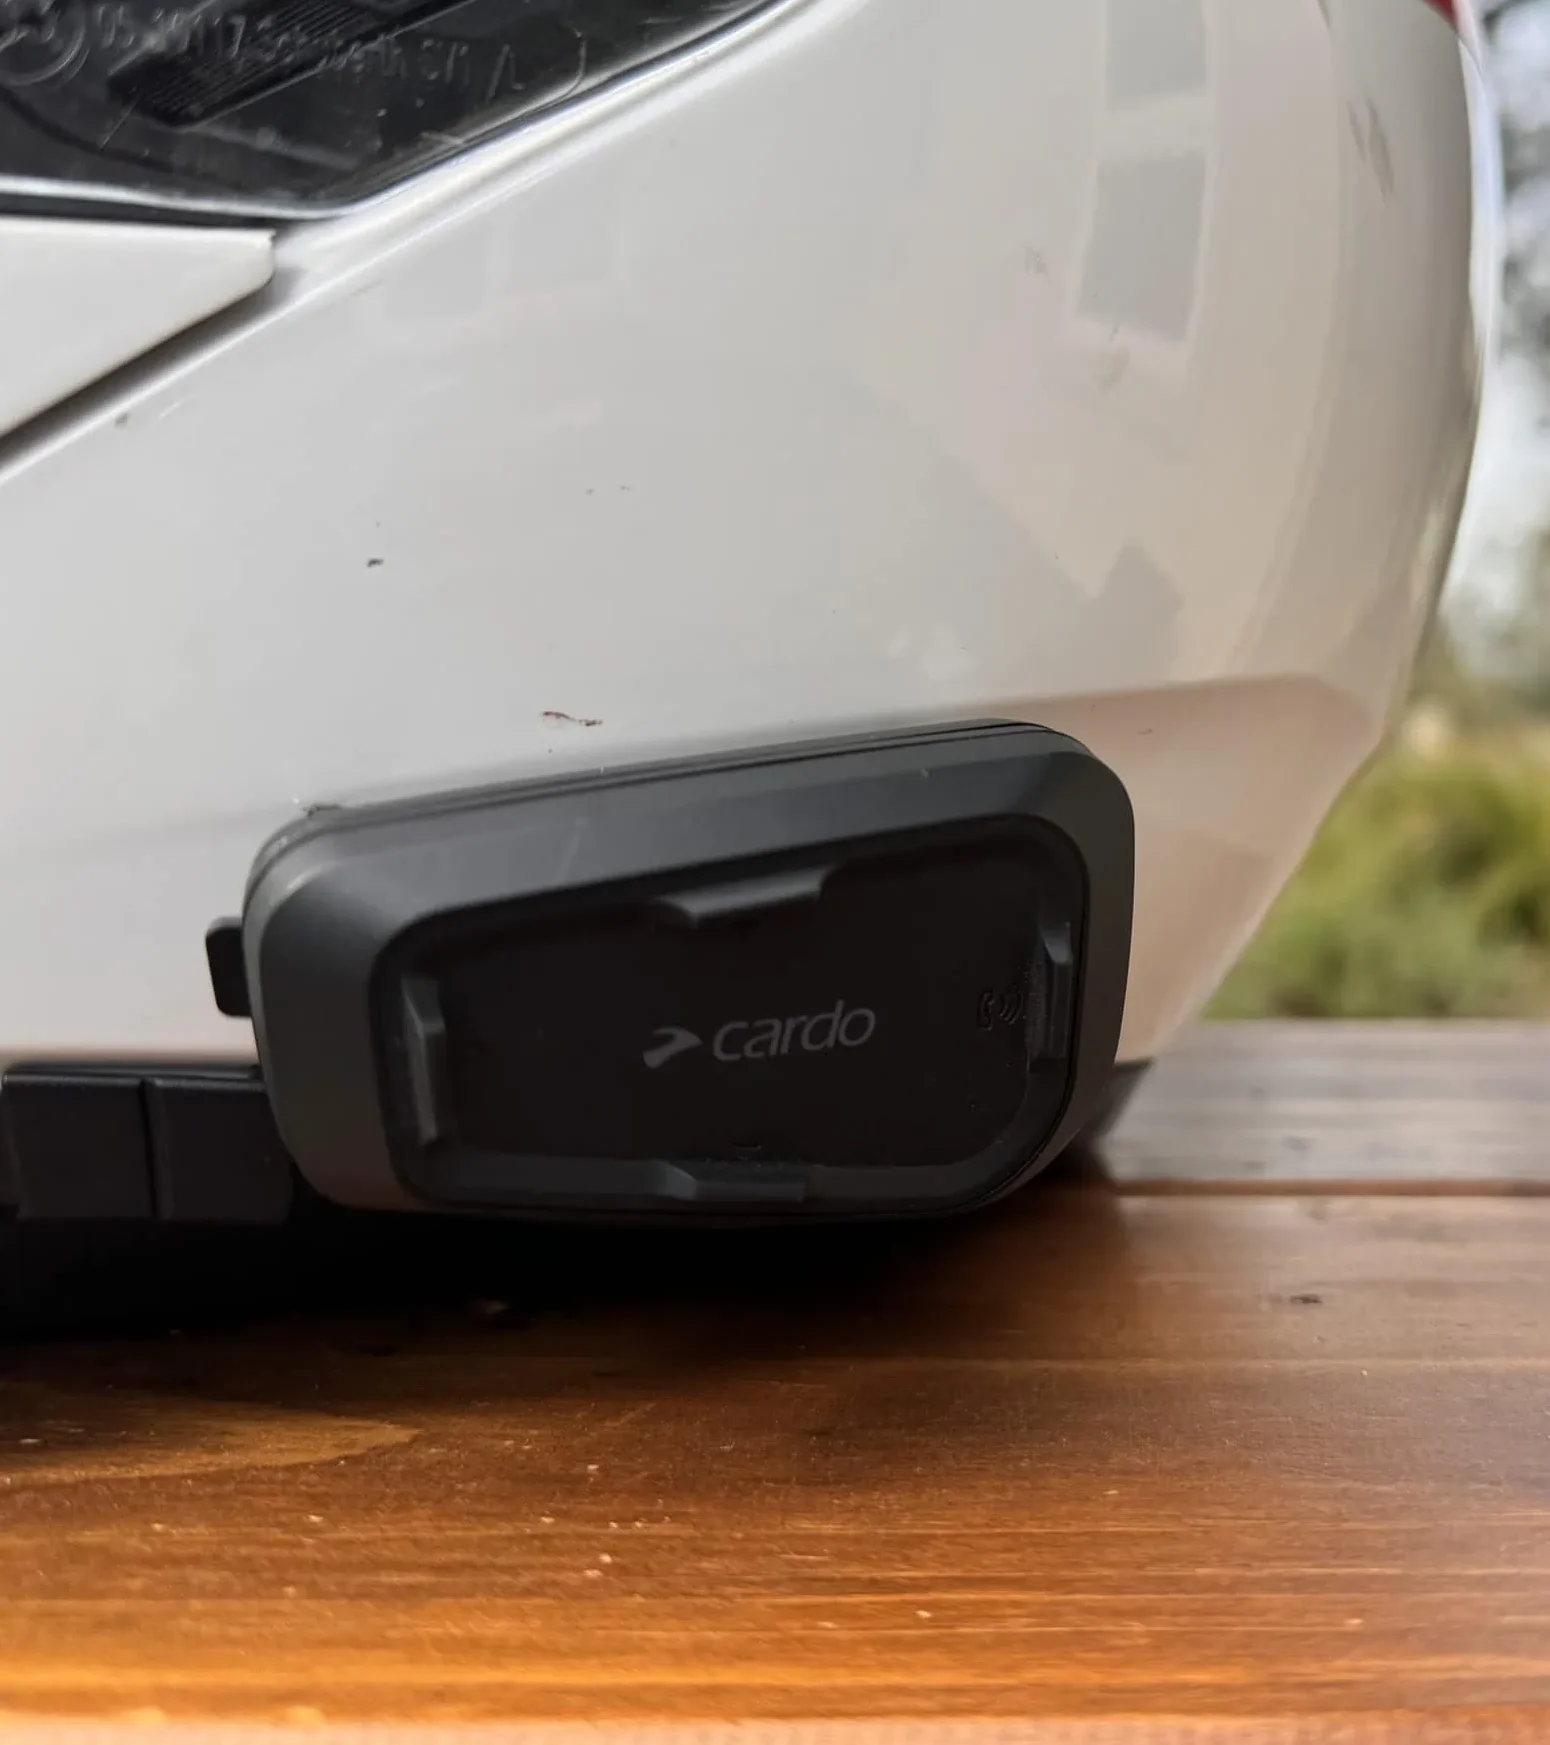
If you can't tell already, I am a huge fan of Cardo. I own and ride regularly with the budget Cardo Spirit (took it across the USA), Cardo Custom and Cardo Edge premium units (which I use with my Ride of Passage tours).
All of these units provide an exceptional experience on the motorcycle, enabling my group to ride safer and enjoy a seamless experience with music, GPS directions, and intercom all at once.
I ride solo with the Cardo Spirit every day and have used it for multiple trips with one other rider. Connection between riders is easy and stable. The volume on your music automatically fades when you or your riding partner speak in to the intercom.
Now I usually ride with the Cardo Packtalk Edge, which is even easier to use than the Spirit with a much longer battery life. When I take out a tour group, we simply power up all our devices and we are instantly connected together in one intercom group. The ease of use is on par with AirPods and other Apple devices.
The attention the Cardo team paid to all these little details make their units superbly high value. For lone wolf riders or people who only ride with a few others - even for a single motorcycle trip - the Cardo Spirit unit is exactly what you need, and that's why it's one of my top motorcycle gifts.
The only downside? Those 32mm speakers wimp out at high volumes.
The solution to poor audio quality is simple: upgrade to the Cardo JBL 45mm speaker kit. These speakers plug right in to the Cardo Spirit, so replacing the stock set takes 2 minutes. The 45mm kit sounds like a movie theater. And that is why I ride with this setup every day!
If you ride with a big group or just want a unit that will stay top of the line for several years, the Cardo Packtalk Edge is the right option - allowing connection to limitless other riders over intercom.
|
Best for riding in big groups, or if you want all the features. |
Best if your group has all latest-gen Cardo units. |
Best for solo riders, pairs and passengers. |
|
|
|
|
|
|
Best for riding in big groups, or if you want all the features.
- 15+ rider intercom over Mesh (even Senas)
- Magnetic air mount
- Auto on-off
- Crash detection and emergency call
- 45mm JBL speakers in the box (the best)
- Pricey
Best if your group has all latest-gen Cardo units.
- 15+ rider intercom over Mesh
- 10+ hour battery life
- Half the price of similar units
- Connects to phone for music, GPS
- Upgrade required for Bluetooth intercom (only when connecting to old units or Senas)
Best for solo riders, pairs and passengers.
- Affordable
- Waterproof
- Basic music and intercom functionality
- Only intercom with 1 other rider
- Low quality speakers (can upgrade)
- No voice commands
Rating:
- Connectivity: 4/5
- Audio quality: 3/5 (but fixable)
- Battery life: 5/5
- Durability: 5/5
Price: 5/5
Alpinestars Tech-Air 3 Airbag Vest: Premium Safety Gear for Riders
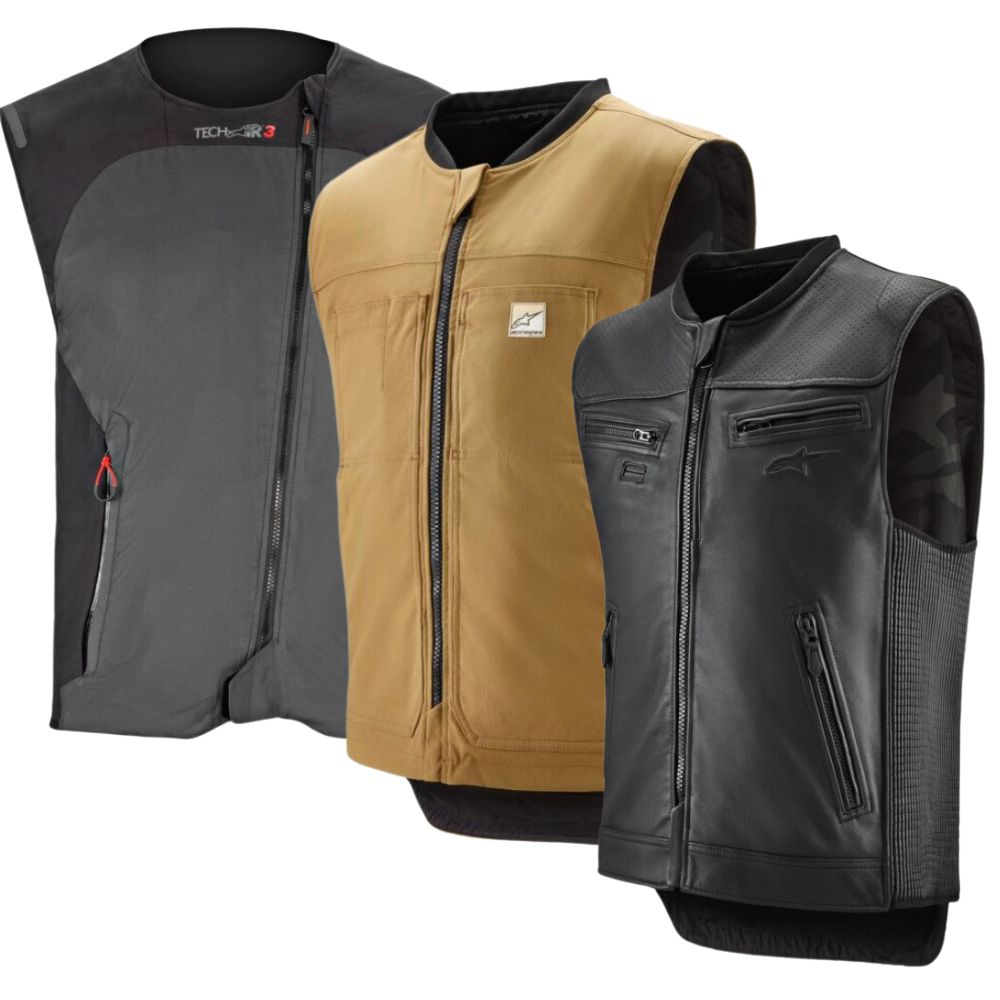
The entry-level airbag from Alpinestars in textile, leather, and canvas as well as a women's cut ("Stella").
Price: $600+
Specifications:
- Peak Safety: 50 times MORE protection than the best $1,000+ motorcycle jackets
- Low Key or Bright: Available in textile, leather or canvas in multiple colors - can be worn under or over jacket.
Simple: Set up and use in seconds, can be reset if it goes off. Ideal for any kind of rider, though for off-road riding you'll want the Off-Road System.
Pros:
- Can be worn under or over existing jackets
- Excellent vital organ coverage - what you're really looking for!
- Restricts head movement when deployed to prevent neck hyperextension or clavicle fractures
- Easy CO2 canister replacement to reset after it expands in a crash
- Won't get hot because the vest design allows air to flow around the sealed airbag bladders
Cons:
Pricey for a piece of motorcycle gear (but a whole lot cheaper than a trip to the hospital)
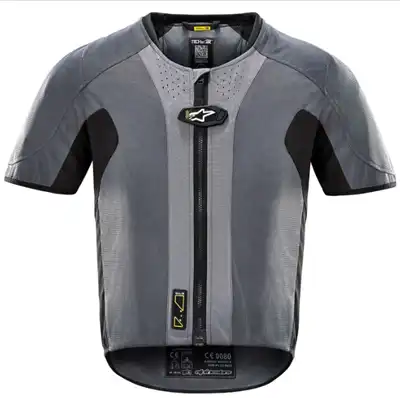
The Alpinestars Tech Air 3 Airbag Vest is the ultimate piece of safety gear for riders, offering protection that no jacket or piece of fabric can provide thanks to its cutting-edge airbag technology. Simply said, this vest is nothing but a thin piece of fabric until just before a crash.
The computer onboard the Tech Air 3 system is constantly detecting the motion of the rider's body. When the system detects a crash in progress, the airbag inflates in under 1/10 of a second to protect the rider. That computer was trained on millions of miles of data from street riders to MotoGP riders, so it knows when you're just hitting a corner hard vs actually going down.
The airbag is designed to stabilize the rider's neck and protect vital organs from impacts - and it does so better than any riding jacket on the market.
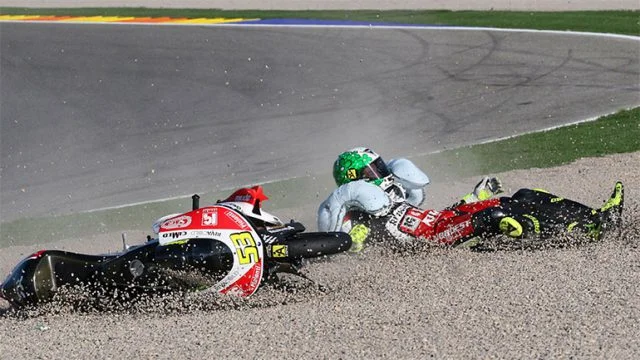
Helmets aside, there is no better piece of motorcycle safety equipment money can buy.
The Alpinestars Tech Air 3 is an essential piece of riding equipment providing the highest level of safety available. The lightweight design, stretch panels and airflow channels allow for easy movement on the bike and maximum comfort, while its quick inflation gives riders peace-of-mind that their protection is in place if needed. This vest delivers a great combination of wearability and safety, and the canvas+leather versions allow your rider to keep their style intact too.
If you're looking for a little more protection, you should pick up the Tech Air 5 below - it covers the shoulders as well.
|
4.5
|
4.9
|
|
The entry-level airbag from Alpinestars in textile, leather, and canvas as well as a women's cut. |
What sets this airbag apart is its coverage of the shoulder and ribs - critical areas often missed by motorcycle airbags. Must be worn under an abrasion-resistant motorcycle jacket, ideally a Tech Air -compatible jacket from Alpinestars. |
The entry-level airbag from Alpinestars in textile, leather, and canvas as well as a women's cut.
What sets this airbag apart is its coverage of the shoulder and ribs - critical areas often missed by motorcycle airbags. Must be worn under an abrasion-resistant motorcycle jacket, ideally a Tech Air -compatible jacket from Alpinestars.
Rating:
- Protection: 5/5
- Comfort: 4.5/5
- Ease of use: 5/5
Value: 10/5
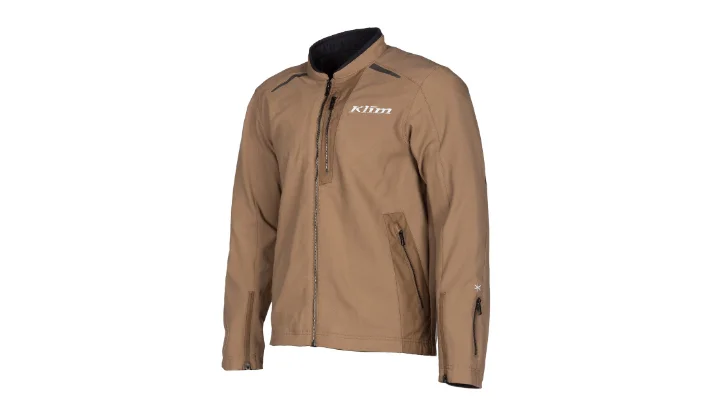
KLIM Marrakesh Jacket: Feels like a Casual Jacket, Holds Up like Track Leathers
Price: $350+
Specifications:
- Manufacturer: Klim (the undisputed king of adventure motorcycle gear)
- Protection Factor: 1000 denier slide resistance (similar to thick racing leathers) with Ghost D30 CE Level 1 vented armor in elbows, shoulders, and back
- Available Colors: Stealth Black, Cool Gray, Teak, and Petrol - Potter's Clay (what does that even mean? Your guess is as good as mine)
Available in Women's cut too.
Pros:
- Incredible comfort and effortless style - looks like a normal jacket
- Excellent fit and finish as one would expect from Klim
- Level 1 armor at all potential impact zones, including back protector
Flows air incredibly well everywhere due to the weave of the fabric
Cons:
- Not waterproof, water resistant, or bulletproof (Come on, Klim)
Athletic fit (Might need to trim in that beer belly or go up a size)
The KLIM Marrakesh Textile Jacket is the perfect piece of riding gear for warm weather rides, providing more airflow than any mesh jacket on the market. This is due to Klim bucking the trend of "mesh panels" that flow air in one are while trapping hot air in other areas. Instead of mesh panels, Klim decided to weave the entire jacket so that it flows like ONE GIANT MESH PANEL!
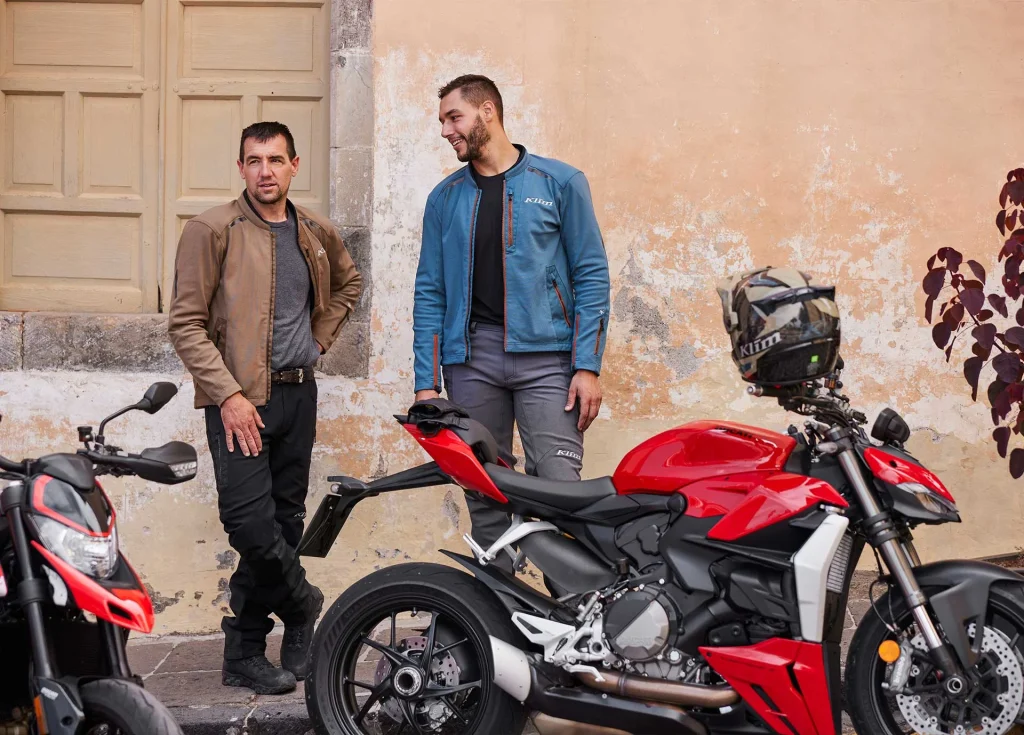
But somehow they achieved that while also providing as much abrasion resistance as track leathers.
Imagine wearing no shirt at all while you're riding, but suddenly wearing a leather racing suit as soon as you hit the pavement. That's the KLIM Marrakesh in a nutshell.
Money can't buy your skin back, but it can buy a KLIM Marrakesh! And it's available in a women's cut as well.
The best lightweight motorcycle jacket on the market. With an all-mesh construction and D3O Ghost armor, it feels and looks like a casual light hiking jacket. Except it packs the CE AAA protection of a MotoGP race suit!
Rating:
- Comfort and Airflow: 5/5
- Protection: 5/5
- Style: 5/5
- Price: 4/5
Custom Motorcycle Jacket from Lusso Leather

Price: $200+
Specifications:
- Material: 1mm+ thick track-quality leather or Kevlar-lined denim with pockets for motorcycle-grade armor at the shoulders and elbows.
- Sizing: Made to exactly your specs for a perfect fit on the bike. Their team is very responsive as far as your needs: just get the dimensions of your rider and the type of bike(s) they ride.
- Customization: Lusso can do just about anything - you can even send them pictures of another jacket you like, and they'll remake it (just as a motorcycle jacket!)
Pros:
- Perfect fitting motorcycle jacket made to your spec
- Any customizations you want can be done - make sure you ask for a pocket for a back protector.
- Their founder is a motorcycle rider himself: so he understands the needs of riders
Cons:
- They'll build anything you want - so if you want a button up jacket (which isn't safe for riding!) they'll do it! I recommend you get a zipper closure for the jacket
You'll need to insert your own armor for the jacket: more on that below.
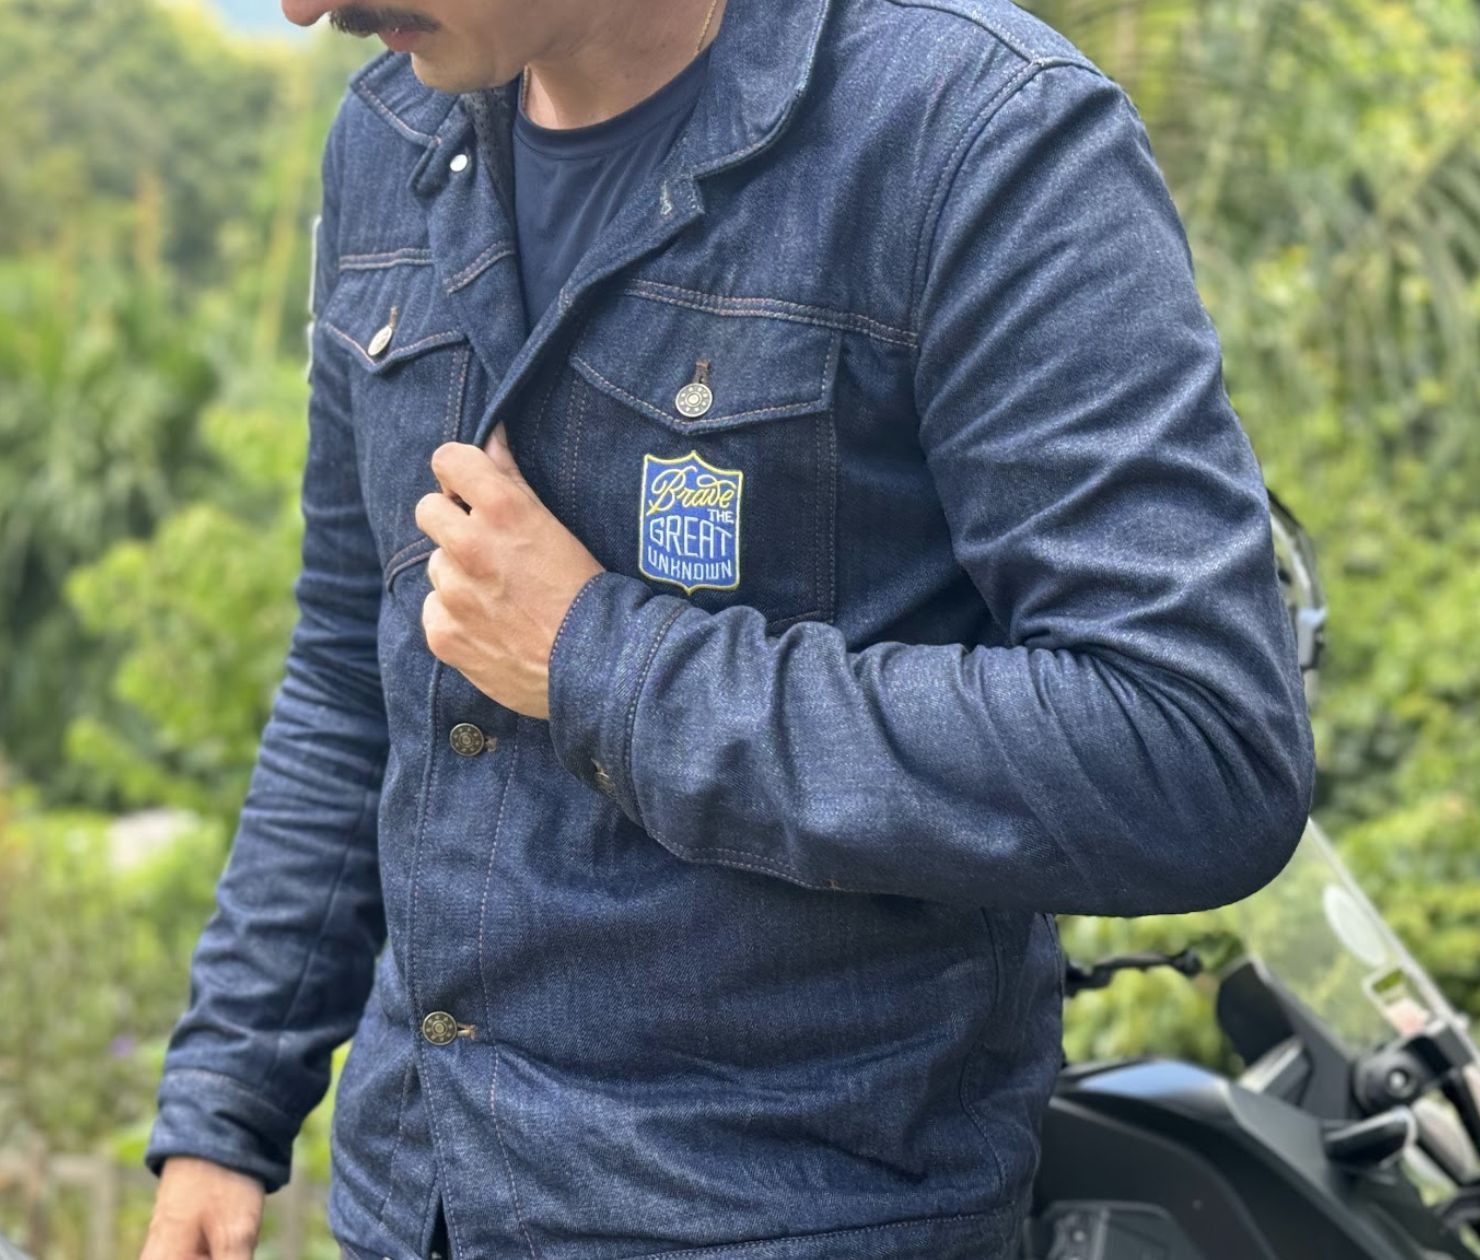
I have a denim jacket from Lusso Leather that's become my city-riding jacket of choice. For sport riding I'd still go for a thicker leather jacket from a name brand like Alpinestars or Dainese, and for adventure get something from Klim or Mosko Moto, but Lusso Leather produces a great custom fitting garment for lower-speed riding.
I also wear this jacket casually, around town - it's that comfortable. The mesh lining allows for nice airflow inside the jacket as well: even though I primarily wear my custom denim jacket from Lusso in the hot weather of Thailand, I can comfortably ride in it thanks (I think) to that mesh, which separates the kevlar and denim by just a tiny margin from my skin, leaving room for air to flow in and around my arms and torso.
For my personal jacket, I sent them a picture of another jacket I found on Pinterest and they just about nailed exactly what I was looking for. Here's the full story of my custom denim jacket.
For armor to put in this jacket: I recommend ordering the D3O Viper Back Protector, D3O Shoulder armor and D3O Elbow armor. These are all CE Level 2 certified (the best available) while being lightweight, pliable and breathable. I use these in my own gear.
Lusso's jackets are well worth it for the perfect fit and custom style they offer.
Specify the exact design you want from materials, pockets, cuffs, patterns and more or share pictures of a jacket you want recreated. Options for armor pockets, mesh and kevlar linings, and more for added safety. If the fit is wrong, they'll redo it.
Rating:
- Comfort and Airflow: 5/5
- Protection: 3/5
- Style: 6/5
- Price: 5/5
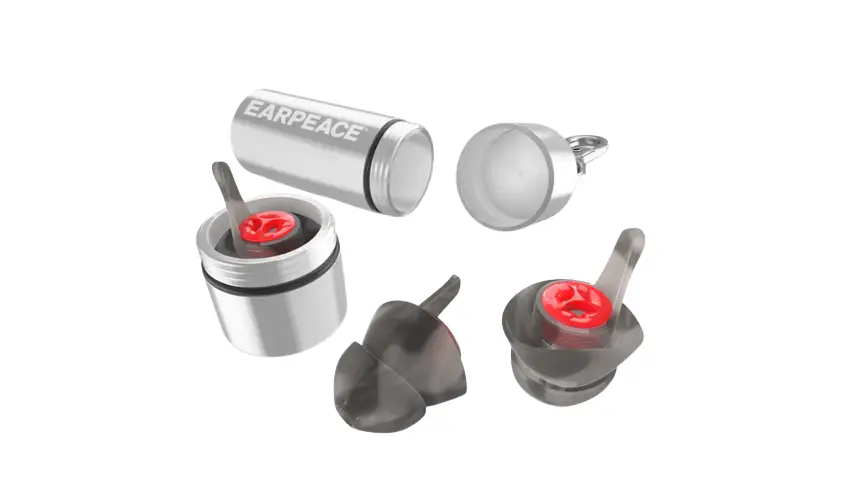
Motorcycle Earplugs: Essential Gear for Noise Reduction
Price: $10+
Specifications:
- Material: Silicone
- Noise Reduction Rating: 22-24 dB
Compatibility: Fits most ear sizes
Pros:
- Effective at reducing noise levels
- Tuned for frequencies damaging to ears, but maintains clarity of road noise - horns, approaching cars, etc
Allows for better hearing in noisy environments
Cons:
- May be uncomfortable for some users
Specialized motorcycle earplugs carry a higher price than simple phone earplugs (but filter out the right noise)
Motorcycle earplugs are a must-have for riders looking to enjoy their ride with maximum comfort and safety. The best types (like the one I'll recommend below) do two things better than the competition:
- They feature an ultra low profile design that virtually disappears in the ears, ensuring comfort even on long rides.
- They filter out the right frequencies so riders can hear horns, approaching cars, and other necessary noises while filtering out droning wind noise and the damaging high notes of a nice set of custom exhaust pipes.
These two features make specialized motorbike earplugs well worth the premium cost over cheap foam plugs.
In my research and among my friends, we love the EarPeace Moto Pro set. They do a great job of cutting out the sounds you don't want to hear while amplifying the sounds you do.
Rating:
- Noise Reduction: 5/5
- Comfort: 4/5
- Sound Clarity: 5/5
Price: 3/5
Motorcycle Heated Gloves from Gerbing: Best for Cold Weather Rides
Price: $99+
Specifications:
- Construction: Aniline Cowhide leather with Superfabric sliders and Aquatex breathable water resistant membrane.
- Touchscreen Compatibility: Yes, at index fingers
- Insulation: 150G Thinsulate
Power Source: Plugs right in to a bikes 12V battery system for unlimited battery
Pros:
- Comfortable for cold and wet conditions
- Touchscreen compatible
- Pre-curved fingers for comfortable grip on the bars
- Armored knuckles and Superfabric offer great protection in a crash
150G of Thinsulate insulation and heating elements throughout the entire gloves (all the way up each finger).
Cons:
Plugs in to the bike (but also doesn't need a heavy battery as a result!)
Whether riding to work in the rain or adventuring in the Alpine snow, heated gloves are a must. If a rider loses feeling in their hands, they lose the most important point of control over their motorcycle. That makes heated motorcycle gloves a necessity for anyone riding in cold conditions.
Motorcycle riders can enjoy both warmth and dexterity with heated gloves, giving them the perfect grip for cold weather rides. The Gerbing gloves I've recommended below feature everything necessary to make for a comfortable and safe journey down to freezing conditions. And they rely on the battery in your bike, so they're also suitable for adventure riding where you might not see a plug for a few days.
Don't forget to also purchase the battery harness needed to connect these to a motorcycle's battery!
Rating:
- Warmth: 5/5
- Comfort: 4/5
- Dexterity: 4/5
Price: 4/5
Another option that doesn't require plugging in to your bike are these Venustas heated gloves, which use a battery pack for power. We've tested the Venustas Vest and were very impressed with it.
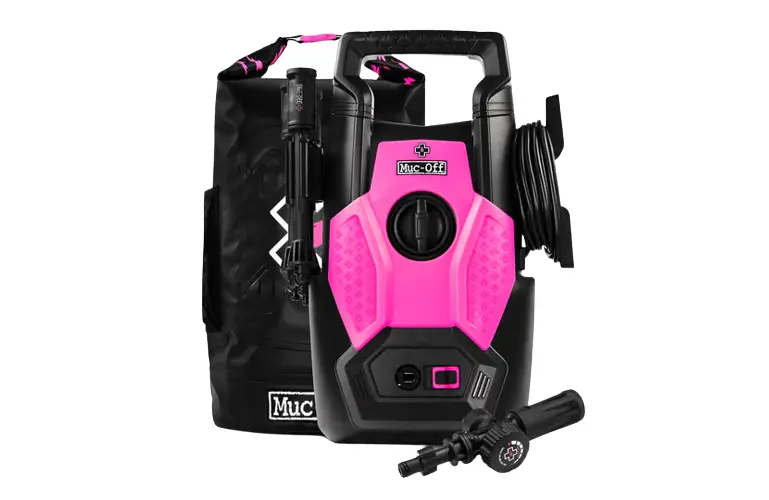
Muc-Off Pressure Washer: For Proud Motorcycle Owners
Price: $300 - $350
Specifications:
- All in one wash kit made specifically for motorcycles
- Includes pressure washer and several cleaning solutions
Amazing attention to detail with a slot for every tool and a waterproof bag (keeping drips IN, not on your garage floor)
Pros:
- Easy to use with great cleaning performance (for more than motorcycles!)
Multiple steps to clean all dirt and grime off every part of a bike - from tires to bags to seats.
Cons:
Pressure washers can damage seals like those on bearings (goes with any pressure washer!)
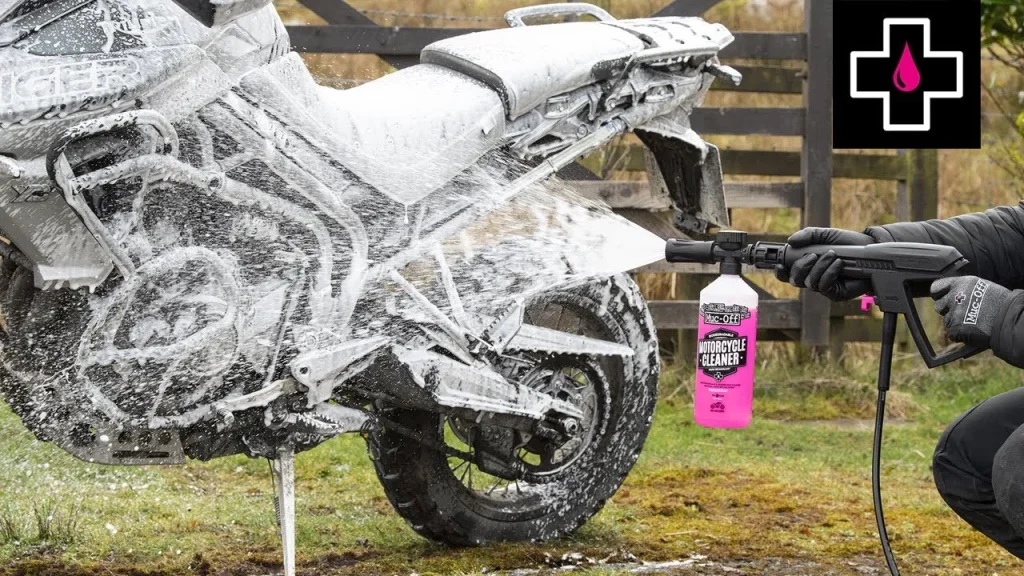
This is the perfect gift for a rider who treats their motorcycle more like a museum piece than a mode of transport. Muc Off makes some of the best cleaning products specific to motorcycles and riding gear on the market, and this kit is no exception. It includes everything necessary to wash a motorcycle from tip to tail, with a powerful portable pressure washer that fits in a custom-made waterproof bag.
Setup couldn't be simpler - you won't need to open any instruction manual to get started. Just connect a house to the unit and plug it in. Connect a sprayer and a bottle (the foam is fun) and pull the trigger. Let the fun begin.
With adjustable pressure settings and multiple spray attachments, it effectively cleans any motorcycle without risking doing damage to paint or critical components of the bike.
Motorcycle lovers will love you even more for hooking them up with the Muc-Off Pressure Washer kit. They might just spend more time washing their bike than riding it!
Rating:
- Performance: 4.5/5
- Ease of use: 5/5
- Versatility: 4/5
Price: 3.5/5
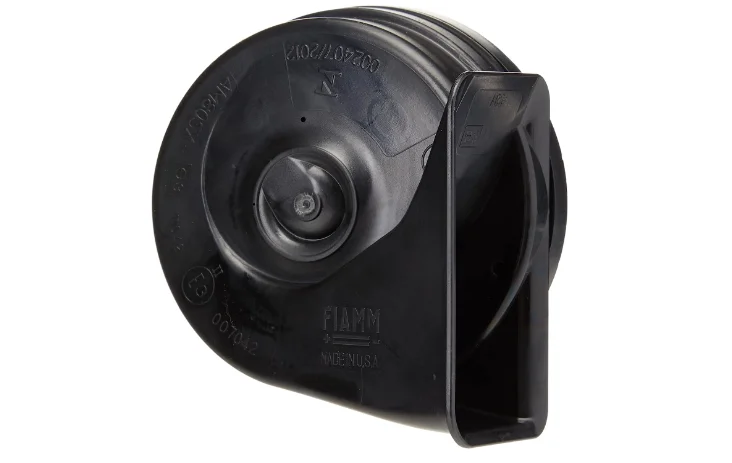
Freeway Blasters Custom Motorcycle Horn: Be Heard
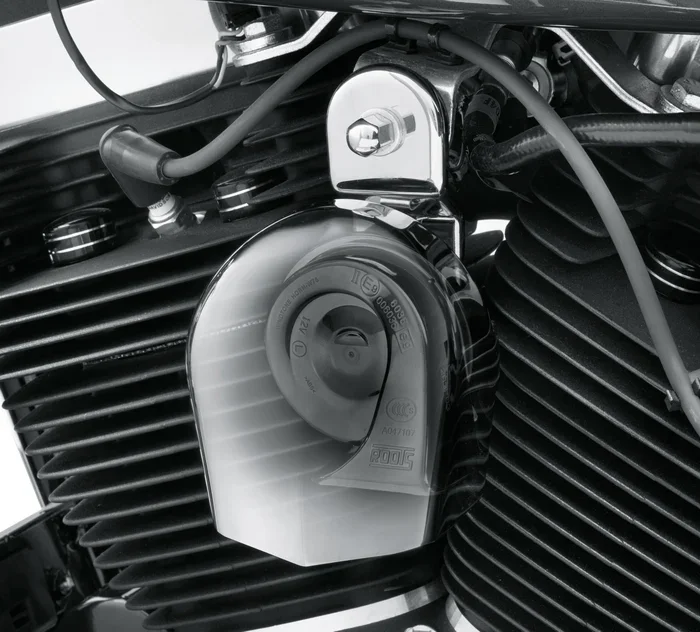
Price: ~$15
Specifications:
- High decibel, low note horn
- Connects to any motorcycle's battery
Compact and easy to attach to any motorcycle
Pros:
- Universal compatibility with all motorcycles
- Much louder than stock motorcycle horns
- Nice low tone that isn't embarrassing to fire off from a big bike
High quality mounting hardware
Cons:
None - unless you like having a weak horn
This would be the second upgrade I'd make to any new motorcycle, after a new exhaust setup (stock exhausts these days... don't get me started). A new horn like the Freeway Blaster is a cheap upgrade that takes a short 10 minutes to install on any motorcycle, yet it instantly improves your visibility on the road.
And the first thing you learn as a motorcyclist is that nobody is paying attention to you on the road. Now when that F150 cuts you off, you can blow the driver's socks off with your 100+ dB horn. For comparison, this horn is almost as loud as a gunshot. Any driver will be sure to hear it, and that means your rider is MUCH more likely to be noticed out on the road.
The problem with relying on exhausts to be heard is that they point backwards. So driver's only hear them after the motorcycle has passed. They can't hear nearly anything when they're chatting on their cell phone and swerving in front of a motorcycle, causing a nasty crash.
A good loud horn fixes that. For less dough than a sandwich.
Rating:
- Volume: 5/5 (133 dB at 4 inches from the horn)
- Ease of Installation: 5/5
- Compatibility: 5/5
Price: 5/5
BONUS 1: Try a Dream Bike with Riders Share or EagleRider
Us motorcycle enthusiasts sometimes find our pocketbooks come in conflict with our desires. One day I see a clean Harley Street Glide float past and the next I'm googling financing options... then I hear a Ducati rip down the highway and I'm chatting with the Ducati sales staff over the weekend.
Then I found out I can rent all my dream bikes through Rider's Share and EagleRider.
Rider's Share allows motorcycle owners to rent their bikes peer to peer, meaning you get to borrow someone else's freedom machine for a day (or a week, or a while).
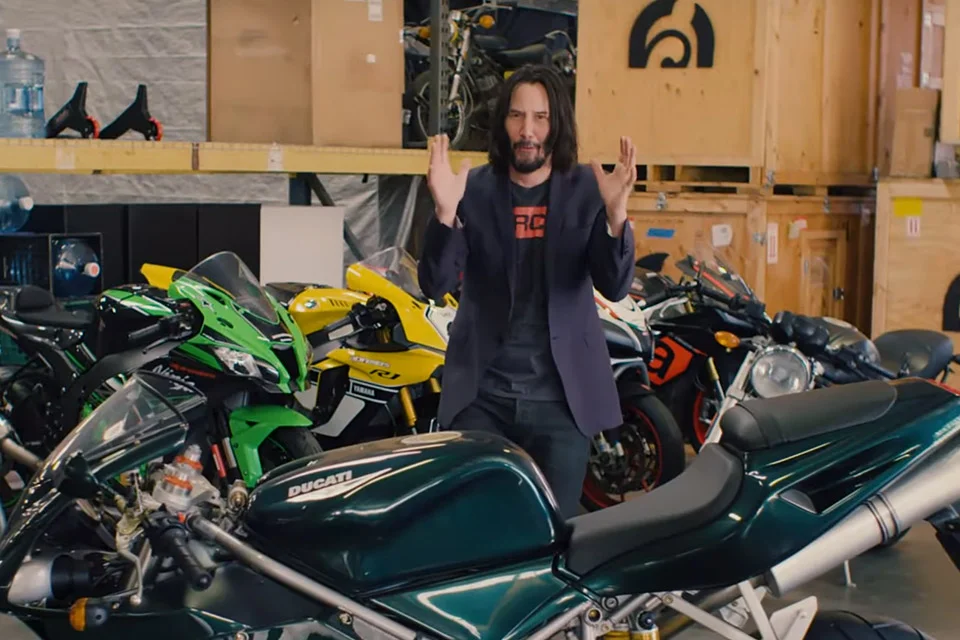
They have thousands of bikes for rent on their platform all over the USA, and offer coverage for your rental plus roadside assistance if you have any trouble with your borrowed ride. My friends love this platform both as renters and provider's of bikes. It's a great way to make some passive income with a bike that's just sitting in the garage as well...
Give your favorite motorcycle riders the chance to rent the ride of their dreams with a gift card for Rider's Share. And sign them up below for $25 off their first ride!
Rider's Share has a massive selection of rider-owned, for rent motorcycles across the USA with comprehensive insurance, gear rentals and more for a truly unique riding experience.
The other platform to check out is EagleRider. Unlike Rider's Share, Eagle Rider rents the bikes out themselves like Hertz or Avis rent out cars, making them ideal for large group rides where you might want to rent 5 or 10 bikes of a similar model.
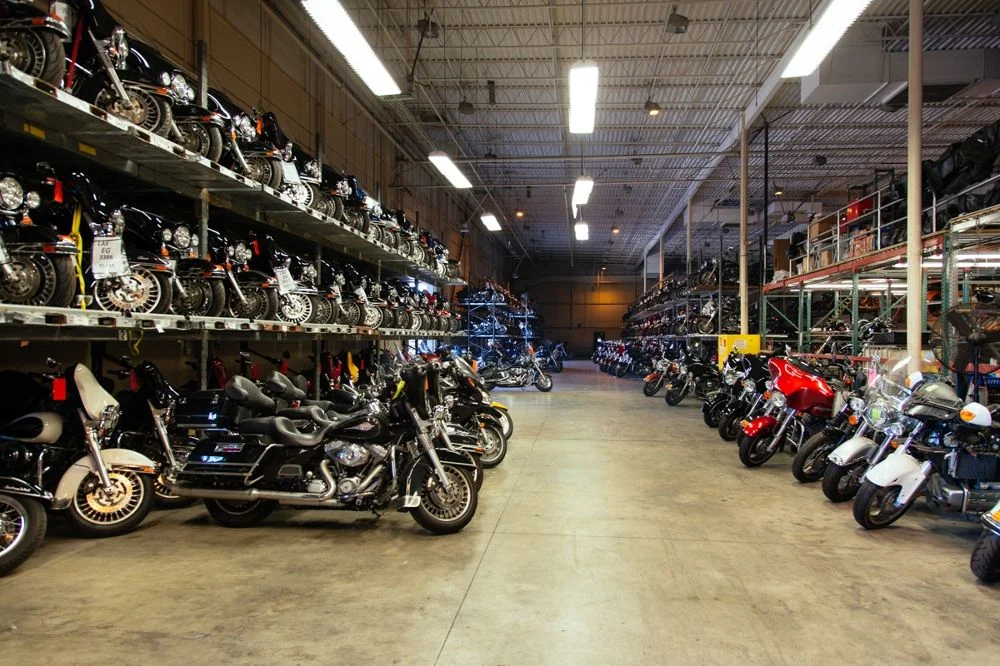
All my experiences with EagleRider were superb, with quick pickup and drop off and well-maintained rides. They even allow you to pick up in one location and drop off in another, making EagleRider ideal for point to point rides. I once used them for a stunning 8 day ride from Denver, Colorado to Phoenix, Arizona - traversing the Rocky Mountains and crossing the deserts to the Grand Canyon. Pick up and drop off took 10 minutes total.
BONUS 2: Let The Rider Decide with Revzilla Gift Card
Can't pick a gift? Is the rider in your life just too choosy? Let them pick their own gift from the incredible products offered over at Revzilla. Pick up a Revzilla gift certificate online here, and check them off your list. Revzilla offers quality stuff, and you're WAY less likely to buy a lemon of a piece of gear or equipment off Revzilla than searching Amazon or elsewhere.
I just saved you hours in the gift buying process!
BONUS 3: Custom Drawing or Painting of Their Motorcycle
Okay, I know I hated on kitschy gifts earlier, but this one has a special charm. Instead of a generic motorcycle shaped bottle opener or wall sign, get a custom made drawing of your motorcycle rider's favorite bike COMMISSIONED.
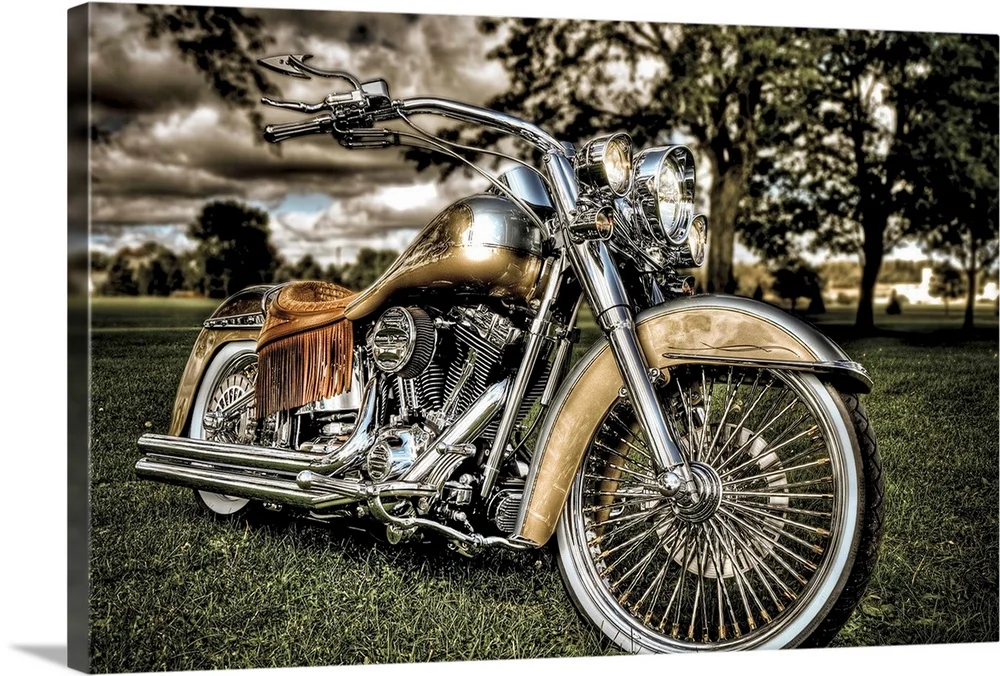
Platforms like Fiverr allow you to buy a custom-made piece of art from talented artists all around the world. All you'll have to do is send a few pictures of the motorcycle you want drawn up and possibly the style you want the art made in. Then voila, you'll get a custom made physical piece of art that your favorite motorcycle rider will cherish, even if they eventually sell that bike off.
Just pick any artist with a decent number of positive reviews here or here, and you're set!
BONUS 4: Stocking Stuffers for Motorcycle Riders
Maybe a big purchase doesn't make sense for you right now. In that case, check out this list of small stocking stuffers on Amazon. Lots of low cost, easy things to toss in for the rider in your life.
Picking the Right Gift for Motorcycle Rider in Your Life
Us motorcycle enthusiasts are easy: we just want to be out on the road enjoying our freedom machines. Anything that helps us do that and enjoy the experience more thoroughly and safely is going to make us immeasurably happy.
Anything on this list will please the rider in your life. And if there's something else you chose that really nailed it with the rider in your life, please leave a comment on this post!
I look forward to hearing from you, and see you and yours out on the road.
Frequently Asked Questions
What to gift someone who rides motorcycles?
Motorcycle riders want to have a fun and safe ride at all times: anything from leather gloves to a comfortable jacket to a Bluetooth intercom system will do that well for any rider. This list should have something for everyone!
What does every biker need?
Every biker needs motorcycle safety equipment like a helmet, jacket designed for motorcycling activity, gloves, boots, riding pants, and bags or luggage to store necessary items on their ride. Little things matter too: sunglasses, neck gaiters, Bluetooth intercoms, multi-tools and universal sockets are all critical.
Are heated motorcycle gloves worth the investment?
Heated gloves are absolutely worth the investment for any motorcycle rider tackling chilly temperatures. Hands are the first part of the body to lose feeling on a cold ride, yet they're also the most critical part of the body to keep warm. If you lose your hands, you lose control of the motorcycle. So heated gloves are not about comfort so much as safety. They're a necessity, not a fancy extra.
What should I get my biker boyfriend?
Please do not get him a "Remove before flight" keychain that will whip in his face when he's trying to weave through traffic on the highway. Go with something on this list, like a Quad Lock phone mount kit or a snappy Klim Marrakesh jacket (that looks good on a dinner date too).
Or just go out on a ride with him!
The post Top 10 Unique and Practical Gifts for Motorcycle Riders for 2025 first appeared on It's Better On The Road.
]]>The post Renting a Motorcycle in Japan: Complete Guide [+ Best Shop] first appeared on It's Better On The Road.
]]>But renting a motorcycle in Japan? Not easy for a foreigner to navigate.
Japan is very… Japanese. Without knowledge of their very different language and culture, it’s hard to feel confident renting a motorcycle. Which are the best motorcycle rental shops in Japan? What paperwork do you need to rent a motorcycle in Japan? What’s the ideal bike to rent for Japanese roads?
These are not easy questions to answer. However, I’ve done the hard work of figuring them out first hand so that you can read this article and enjoy your trip.
Tap the Contents button or swipe left / click the button above to see the table of contents and everything I’ll go through in this guide to renting a motorcycle in Japan.
Also, I’m working on a comprehensive guide to riding a motorcycle in Japan, including pre-planned routes, packing guidance, and rental deals – if you’re interested, let me know on the page below.
Best Motorcycle Rental Shops in Japan
My favorite rental shop in Japan is Rental819 (language switcher at the top right!)
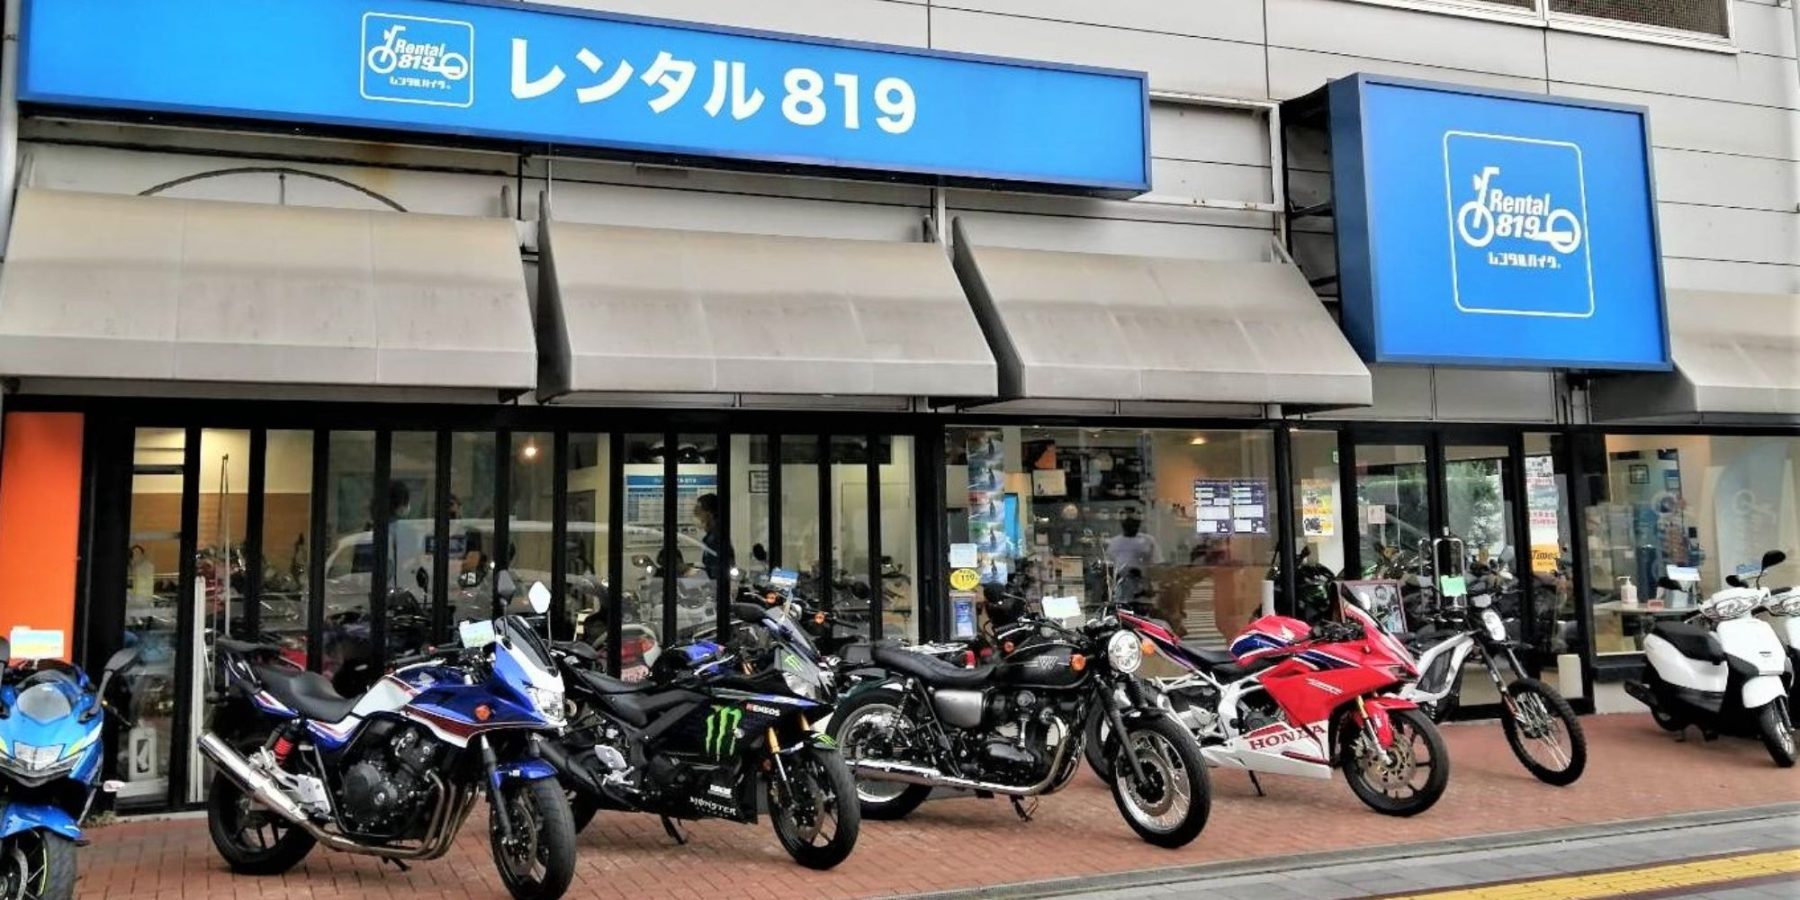
Why them?
Rental819 is highly regarded as one of the best motorcycle rental companies in Japan with over 100 branches across the country, and multiple in major cities like Tokyo, Osaka and Kyoto. They have hundreds of models of motorcycles for rent from 50cc scooters all the way up to multiple-liter Honda Goldwings and Harleys, and everything in between in every class (including dual-sport).
Here are a couple reasons I always go with Rental819:
- Easy online reservations with no money down: You can place reservations online up to 4 months in advance without even putting a credit card in their system.
- Cancellation up to 1 day before: They will let you cancel up to 1 day before pickup, in case the weather is worse than you hoped for your ride. Rain is frequent in Japan, but it’s usually predictable several days out so you can cancel your reservation or modify your plan if needed. Rental819 makes that super easy and painless.
- Easy rental process: Every time I’ve rented from Rental819 I am in and out in 15 minutes flat. They are professional, detailed, and quick.
- English proficiency: Many of their shops have English speakers working there, but you can also communicate with their central booking team via email for very accurate English speaking team members. Email them at inquiry@rental819.com to reach English-speaking staff who can answer your questions about bike and gear availability at different locations, rental process, documents needed and more.
- Quality bikes: Every bike I’ve rented from Rental819 was in great condition, with low KMs on the clock.
One thing to note about Rental819 is they do not offer one-way rentals where you pick up at one shop and drop off at another. All rentals must be returned at the same shop as pickup. This is because Rental819 shops are franchised, and each has a specific set of motorcycles they rent. For point to point rentals, try a smaller shop like Bike Rental Japan (mentioned below).
EagleRider is also available in Japan, so if that’s your preference you can book with them using the widget below. I’ve looked around a bit on their site and their prices are generally higher than Rental819, but if you trust them or have a deal with them, it could be worth it for you.
I recommend making a reservation for a rental in Japan. Many rental shops are actually dealers that have a few bikes set aside for rent, so showing up and expecting to rent a specific bike might not work out as expected.
Many bike rental shops have generous cancellation policies as well, requiring no money up-front to make the reservation and allowing for cancellation in case a typhoon or storm is suddenly expected during your rental period. With Rental819 you can cancel the day before, no questions asked and no money lost.
Motorcycle Rental Tokyo
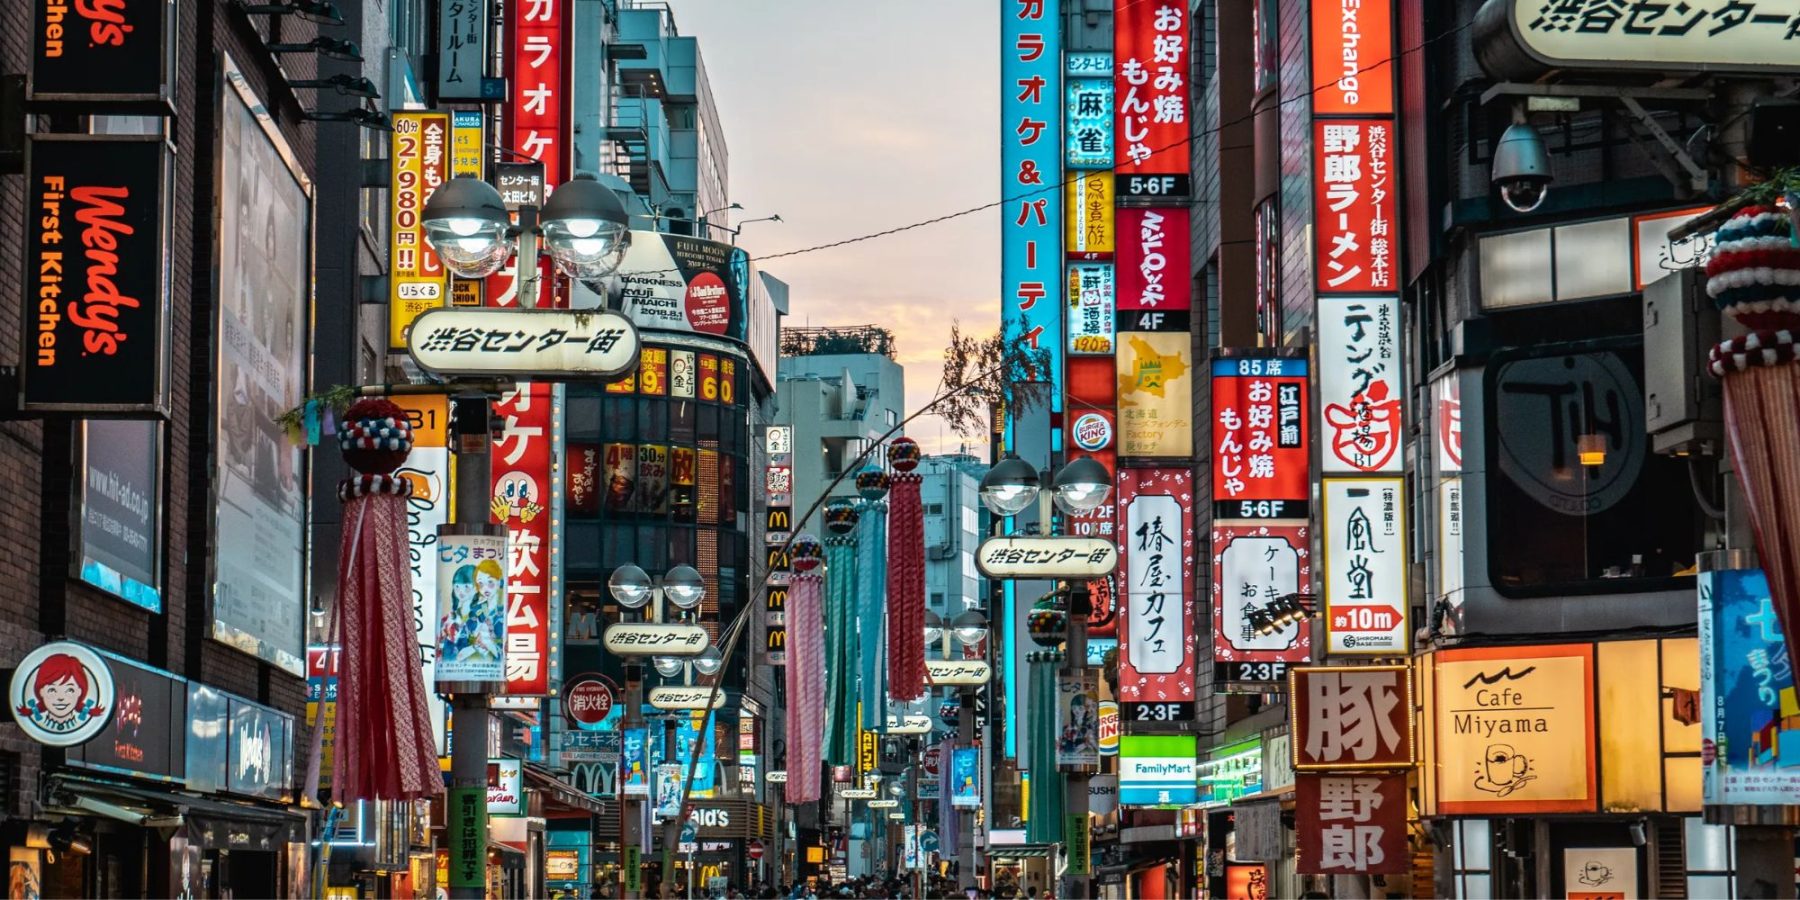
If you’re planning to rent out of Tokyo, you have plenty of options for shops. However, if you plan to ride straight out of Tokyo, choose a shop on the outskirts or one that’s close to an expressway entrance. You don’t want to spend half your day getting through Tokyo traffic.
That said, Rental819 is the way to go in Tokyo. I’ve rented from their Odaiba location and got right on the expressway and out of town towards the Izu Peninsula. Rental819 has 30+ branches in Tokyo – pick the one that suits you and you’re on your way. They’re all on Google Maps if you search Rental819.
Motorcycle Rental Osaka
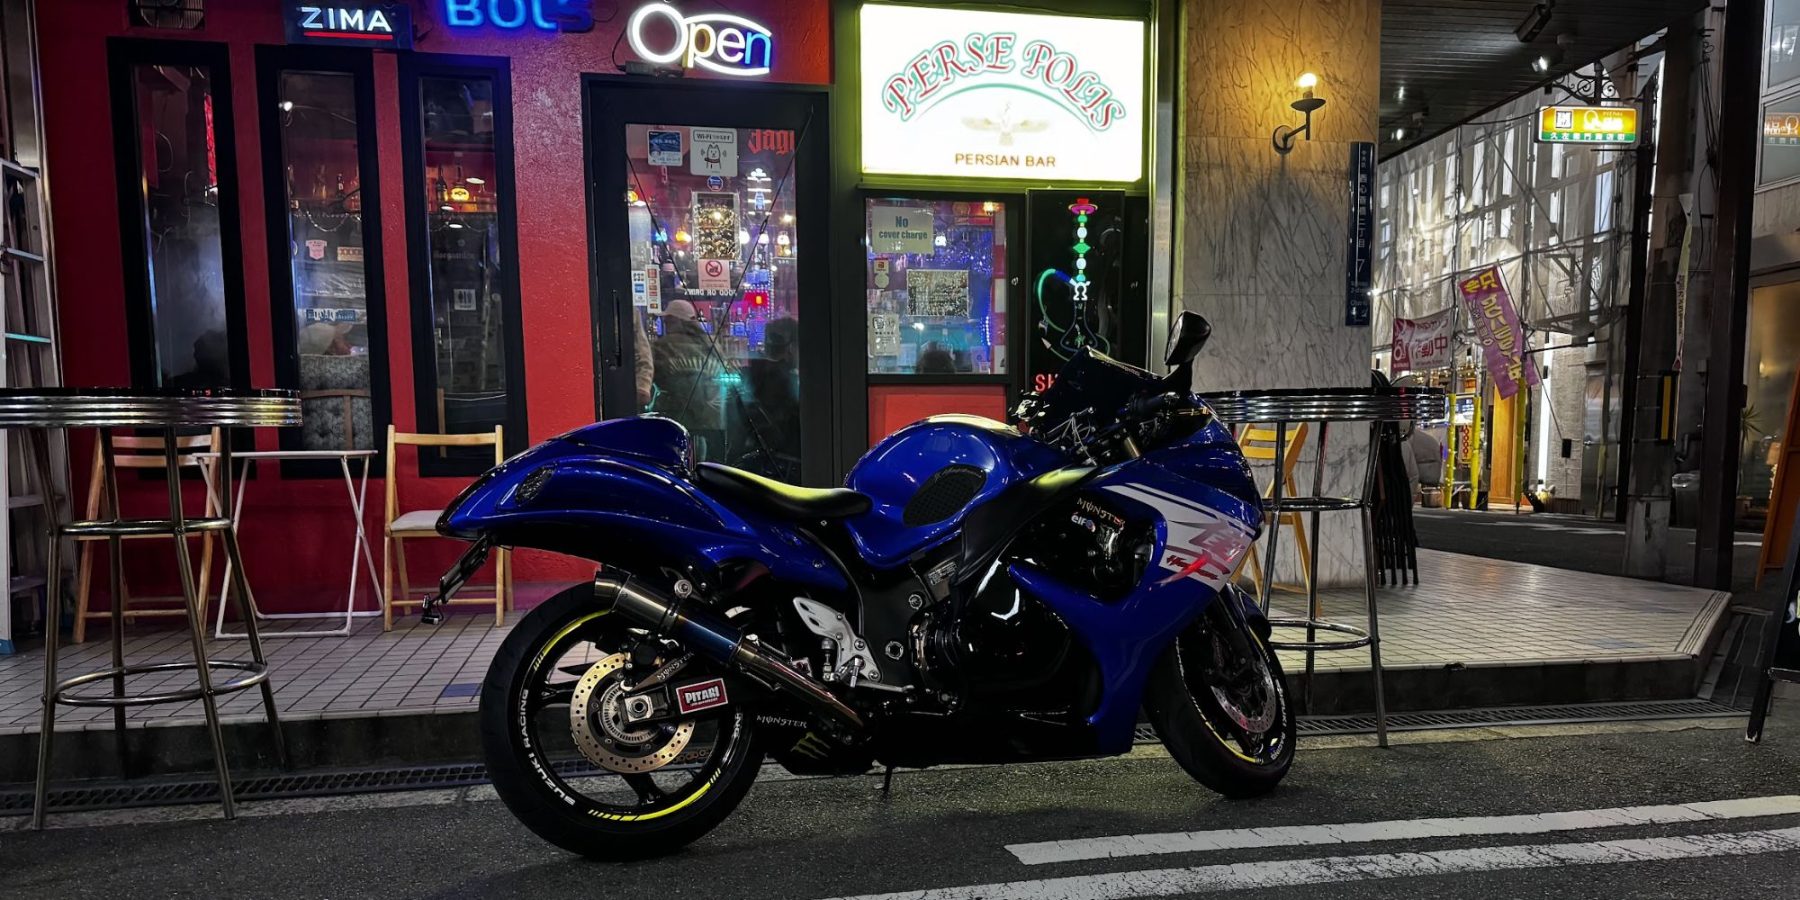
Aside from Rental819, you have Bike Rental Japan based in Osaka. They are a smaller operation than Rental819 but have a large range of bikes available from small Honda CT125 adventure scooters to monstrous Suzuki Hayabusa 1300cc sport touring bikes. They also offer guided tours throughout Japan.
Motorcycle Rental Kyoto
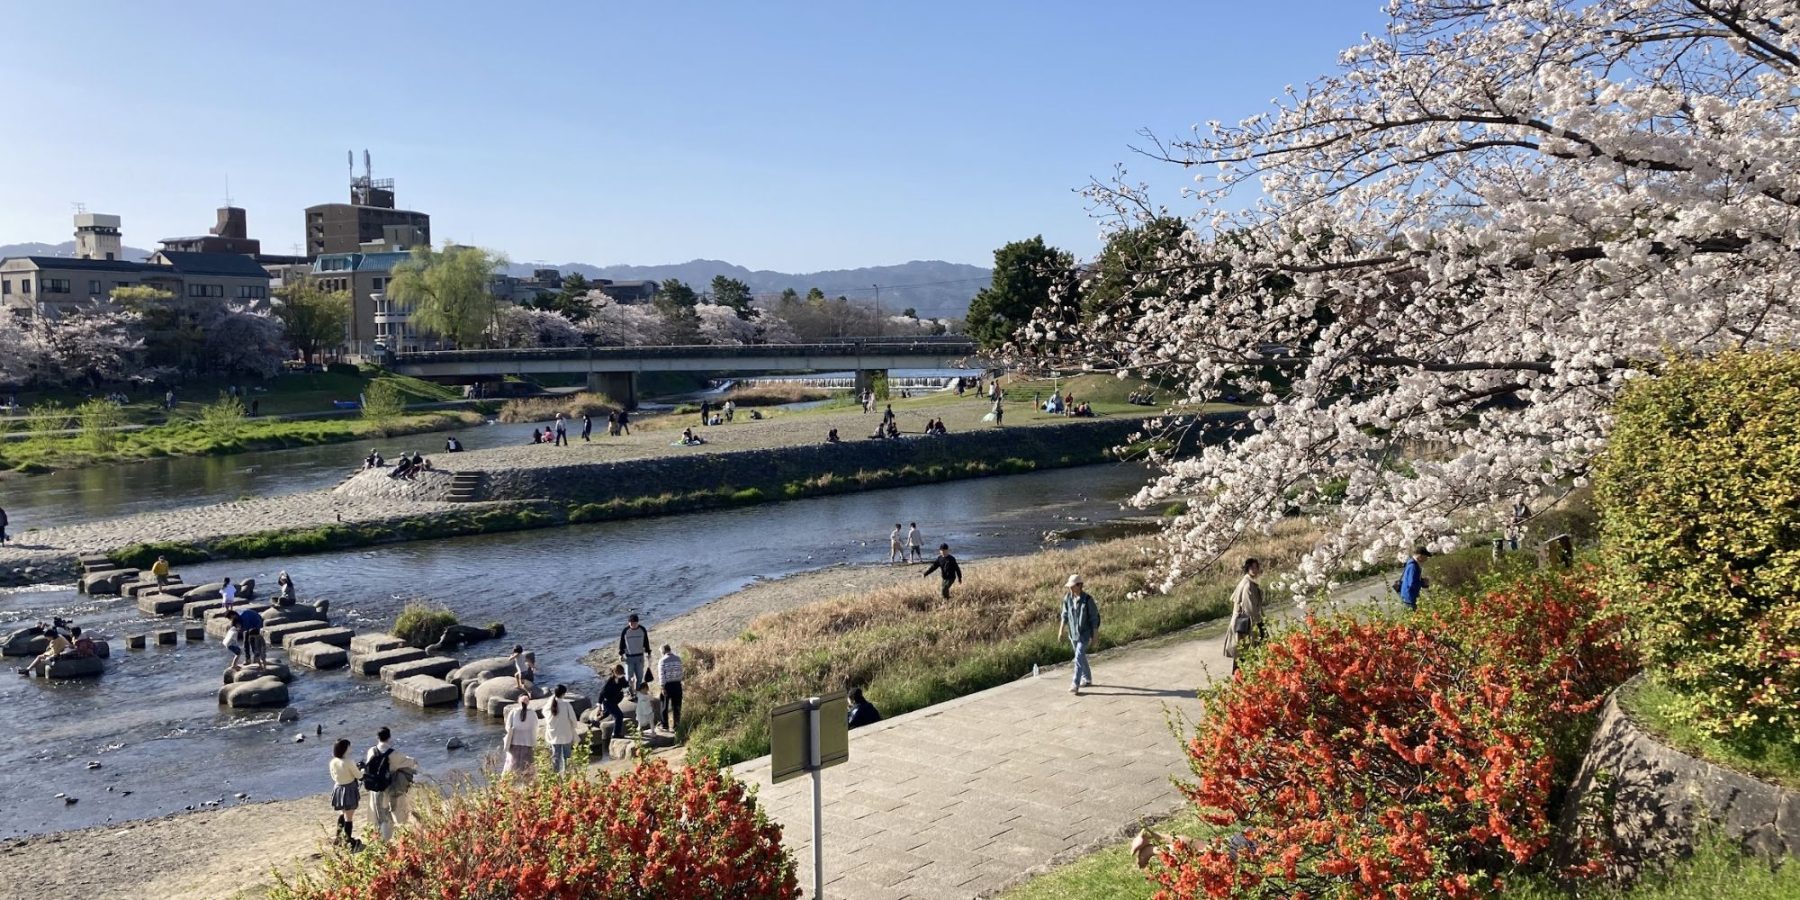
On my last visit to Kyoto I rented a Yamaha XSR700 through Rental819 from their Kyoto Jujo branch, which is right by a train station that connects to the central Kyoto station just a few minutes away.
Bike Rental Japan also services Kyoto, as they’re Kansai based, though their offices are in Osaka. Shoot them a note about picking up in Kyoto if you’re wanting to base out of this beautiful, ancient city.
Same advice I gave about choosing a shop on the outskirts in Tokyo applies here too, but doubly so because Kyoto has very few expressways. You will spend a lot of time riding light to light on your pickup and return day if you choose a rental shop in the city. Trust me, I learned this the hard way when I rented from Rental819 Kyoto Jujo!
Licensing Requirements
Before you can cruise through the neon lights of Osaka, the traditional temples of Kyoto or the absolute insanity of Tokyo on two wheels you need to ensure you meet the licensing requirements here. Japan is not a country that plays around when it comes to rules and regulations; if you’re missing one small thing, you may be out of luck.
As an international rider renting a motorcycle in Japan, here’s what you need:
International Driving Permit (IDP)
To rent a motorcycle in Japan, foreign riders must have a valid motorcycle license from their home country along with an International Driving Permit (IDP) that corresponds to the class of motorcycle they intend to ride. The IDP must be based on the 1949 Geneva Convention on Road Traffic, which Japan recognizes. Notably, IDPs based on the 1968 Vienna Convention are not accepted in Japan. The 1949 ones (valid) are only valid for 1 year from issuance, while the 1968 ones are valid for 3 years from issuance. Make sure you’re getting the right one.
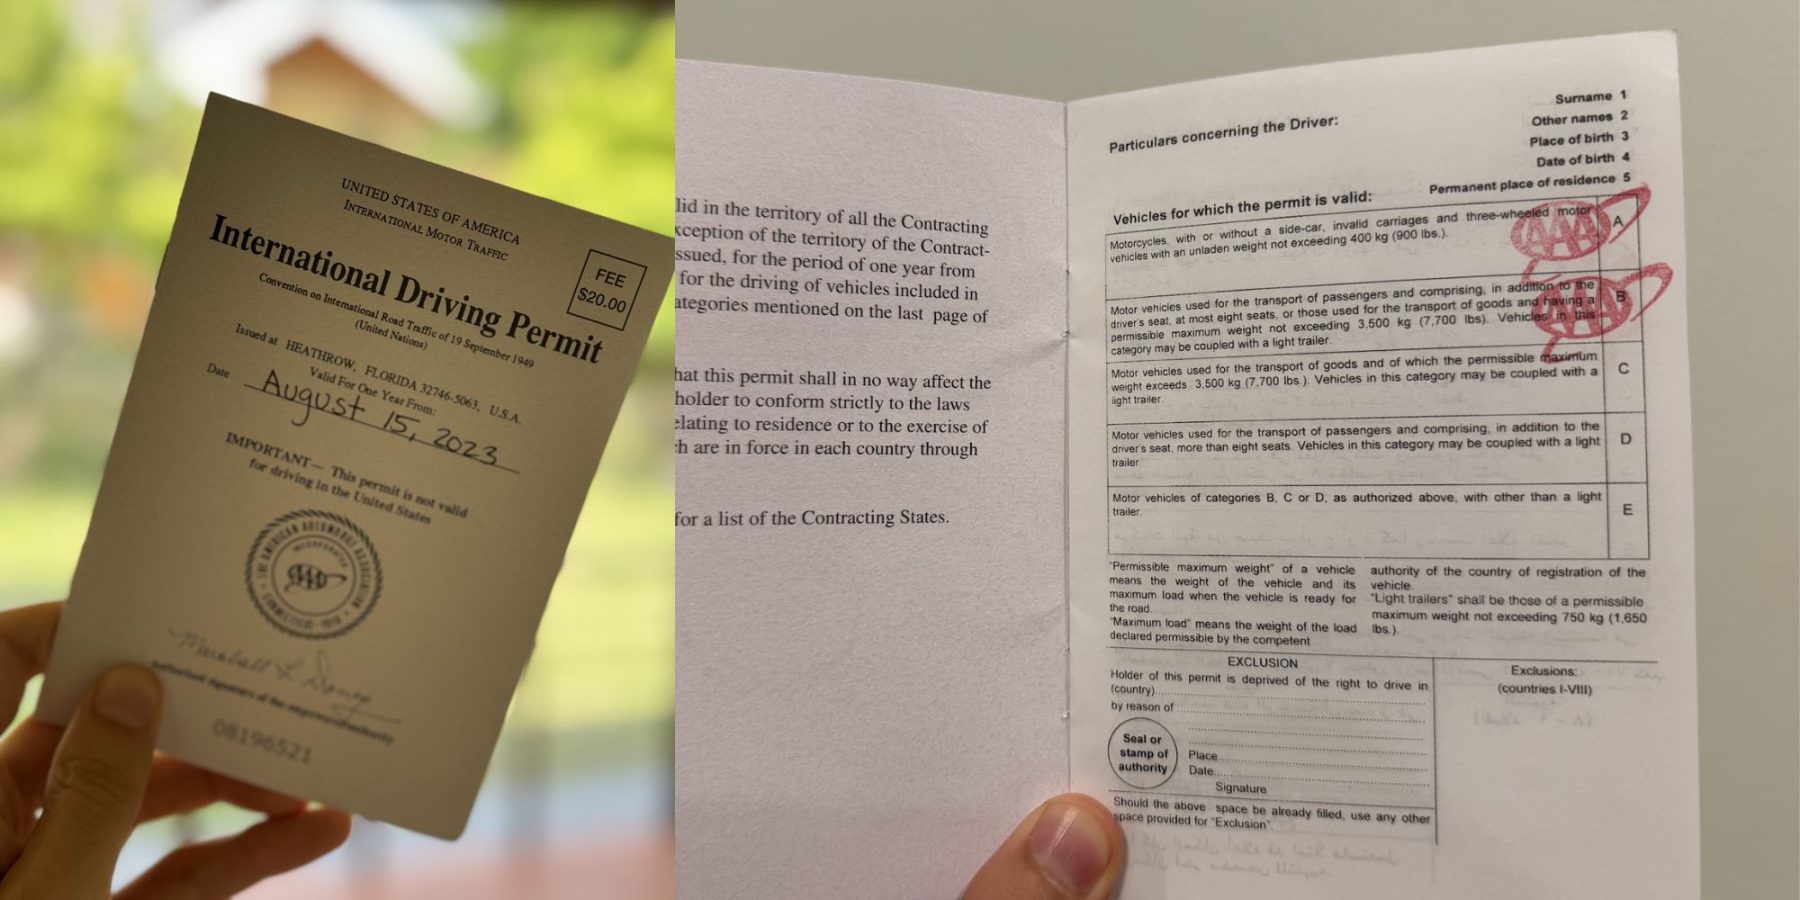
How to Obtain an IDP:
- Check Eligibility: Ensure your domestic motorcycle license is valid.
- Apply Before You Travel: You must obtain your IDP in the same country where your domestic license was issued. You cannot legally obtain an IDP once you are in Japan.
- Where to Apply: Typically, you can apply for an IDP through national automobile associations or other authorized motoring groups. For example:
- In the United States, you can obtain an IDP from the American Automobile Association (AAA) or the American Automobile Touring Alliance (AATA).
- In the United Kingdom, the IDP can be issued by the Post Office, the AA, or the RAC.
- In Australia, the Automobile Association (AA) provides this service.
- Required Documents: When applying, you’ll need to provide a completed IDP application form, your valid driver’s license, passport-sized photos, and a small fee.
Special Notes:
- Check the Motorcycle Class: Make sure that your IDP allows the operation of the class of motorcycle you plan to rent. Different countries categorize motorcycle classes differently, so verify that your IDP covers the specific type you intend to use in Japan.
- Carry Both Licenses: Always carry your domestic driver’s license along with your IDP when riding a motorcycle in Japan. Both may be requested by rental agencies or local authorities.
- Duration and Validity: An IDP is typically valid for one year from the date of issue. Ensure that your IDP will remain valid for the entirety of your trip. However, note that sometimes the IDP issuer will write a later start date on yours than the present day – I’ve had AAA do this in the past so that I could chain together two IDPs, essentially getting coverage for ~20 months from my last visit to AAA.
By ensuring you have the proper documentation, you can avoid any legal issues and fully enjoy your motorcycle adventure across Japan’s unique and scenic landscapes.
Type of Motorcycles Available for Rent
If you want it, Japan probably has it. Rental shops like Rental819 have Japanese and international models stationed all across Japan, so whether you want to ride a cruiser in Okinawa, a sportbike in Hokkaido, or a Monkey bike in Kyoto – you’re covered.
Here’s a quick rundown of the types of motorcycles available and their suitability for different regions and roads in Japan can enhance your riding experience:
Scooters
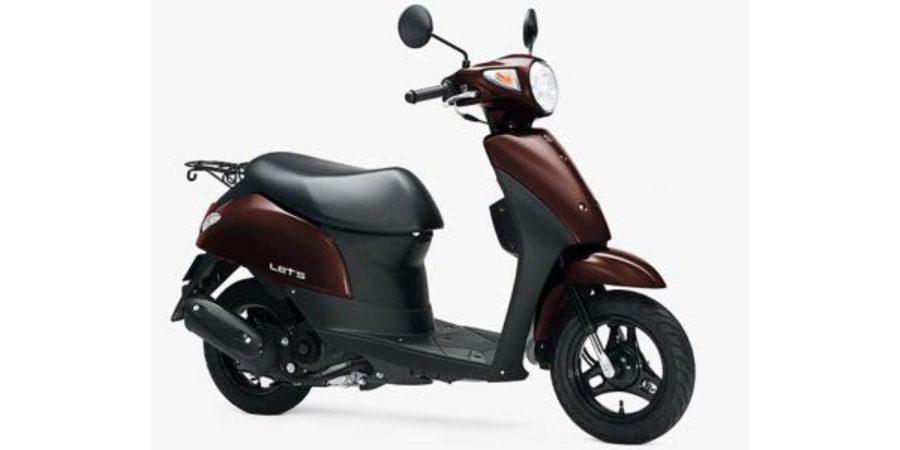
Scooters are a popular choice for getting around Japan’s metropolises like Tokyo, Osaka, and Kyoto for good reason. They’re small enough that you can park them pretty much anywhere (parking is a pain in Japan, more on that later) and you can navigating around city traffic easily. Road speeds are slow across the whole of Japan (like, 40kph slow), so a scooter is suitable for longer trips too – as long as you don’t mind taking it slow.
Be aware that scooters and motorcycles with 125cc and smaller engines are not allowed on expressways – in some cases that will completely change a ride or route.
Best For: Urban areas; perfect for quick trips around town or weaving through traffic. Suitable for longer trips if you’re going slow and not taking expressways.
Daily Cost: Expect to pay $15 – $60 USD per day for a scooter. The higher end will have 200-300cc scooters.
Standard and Sport Bikes
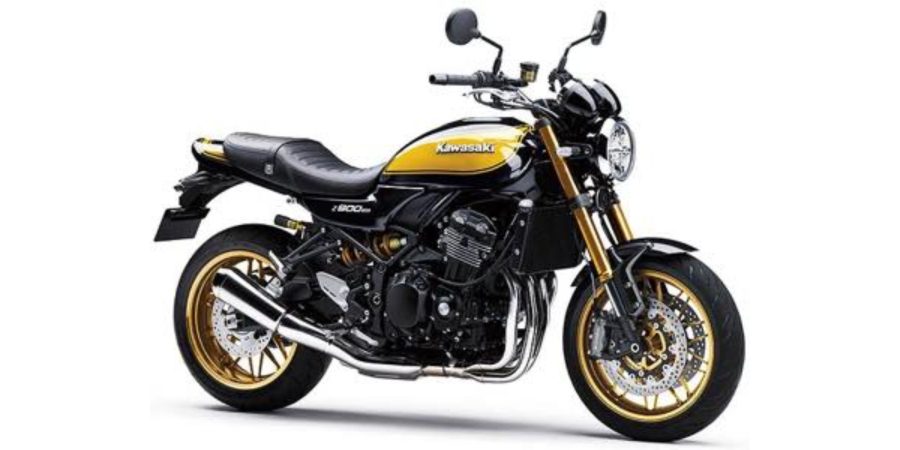
Standard and sport bikes are plentiful in Japan, ranging from ~250cc to 1000cc+, and are versatile for anything from city mazes to open road straightaways. Just depends what model you decide to ride, and what areas you take it. There are many classic bikes available as well, such as the neo-classic Honda GB350 single (only available in Japan).
Best For: Adventurous riders aiming for faster rides on highways or those seeking the thrill of Japan’s mountainous twists and turns, such as the famous Hakone Turnpike.
Daily Cost: Expect to pay $60 – $130 USD per day, depending on the model you choose.
Touring Motorcycles
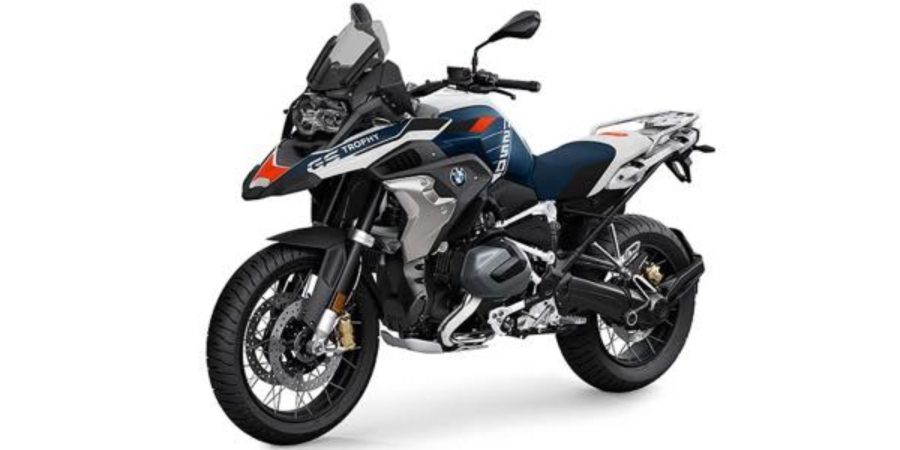
With larger engines and more comfortable setups, touring motorcycles are built for long distances. They often come equipped with amenities like saddlebags, comfortable seating, and advanced ride controls. You’ll find everything from BMW GS adventure tourers to Honda Goldwings and Harley Davidson Road Glides.
Best For: Long-distance explorations or riding with a passenger, particularly suited for touring the scenic routes like the coastal roads of Hokkaido or the historic landscapes of the Japanese Alps.
Daily Cost: Expect to pay $60 – $130 USD per day, depending on the model you choose.
Dual-Sport Motorcycles
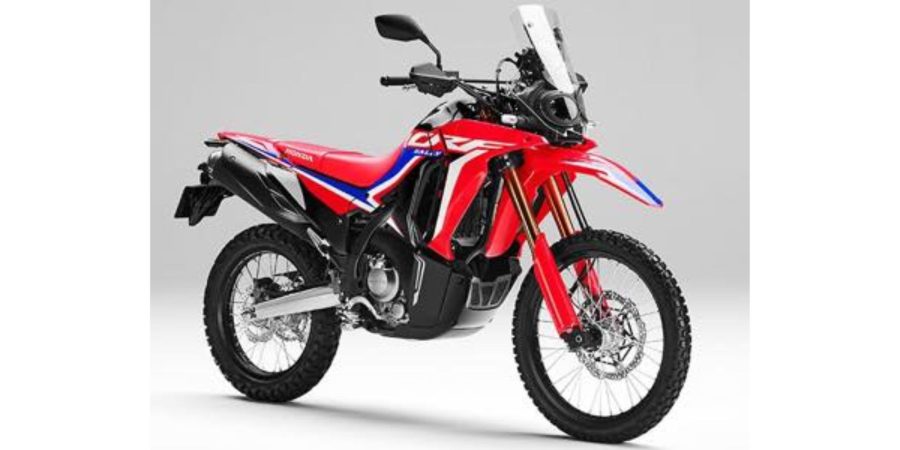
Dual-sport bikes like the CRF250 all the way up to the Husqvarna 701 are available in Japan and perfect for both on-road and off-road riding. They are an excellent choice for those planning to venture onto Japan’s less-traveled paths or rural areas. Be sure your rental agency knows you’re going off-road.
Best For: Riders looking to mix asphalt with trails. Great for exploring off-beaten paths in regions such as the forests of Otaru or Zenibako.
Daily Cost: Expect to pay $30 – $90 USD per day, depending on the model you choose.
Pick the right machine for your ride and you’ll have a much nicer journey through Japan. I’ve done it on a scooter and a 700cc – neither was the right machine. Next time I’ll do it on something in the 200-400cc range, or a Honda Monkey (because why not?!)
Costs for Motorcycle Rental in Japan
Renting a motorcycle in Japan is likely a lot cheaper than you imagined. Here’s how it all breaks down, from the type of bike you rent to duration and additional accessories to help you budget for your trip. For a full breakdown of what a motorcycle ride in Japan costs, check my ride report.
Average Rental Prices
- Scooters (50cc to 250cc): Typically range from ¥2,500 to ¥9,000 per day. ($15 – $60 USD)
- Standard and Sport Bikes (250cc to 1000cc): Prices generally start from ¥10,000 up to ¥22,000 per day. ($60 – $130 USD)
- Touring Motorcycles: Touring models from 200cc to 1000cc can cost ¥10,000 up to ¥22,000 per day. ($60 – $130 USD)
- Dual-Purpose Bikes: Expect to pay about ¥5,000 to ¥14,000 per day. ($30 – $90 USD)
Additional Costs
- Helmets and Gear: Some rental services include helmets for free, while others might charge from ¥200 to ¥1,000 per day. Additional gear like jackets and gloves may also be available for rent – you’ll just have to check with each shop. Also don’t assume all branches have the same services: smaller branches of Rental819, for example, do not have jackets, gloves, or any gear aside from helmets for rent.
- Phone Holders: Often you need to explicitly request these, but they’re cheap – from ¥100 to ¥200 per day if not free. I recommend you bring your own holder and install it on your rental, like I do with my Quadlock.
- GPS Units: For those planning extensive travel, renting a GPS can be crucial. Costs typically range from ¥500 to ¥1,000 per day.
- Side Cases and Extra Storage: For touring or longer trips, extra storage options like side cases can be rented for about ¥500 to ¥1,500 per day. Sometimes they are included with the bike at no extra charge.
- Insurance: Basic insurance is often included in the rental cost, but additional coverage for lower deductibles or more comprehensive protection can be added for an extra fee, usually around ¥800 to ¥2,000 per day.
- ETC Toll Card: Make sure you get this if there’s any chance you’ll get on the expressway! This makes it a breeze to ride through tolls – otherwise you’re fishing around for coins at every toll booth. Usually it’s free of charge to rent, but of course you’ll get a bill with the tolls you incurred.
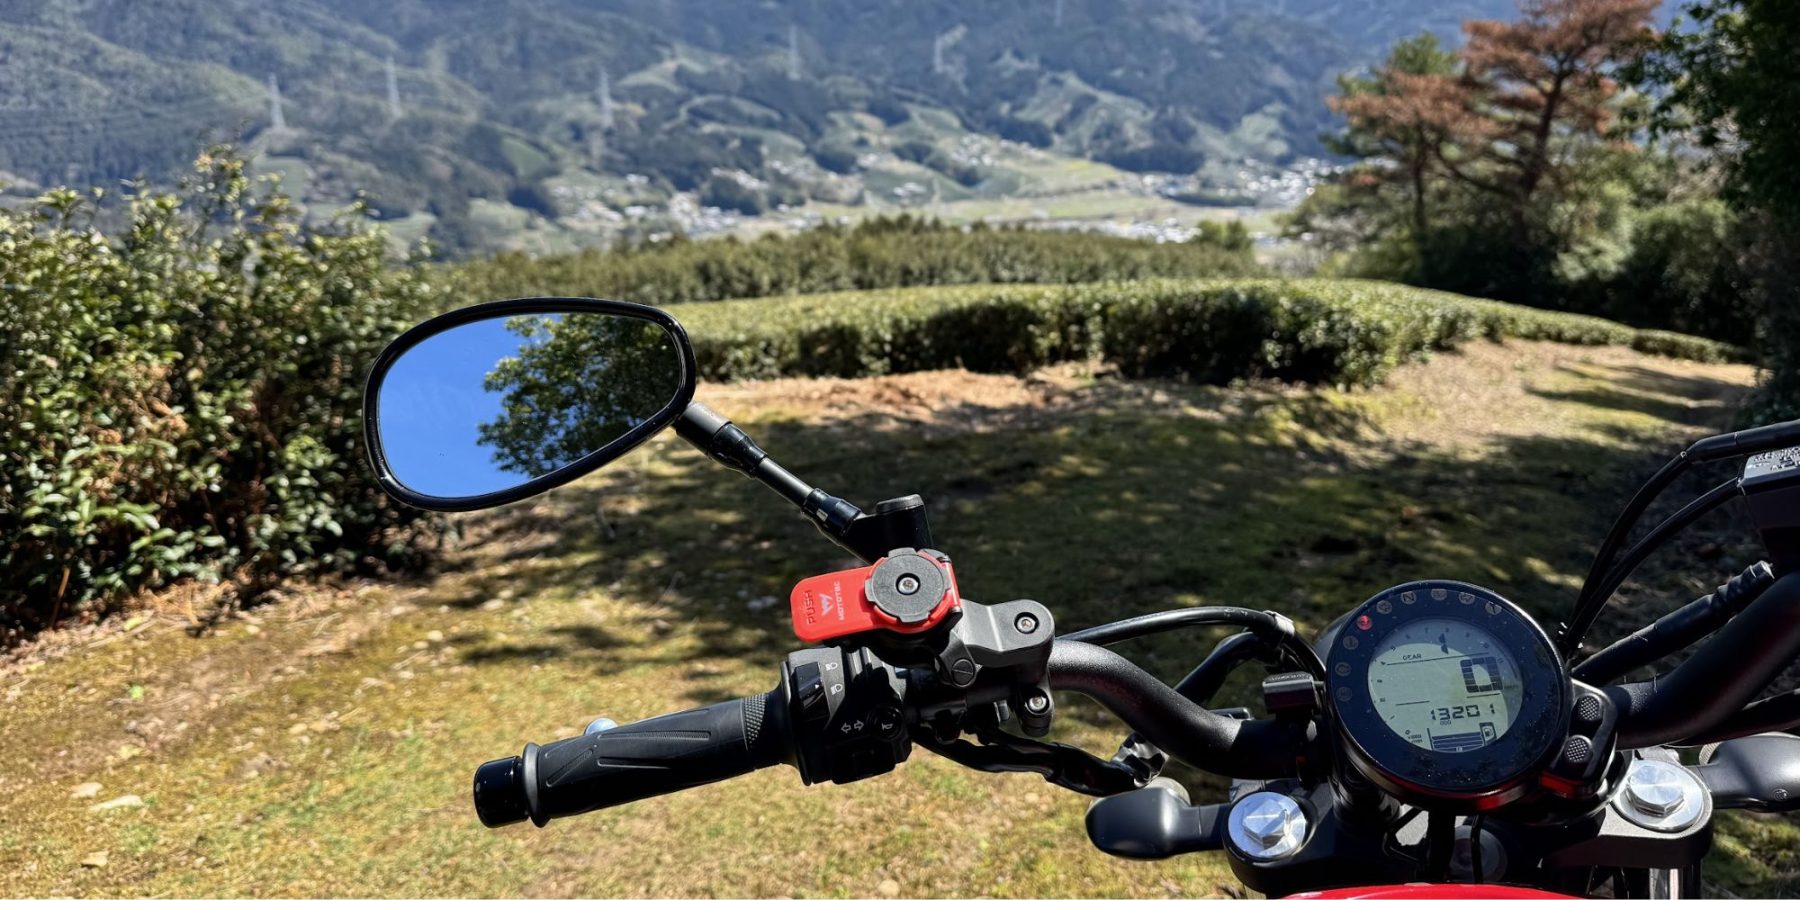
Tips for Getting the Best Deals
- Book in Advance: Especially during peak tourist seasons or around holidays, booking your motorcycle rental in advance can secure better rates and ensure availability.
- Compare Online: Use rental comparison websites to find the best deals across different rental companies.
- Long-Term Rentals: If you’re planning to ride for several days or weeks, look for deals on long-term rentals, which often come at a reduced daily rate.
- Check for Packages: Some rental companies offer packages that include gear, unlimited mileage, and insurance, which can be more cost-effective than paying for these separately.
- Ask About Loyalty Discounts: If you plan on returning or are renting multiple bikes, some companies offer discounts for repeat customers or multiple rentals.
By understanding these costs and planning accordingly, you can manage your budget more effectively so you can just enjoy Japan’s beautiful landscapes and roads. Keep these tips in mind to snag the best possible deal on your motorcycle rental.
Rental Process: How to Rent a Motorcycle in Japan
Renting a motorcycle in Japan involves several important steps. Understanding each part of the process ensures a smooth experience from start to finish.
Make sure you understand the whole process before you start making bookings. As I said earlier, Japan is not a place where you can skirt around rules easily.

Here’s a comprehensive guide:
Step 1: Choose a Rental Company
Look up reputable motorcycle rental companies in the area you plan to visit. Websites, reviews, and forums can be great resources to gauge reliability and customer satisfaction. Rental819 is likely the most well-known service – you can go direct to them with their English-language website (language toggle is at the top) and they have 100s of branches across Japan.
Step 2: Select Your Motorcycle
Based on your riding skills, route, and preferences, choose the type of motorcycle that best suits your needs (e.g., scooter, sport bike, touring bike). Don’t just get the biggest / fastest / coolest bike you can; keep in mind Japan’s roads can be very narrow, the traffic generally moves at slow speeds, and there’s a lot to see in a small area. Sometimes a smaller bike can be even more fun here.
Step 3: Gather Necessary Documents
Do not skip this step. Repeat after me: do. not. skip. this. step!
Bring these when you pick up your motorcycle.
- Your national motorcycle license: A license from your home country that certifies you are legally able to ride the class/size of motorcycle you’ve rented in Japan.
- International Driving Permit (IDP): You must have an IDP (1949 Geneva Convention) alongside your valid national motorcycle license. Make absolutely sure it has the stamp for motorcycles on it.
- Passport: A valid passport is required for identity verification. Every rental shop will ask for thi
- Credit Card: Most rental companies will require a credit card for the security deposit.
Also, understand the age restrictions. If you’re over 21, you won’t have any problems. But if you’re younger than that (first of all super badass that you’re about to ride in Japan) but check with the rental companies on what you are or are not allowed to rent. Don’t assume all is good and show up guns blazing to pick up a rental reservation – as you might be flat out denied!
Step 4: Choose Insurance Options
Basic coverage usually includes third-party liability and may cover theft or damage with a deductible. You can also add optional insurance for lower deductibles, comprehensive coverage, and personal accident insurance. Discuss these options with the rental company to understand the coverage limits and extra costs.
Step 5: Review and Understand the Rental Agreement
Read the rental agreement carefully. Pay attention to terms regarding rental duration, mileage limits, return policies, fuel policies, and penalties for late returns. Ask for this in advance so you don’t run in to surprises come pickup time.
Step 6: Inspect the Motorcycle
This is basic knowledge for any vehicle rental, but before taking possession of the motorcycle, inspect it thoroughly for any existing damages. I usually record a video while walking all the way around the bike to capture any little glimmer from existing scratches. Pictures work too, but sometimes you miss an important angle.
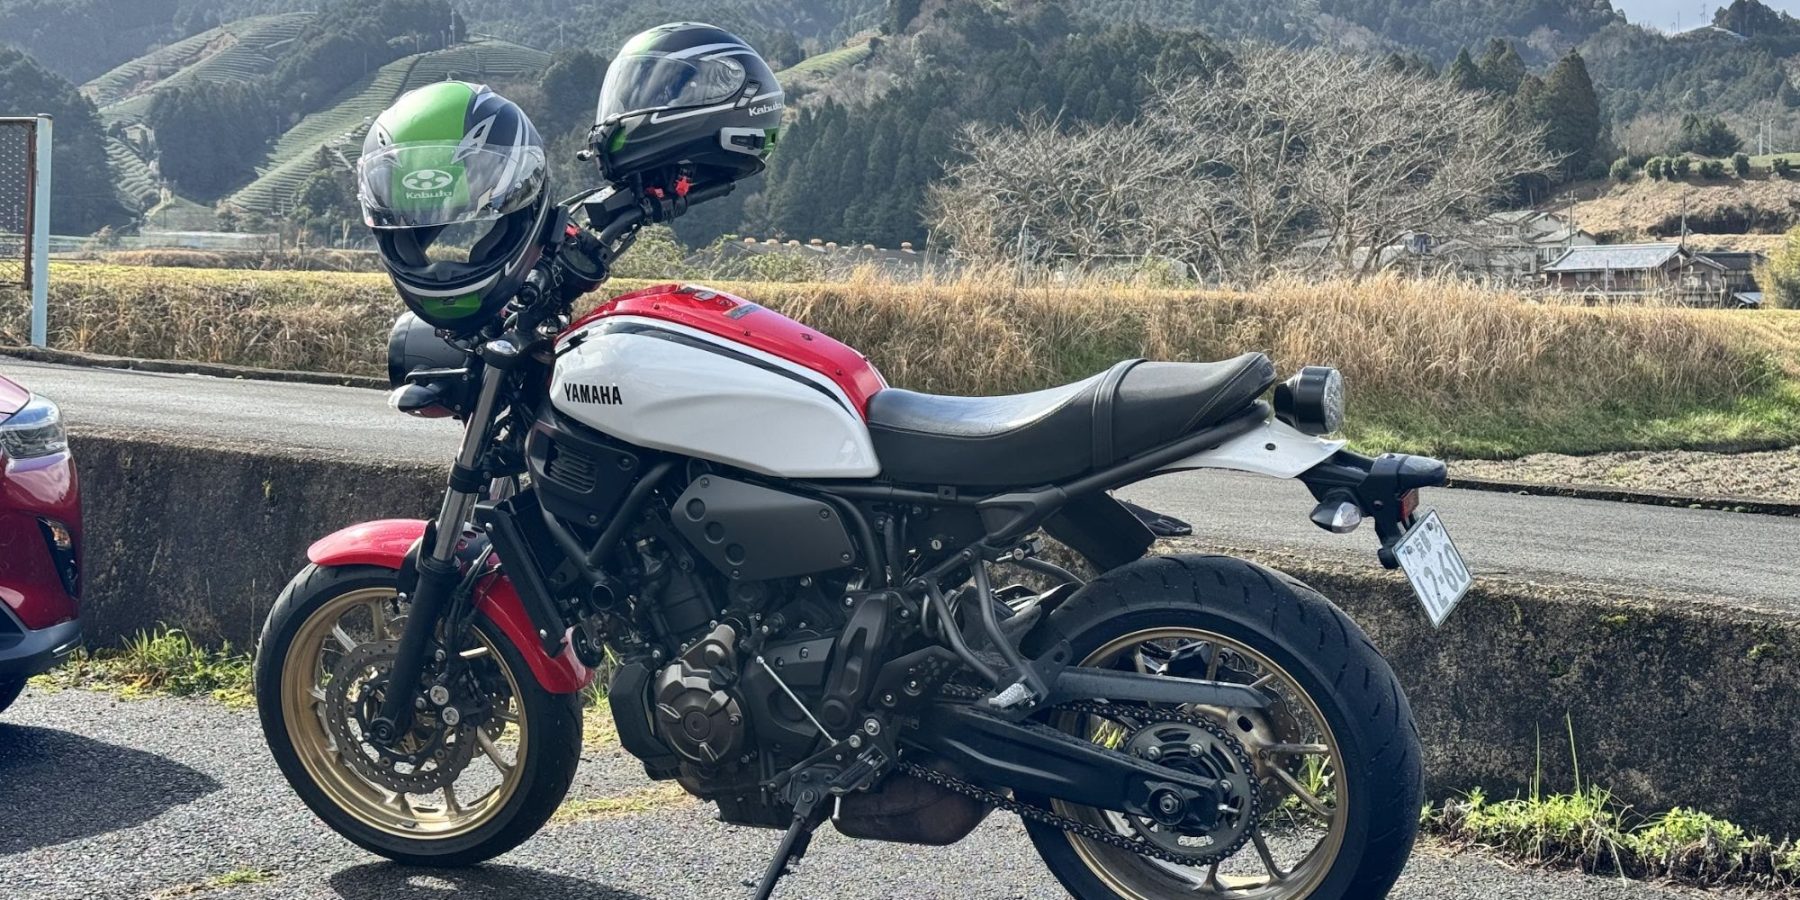
Also, ensure that basic functionalities such as brakes, lights, and indicators are working properly. Check the fuel tank too and make sure you understand how much fuel you need to return the bike with. Rental shops often charge a hefty surcharge if they have to top up the tank for you.
Step 7: Pay Security Deposit
The security deposit can range widely, usually from ¥10,000 to ¥50,000 ($60 – $300 USD), depending on the motorcycle type and rental duration. This is often held on your credit card and released upon safe return of the bike.
Step 8: Hit the Road
Collect the keys and any documents the rental shop gives you (Rental819 gave me a veritable novella last time I rented) and keep these safe throughout your trip. Don’t forget any of the extras (phone holder, GPS, saddlebags), or your ETC toll card!
That should make your motorcycle rental experience in Japan completely hassle-free.
Road Rules and Etiquette in Japan
It’s better you know these now (especially #1) so you know what you’re getting in to with a ride in Japan. Overall this country is incredible for riders, from the pristine road conditions to twisty mountain passes and beautiful small towns dotted throughout the islands. However, there are few things you need to know to make your journey safe and enjoyable.
Driving on the Left
Traffic Direction: In Japan, driving is on the left side of the road, opposite to what you may be used to (like my American brothers). Keep to the left in your lane and use the right side for overtaking only. Ensure you’re comfortable with this arrangement, especially at intersections and roundabouts.
Speed Limits
Urban areas typically have speed limits of 40-50 km/h, while expressways can range from 80-100 km/h. Always observe local speed limit signs as they can vary depending on the area. Be aware that motorcycles under 125cc are not allowed on expressways.
Parking
You cannot park wherever you want in Japan, unfortunately. Look for designated bicycle / motorcycle parking areas and pay the (low) fees to park there. Many of these lots have tons of space for bicycles, a bit for 125cc and under motorcycles, and a few for big bikes.
Parking is only really an issue within major cities like Tokyo, Osaka, and Kyoto. Outside you’re more likely to be okay with an “anything goes” parking style.
Expressway Tolls
Motorcycles are subject to tolls on expressways. Tolls can be paid at manned booths or via automated machines. Carrying a toll card or electronic toll collection (ETC) device makes this much easier.
Petrol Stations
Many stations are full-service, where attendants will fuel your bike. Simply open your fuel tank upon arrival and let the attendant know how much fuel you need. To check if they take credit card, just say “Card-o”.
At self-service stations, follow the instructions on the pumps, which are often also available in English. Or, you can Google Translate with your phone’s camera (make sure you have internet access!)
Emergency Information
Be safe out there. Dial 110 for police assistance. Dial 119 for medical emergencies or fire.
Useful Japanese Phrases
Never hurts to have these in your back pocket.
- Thank you: “Arigato gozaimas”
- Asking for Help: “Tasukete kudasai” (Please help me)
- Finding a Petrol Station: “Gasorin sutando wa doko desu ka?” (Where is a gas station?)
- Road Directions: “___ e no michi o oshiete kudasai” (Please tell me the way to ___.)
- Reporting an Accident: “Jiko ga okimashita” (An accident occurred)
Still have more questions?
Japan is one of the best places to ride in the world, but it’s not well known. I’m working on a comprehensive guide to riding a motorcycle in Japan, including pre-planned routes, packing guidance, and rental deals – if you’re interested, let me know on the page below.
You can always get in touch with me at evan@itsbetterontheroad.com as well – I’m happy to help.
The post Renting a Motorcycle in Japan: Complete Guide [+ Best Shop] first appeared on It's Better On The Road.
]]>The post Riding Motorcycles in Thailand: Nirvana or Death Wish? first appeared on It's Better On The Road.
]]>DISCLAIMER
This document is for entertainment purposes only and is written from my personal experience and views. It is not intended to be taken seriously or to make fun of any drivers or riders in Thailand. For the most part the driving practices work well in Thailand. It’s only when you add distraction, alcohol, drugs, lack of helmets and poor vehicle maintenance into the mix that bad things – very bad things – happen.
Leave your white privilege at the door because you ain’t in Kansas anymore Toto.
By the numbers, traveling by road in Thailand is one of the most dangerous things you can do: there are on average 40 deaths on Thai roads… per day! This is the wild west of driving.
So why on Earth would you even consider such a crazy thing?
Well the short answer for me is: how the hell am I supposed to get to the 7/11 to buy beer and a toastie without driving?

Sure I could take a Grab (the Uber of Thailand), but there is no better feeling than getting yourself to your destination under your own steam. Thailand is an extremely beautiful place and it needs to be explored.
So the following are some tips and observations to make your experience in Thailand safer and more enjoyable. That said, if you read this then come and drive in Thailand and get injured or die: it’s nobody’s fault but your own. I just want to share some experiences that kept me safe.
First the Legal Stuff: Licensing
Do you have a license to operate the vehicle you wish to use?
To legally drive in Thailand you need to have the appropriate license from your home country and also an IDP (International Driving Permit), which you can get in your home country. You can’t get it in Thailand unless you have a 5 year Thai driver’s license (which you can only get after first getting a 1 year!) so don’t wait! Do it now.
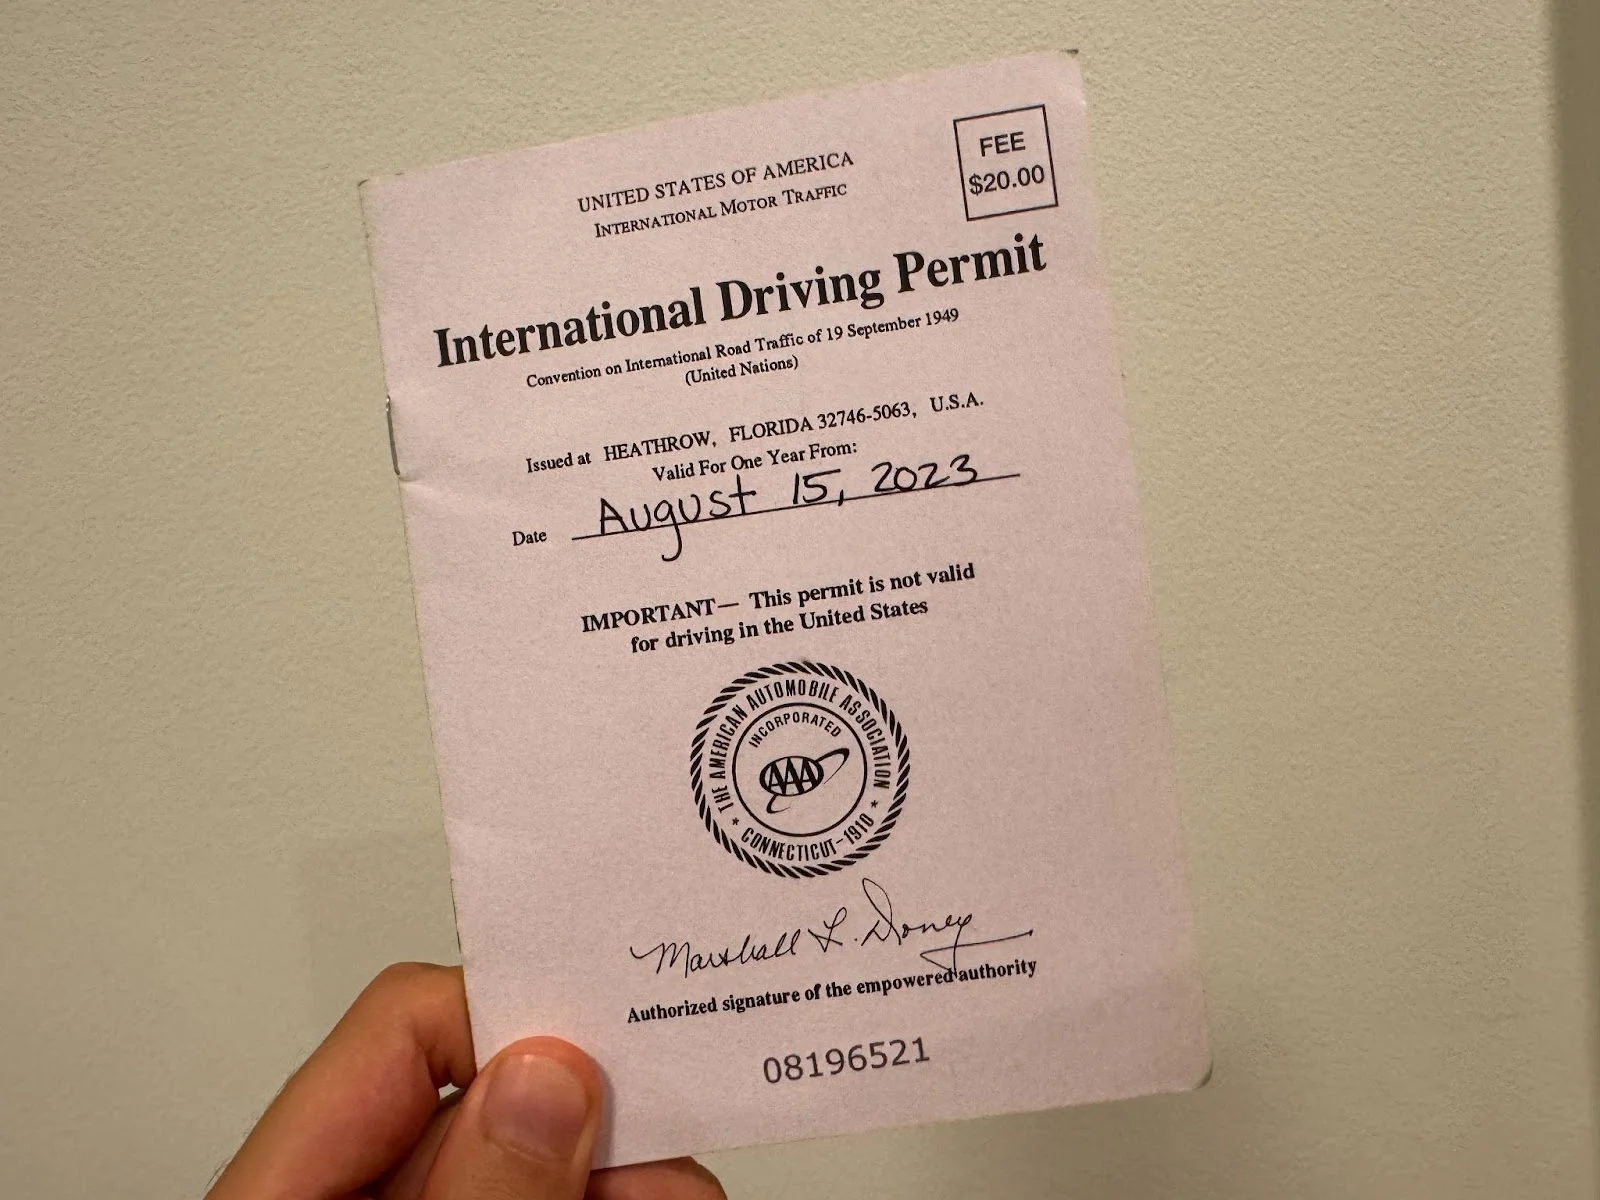

Insurance, including travel insurance if you are just here on holiday, isn’t compulsory. That’s where Go Fund Me comes in… almost everyday I see Go Fund Me’s set up for people that come to Thailand, rent a scooter and go off exploring with the throttle wide open thinking they are invincible. They quickly find out they are not, and end up wrapped in bandages for the rest of their trip.
Don’t be an idiot: pay the money for some insurance. If you can’t afford it, at least run a Go Fund Me for the insurance before you leave for your trip to Thailand.
Rules of the Road
Well what about the road rules, I hear you say… Yes, Thailand has many road rules just like every other country. The difference here is they are mostly treated like guidelines.
Here’s a common sight: You are at a red light, there are no other cars/bikes around so it is safe to continue through the red light. In the West, nobody moves. If you do, you’re usually caught on camera and fined. In Thailand, you’ll often see people just go – even when there is a camera. Which honestly makes sense (if you truly can see there’s no traffic) because in the end aren’t we all adults capable of intelligent thought?
Driving on the Left… Mostly.
It is important to always remember to stay to the left as that is how it is done here in Thailand, usually. Quite often you will see cars or motorcycles traveling down the wrong way of the highway – this is something you just need to accept. Fact of life. Move along.
Now when I say drive/ride on the left it sometimes needs to be the extreme left of your lane as drivers here love to overtake slower vehicles. Especially if you are riding a motorcycle it is in your best interest to move over and create space. A passing truck might use all of it.
If someone is too close behind you, they are saying something loud and clear: MOVE OVER. You are holding them up, and they are too polite to honk or flash their lights. So they’re waiting for you to notice them.
I suggest you make some room and let them pass, because if you need to brake suddenly you may find you have a pick up truck trying to make sweet sweet love to you without your consent. You can’t always trust their brakes will work or their eyes are on the road.
Now for those of you from the West (remember I said check your privilege) this can seem scary, rude, and inconsiderate but it’s how it works here. Move over and create some space, for your own good. Once you have been driving here for a few months you don’t even notice it and just move over so everyone can get where they are going at whatever speed they choose to do it at.
Which brings me to my next point…
Driving and Riding Speeds
“I feel the need, the need for speed…….”
Yes there are speed limits on Thailand’s roads. Some are clearly marked, but others you won’t have a clue what that is. My guess is the powers that be think you are smart enough to travel at a safe speed for the conditions.
You will find in your explorations that there are essentially 3 speeds that people in Thailand drive at.
First: Slow AF. I am always surprised by the amount of people that will travel at half the speed limit. Sure Thailand is a relaxed place to live, but some people go so slow they are almost going back in time. Be aware of them as they can cause other road users to brake suddenly or overtake them aggressively.
Second: The speed limit. Welcome, normal people. They do sometimes seem to be the minority but good for them being “responsible” citizens and following that rule.
Third: Warp speed. Not only reserved for the 1000cc sport bikes enjoying the racetrack-like roads in the North of Thailand, pickup trucks delivering goods will also compete for fastest road warrior.
The Warp Speed drivers will drive 50% or more over the speed limit on bald tires while massively overweight carrying watermelons. You might even see one of these trucks on its side on a twisty mountain road. The small bonus here of course is free watermelon.
The sad topic of crashing brings me to my next point. When you’re riding a motorcycle in Thailand, what should you wear?
Protective Gear when Riding a Motorcycle in Thailand
Thailand is full of squids… (if you know, you know)
In the West you constantly hear ATGATT (All the gear all of the time). Where that of course is the goal in a perfect world, it’s just not practical in a country as hot as Thailand or for those five daily short trips to 7-11.
You’re likely to find the norm here is T-shirt, shorts and flip flops. Helmets are an optional accessory and worn even less in the evening after the traffic police have finished for the day. My guess is around 50% of people wear helmets, that percentage drops to about 25% for children riding on the back of bikes.
Now you might freak out about this but remember people here have been riding ALL of their lives and for many it’s their only form of transportation – so they are pretty good at it. You have to be when you’re bringing home the weekly shopping from Makro (basically Costco) on a 110cc scooter.
If you are a visitor here with little or no riding experience the idea of riding free without a helmet or even shirt may sound romantic but… Apart from the sunburn, the road here absolutely loves to chew up tourists who forget their riding a small rocketship for a split second and come off.
Just go for a walk along the Pai walking street in the evening and see all of the tourists wrapped up with white bandages.
Please wear at least a helmet and gloves, but hey, you’re an intelligent adult and can think for yourself.
Traffic Police
Traffic policing here is an interesting mix of genuine policing and topping up of monthly earnings. If you look like a tourist and you are riding in one of the many popular tourist destinations, prepare to come across a traffic stop or two.
If you aren’t licensed you will be fined. If you are licensed but don’t have an international driving permit… fined. If you aren’t wearing a helmet… fined.
Seems simple enough yet many people come to Thailand without proper licensing. And of course lack of proper license invalidates your travel insurance if you were smart enough to purchase that in the first place.
The best way to deal with the police should you be pulled over is to remain calm and polite. As they say, “you catch more flies with honey than vinegar.” The Police are quite nice and are extremely polite if you are doing the right thing.
Also note, there is no value in pointing out to the policeman all of the people going passed not wearing helmets, no license plates and bald tires. After you’re pulled over, the police are only focused on you.
If you aren’t doing the right thing it’s time to pay your due. Some police will ask you to pay the fine on the spot, others will write you a ticket. What you choose to do in these situations is on you.
Blindly Entering the Road
Well if I look to the right I might see what is about to hit me!
This is such a constant here: drivers and riders, many without helmets or even closed-toed shoes, just don’t seem to look to the right before entering a road. They just go for it. Cajones.
So if you see a vehicle poking out of a driveway on your left seemingly about to turn left, assume they aren’t “about to turn left” – they are actively turning left and merging into your lane. So you need to brake or go around them. Which leads me to my next point.
Overtaking and Undertaking
In the West we don’t tend to pass people on the left (or right if you live somewhere that drives on the right (wrong) side of the road), but here you’ll find it’s normal. Don’t be surprised when a teenager goes flying past you on the left; especially if you drive like you’re carrying a month’s worth of groceries on a 110cc scooter.
Basically if someone wants to pass you and there is a gap – anywhere – they will pass. Let them. Don’t get your panties in a bunch over it or any other weird practice you find here. Just like honey and vinegar with the police… anger won’t help.
A nice thing I’ve noticed: when you’re following a slow truck on a small road and looking to pass, they may flash their left indicator if it’s safe to overtake and flash the right if unsafe. Of course don’t take their word for it blindly: check for yourself too.
Road Conditions
Thailand has some of the most enjoyable roads to ride and drive on, ranging from racetracks to goat tracks. Generally the roads are very good – well paved and marked.
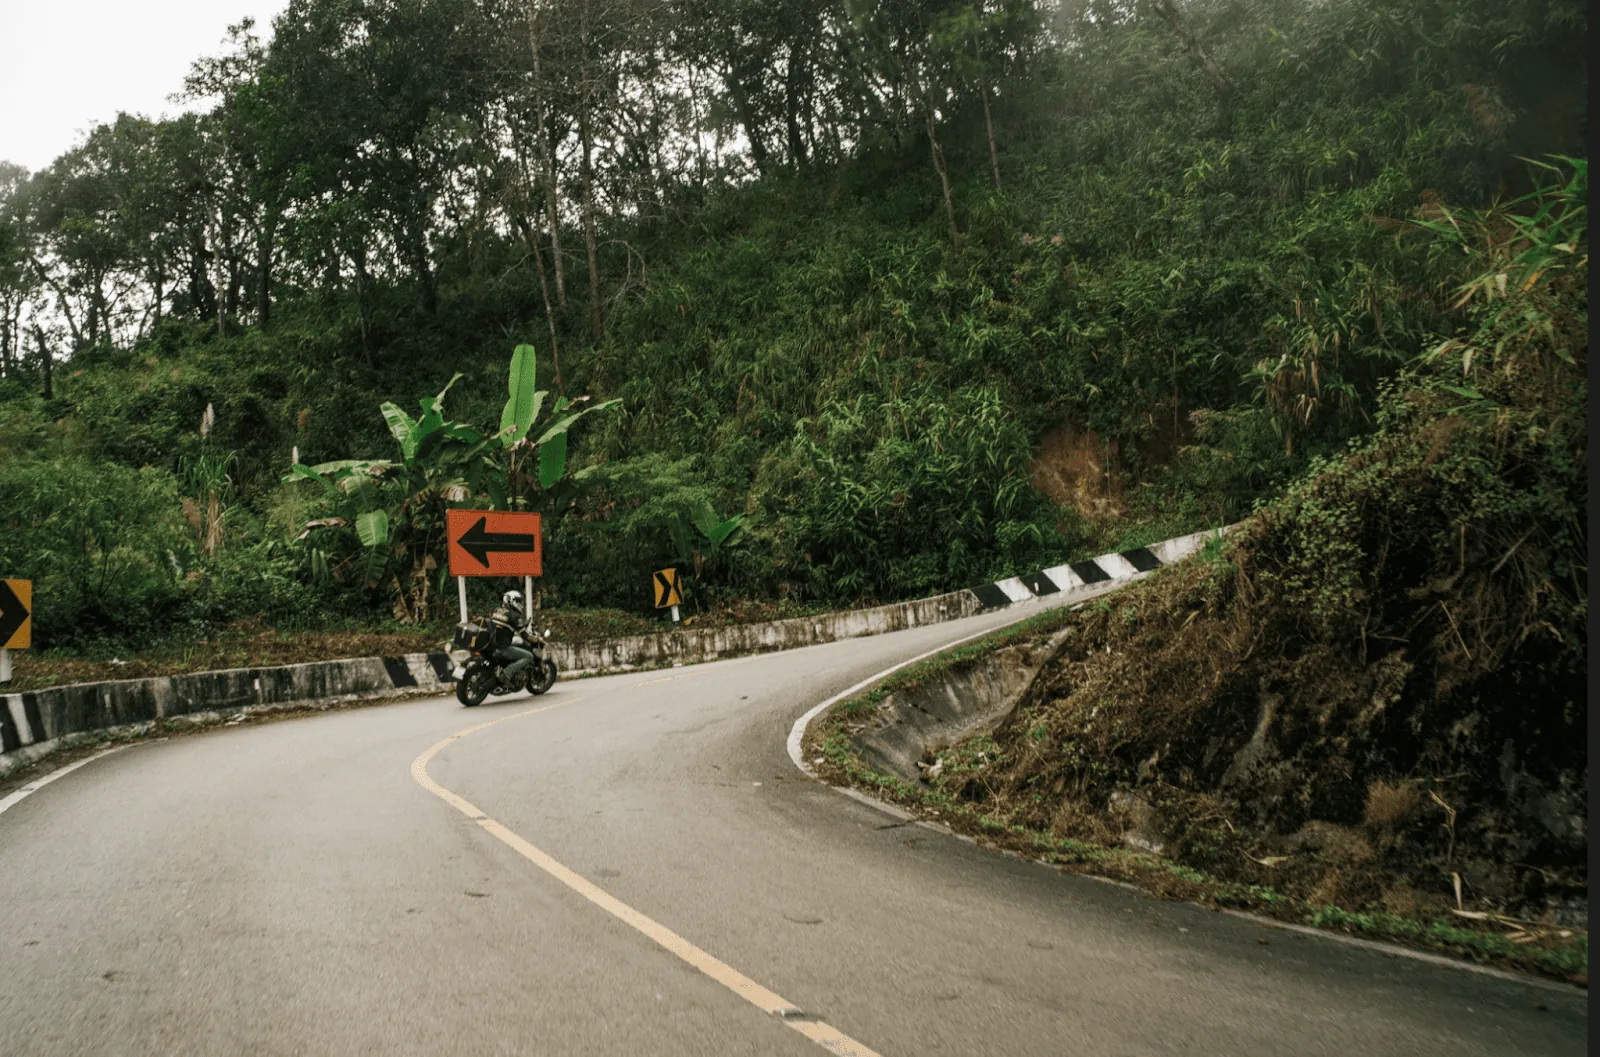
However some of the roads are so heavily used that they get very smooth and shiny – and therefore slippery, no matter how good your tires are. Personally I’ve had my back wheel spin taking off from traffic lights and I use quality tires.
You may also find on major highways that asphalt ripples at the edges of the road due to the weight of all the trucks barrelling down them day and night. Be careful, especially on a motorcycle. At high speeds, those ripples and throw you off the road.
Traffic Lights
Red means stop, green means go….. kind of.
So even the dumbest road users understand the concept of traffic lights and that is no exception here in Thailand. However, there are some subtle differences……
Green means go, but don’t be so gung ho. If you are at a red light and it turns green, give it a second before you speed off or else you might find yourself T-boned by a driver running the newly red light. Orange/Amber (for God’s sake at your Thai driving test don’t call it amber – you will fail as amber isn’t a color in Thai. It’s orange, ok, got that?)… I digress.
Orange, to many drivers here, means speed up before it’s red or speed up so it hasn’t been red for long.
Red means stop, but….if it’s clear and there are no cameras or police it can also mean go.
Lights with turning arrows are always fun here too: so you want to turn right and the light and right arrow turns green. Careful… the same may have happened on the other side so you now have oncoming traffic even though you have a green arrow. Remember you checked your white privilege at the door? It’s just the way it is here so ALWAYS proceed with caution.
Headlights, Tail Lights, and Turn Signals
If I had a dollar for every car or motorcycle I have seen at night without headlights or tail lights I would be a very rich man. Some say this is a deliberate act so the ghosts can’t follow them home but I think it comes down more to poor maintenance.
Keep your eyes wide open at night. Also useful to keep them open for the drivers that have had a few too many lao khao (rice whiskey) shots on their way home.
As for indicators, if you drive a BMW you will fit right in…
Something I have noticed is that many riders and drivers either
a) Do not indicate before changing lanes or turning
b) Leave one indicator on constantly so they are doing the right thing 50% of the time
c) Indicate for the wrong direction.
This is important to be aware of: you can never trust an indicator here. It is instead best to watch to see if the bike or car is slowly changing lanes or slowing down to turn. This isn’t a ‘sometimes’ occurrence – like eating a whole tub of ice cream – but a common one, to the point that now I just ignore peoples’ indicators completely.
Gargantuan Truckloads
It is truly astonishing how much can fit in a truck, pick up or scooter here. I’ve ridden in many countries around the world but Thailand wins this prize.
It isn’t unusual to see loads so high that they need a person on top to lift power lines up so they can continue on, or carry so much weight the suspension is compressed all the way down. Loads sticking out the back are also very common and if you are lucky they will attach a red cloth or old t-shirt as a warning.
Caption: No red cloth. Come on!
That doesn’t make it any less scary when you notice the load is a couple hundred slash cut lengths of bamboo waiting for a Final Destination moment.
I personally give them a wide berth as it is only a matter of time. Be aware that these vehicles will need a little more space, and be careful overtaking them on bends as their cargo might stick out or they may roll on their side.
How Many People Fit on a Scooter?
Five is the most I’ve seen so far, but I am patiently waiting for someone to break that record. It’s 28 in the back of a pickup. They make it work: the family needs to get to the temple and make merit.
Personally I rode three-up with Western sized folk and wouldn’t recommend it. But it is a common sight to see three people and maybe a dog as well.
Every Animal in the Road
Live free all beings, but maybe stay off the road.
Sadly the roads, especially near villages, are favorite sunning spots for dogs and crossing paths for livestock. Interestingly most animals have developed some road sense and will move out of your way, but not all.
How embarrassing would it be for your trip to be cut short because you hit a chicken?
Thailand is a place where you must take responsibility for your own actions: “It’s not my fault, a chicken ran out on the road” doesn’t make for a good argument here. Drive and ride to the conditions always, and never expect the road to be clear around the next bend. Someone’s dog might be getting their tan on over there – and they for sure will not move for you.
Distracted Driving
Mobile phones and obscured vision due to overloading are common distractions here. Yes, mobile phone use while driving is illegal, but that doesn’t stop people from watching videos while driving. So again, pay attention to what is around you and never assume they have seen you.
Bloody Tourists
I touched on this earlier: tourists are some of the most dangerous road users here as they are not used to the conditions or “etiquette” here.
Very little experience and riding as fast as their scooter will go, cutting corners and having little regard for what’s going on around them is a dangerous combination.

I find them more dangerous on the roads than errant water buffalo, but hey, their GoPro video will make for a great Tik Tok that no one cares to watch.
Driving in the Rain
I was surprised to see that wet roads do not slow anyone down here… Even after the first rains following the dry season, when the roads are slick with months of oil build up, Warp Speed is still a popular option.
Add that to possible bald tires and now you need eyes in the back of your head. If it’s raining, proceed with caution and keep an eye on your mirrors.
Still the BEST Place to Ride
That all said, I moved to Thailand to enjoy some of the best motorcycling roads in the world and wouldn’t have all of the madness any other way.
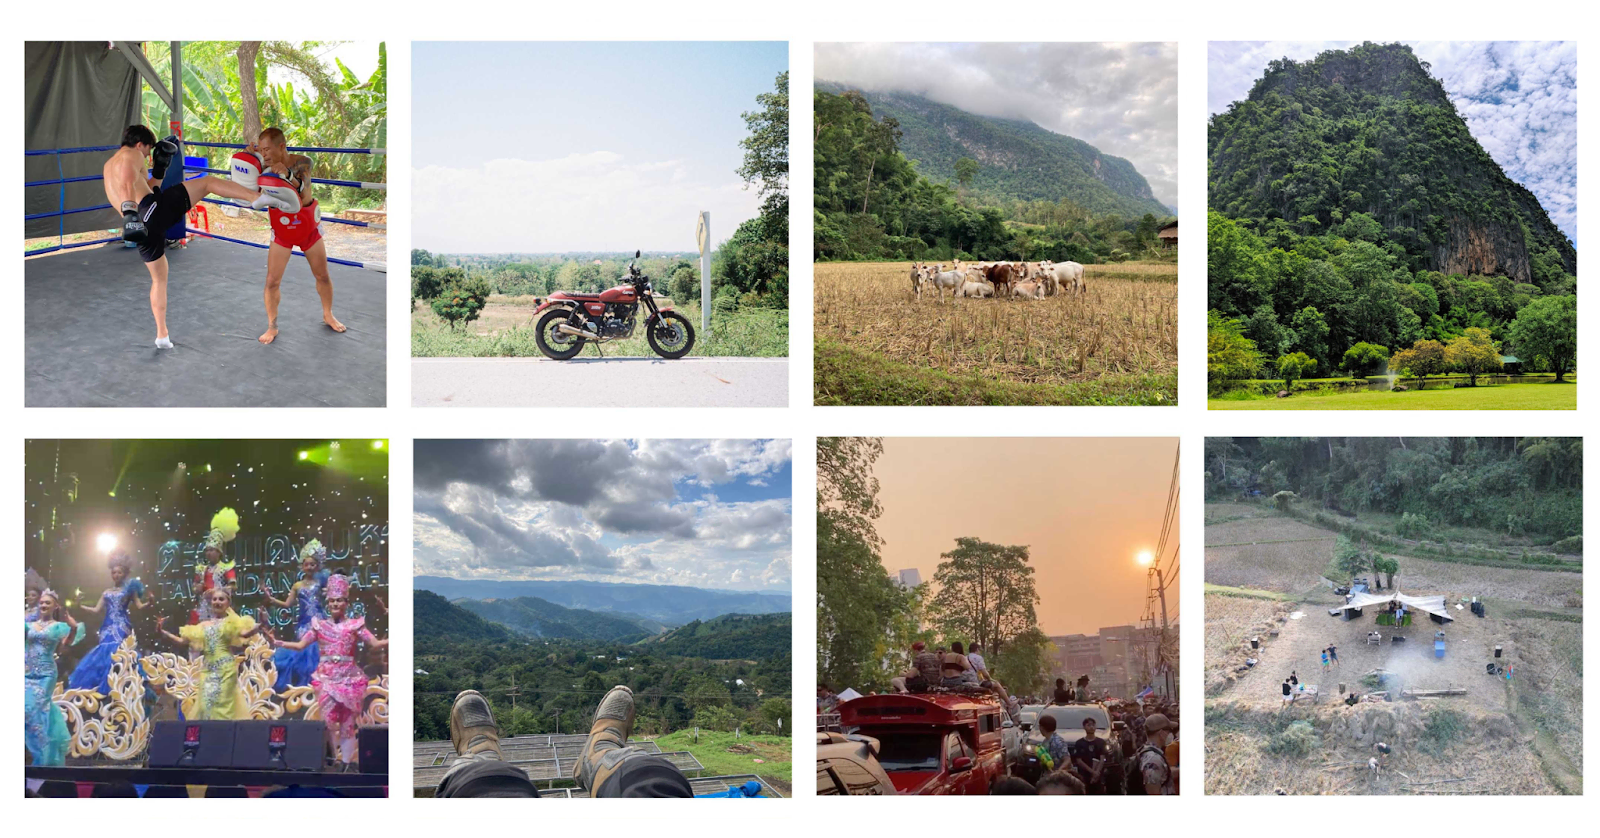
It can be a truly magical place to ride due to the freedoms, scenery and road quality. But you have to always remember: you are responsible for your own safety. There is no overbearing government “looking after you for your own good”. Take that responsibility and enjoy all the freedom that comes along with it!
The post Riding Motorcycles in Thailand: Nirvana or Death Wish? first appeared on It's Better On The Road.
]]>The post Can I Listen to Music on a Motorcycle? first appeared on It's Better On The Road.
]]>Mixing listening to music with your motorcycle rides might not be to everybody’s tastes, but it’s pretty common. On long rides down straight roads, music can help keep the trip interesting and give you something to focus on.
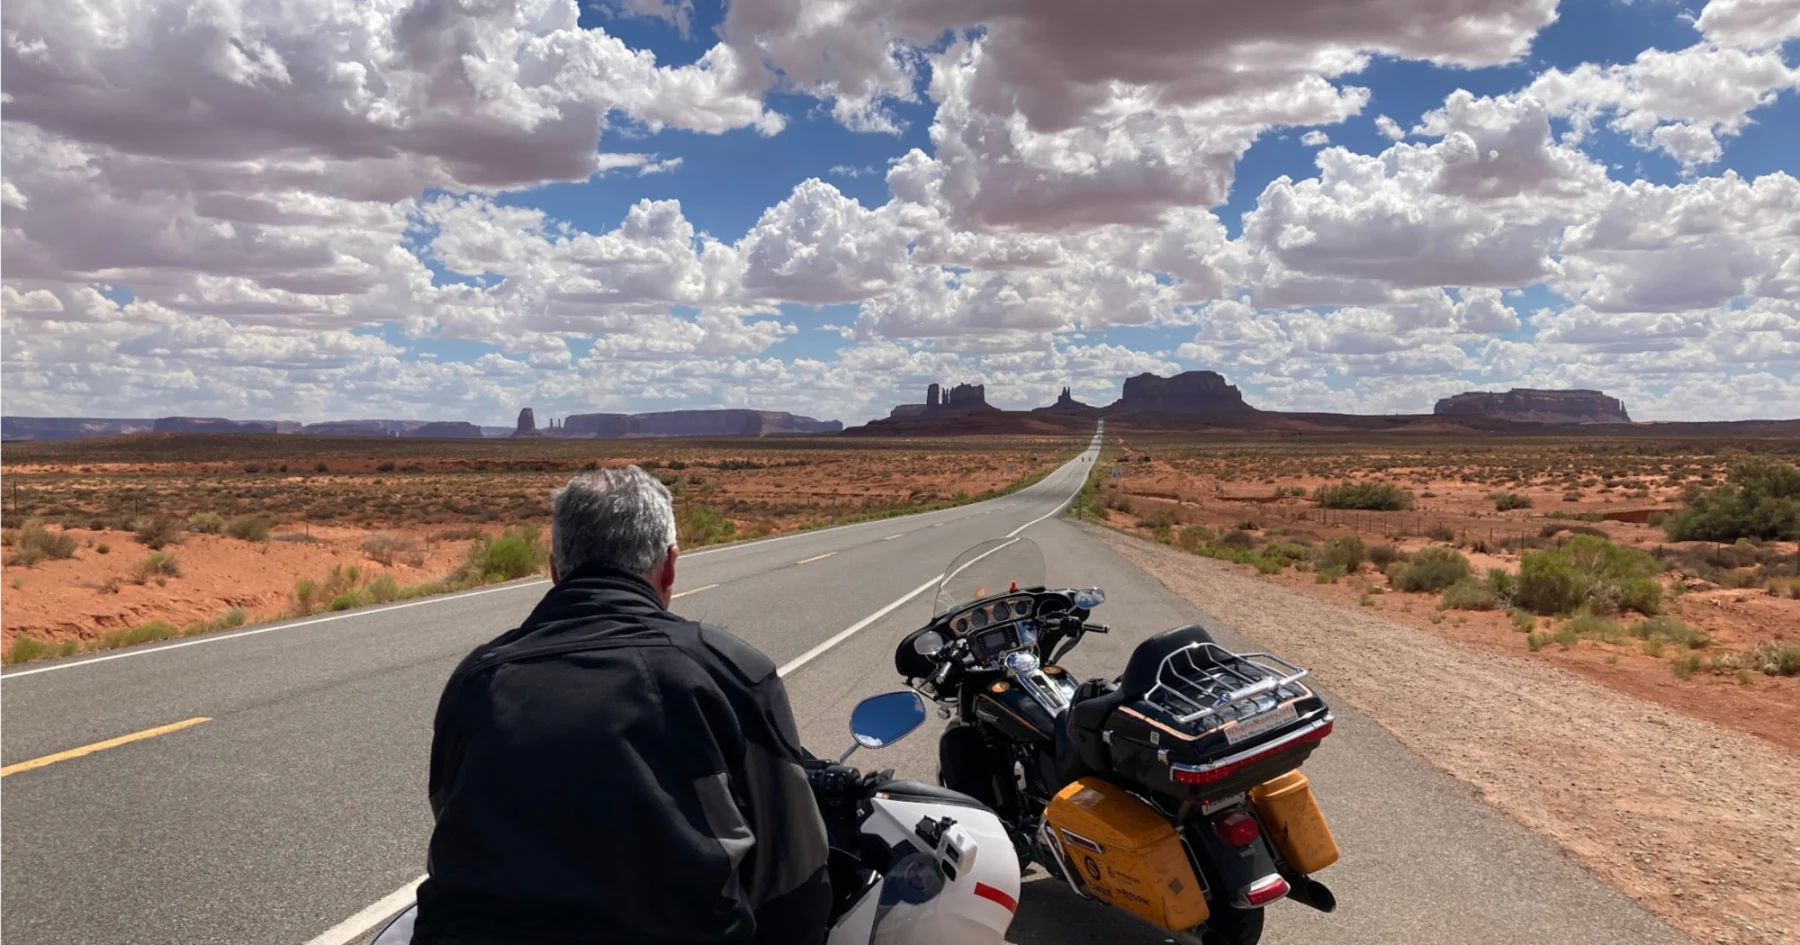
Have you ever wondered whether you can listen to music on your motorcycle? You might not think listening to your favorite song is dangerous, but some lawmakers disagree.
To help you understand what’s the deal with listening to music while riding, we’re going to get into:
- The laws about whether you can listen to music when riding a motorcycle
- Benefits and risks of using headphones or a stereo system on your motorbike
- The different ways to listen to music when on your bike
Plus, we’ve got a definitive list of road safety laws for audio systems on motorbikes covering the US, European countries, and Australia.

Can I Listen to Music on a Motorcycle?
Generally, you can listen to music when riding your motorcycle. There are local safety rules you need to know about in some states and countries.
You’ve got a range of options for listening to tunes as you cut through the landscape, including helmets with integrated sound systems, your own earphones, Bluetooth kits, and external entertainment units. We’ll run through these options in a moment.
Should Motorcycle Riders Listen to Music?
It’s technically legal to listen to music inside your helmet or on your bike, but should you?
Being legal and being safe can be two different issues, especially when it comes to motorcycle safety – we all know how a DOT helmet certification makes you legal but doesn’t really make you safe.
Is having music on a distraction or a way to help concentration? Here’s both sides of the argument.
The Case for Motorcycle Music
If you already have your music set up in your helmet, you’ll understand some personal benefits to songs while you drive.
Plenty of motorcyclists enjoy having the music on because:
- They find it relaxing, especially when weaving through city traffic
- It can help drown out more unpleasant noises like the wind and engine
- They feel more alert to their surroundings because music breaks monotony on a highway
Some of this is backed up by science, too. A study out of the Netherlands found that people who listen to music when completing tasks in an office were more alert when listening to high-tempo music (1). When you’re on a bike, being more alert could definitely be a bonus.
Another piece of research from Oxford, UK, says that listening to classical music can reduce stress (2). We’re guessing the chances of you listening to Mozart out on the trails are pretty slim, but now you know.
The Case Against Music While Riding a Motorcycle
It can be dangerous when you’re tuned into the radio or connected to your mobile phone and are listening to music on your motorcycle – hence some places have rules. There are many hazards when listening to music and cruising…
Hazards of music on a motorcycle
- Distraction by a cool riff or dope lyrics and pulling your focus off the road ahead of you
- Not being able to hear sounds and what’s going on around you – like a truck rolling up behind you
- Needing to use your hands to control your phone, MP3 player, or Bluetooth headset – although handlebar controls for headsets do negate this issue
- Listening to music inside your helmet can encourage you to use a high volume setting, which can cause long-term hearing damage (3)
When it comes down to it, you as a rider need to make your own judgment whether listening to music is safe for your riding style and location – keeping an eye on what the law says, too, which we will get in to below.
How to Listen to Music and Ride a Motorcycle
Decided that you’re down with playing music as you head out onto the road? You’ve got a few different options for how to make it happen depending on whether you also want to chat with your riding pack, take and make a call, or not change your helmet setup at all.
Bluetooth Headset
Probably the first option that springs to mind for riding a motorcycle and listening to music is buying a Bluetooth headset.
This handy piece of kit attaches to your helmet and connects your phone to a mic and speakers inside your helmet. Lots of brands even sell kits that are designed to fit perfectly into their helmets, with ear recesses and channels in your foam to tuck away cabling.
The functions you can expect from this type of headset include:
- Phone pairing so you can listen to music through Bluetooth, plus place and answer calls, and even use assistants like Siri and Google.
- FM radio so you can pick up local stations and tune in for sports results, traffic updates, and local weather
- Intercom between a passenger and a group of riders – as a rule of thumb, the more you invest in your headset, the better range and higher number of people you can chat with
As well as better intercom features, you’ll also find that you get better-quality speakers when you invest more money.
For audiophiles who ride motorcycles, we recommend Packtalk EDGE by Cardo. You get music and intercom loud and clear over 40mm speakers from JBL, intercom with up to 15 riders no matter the brand of their headset, and a connection range of up to 1,600 meters or 1 mile.
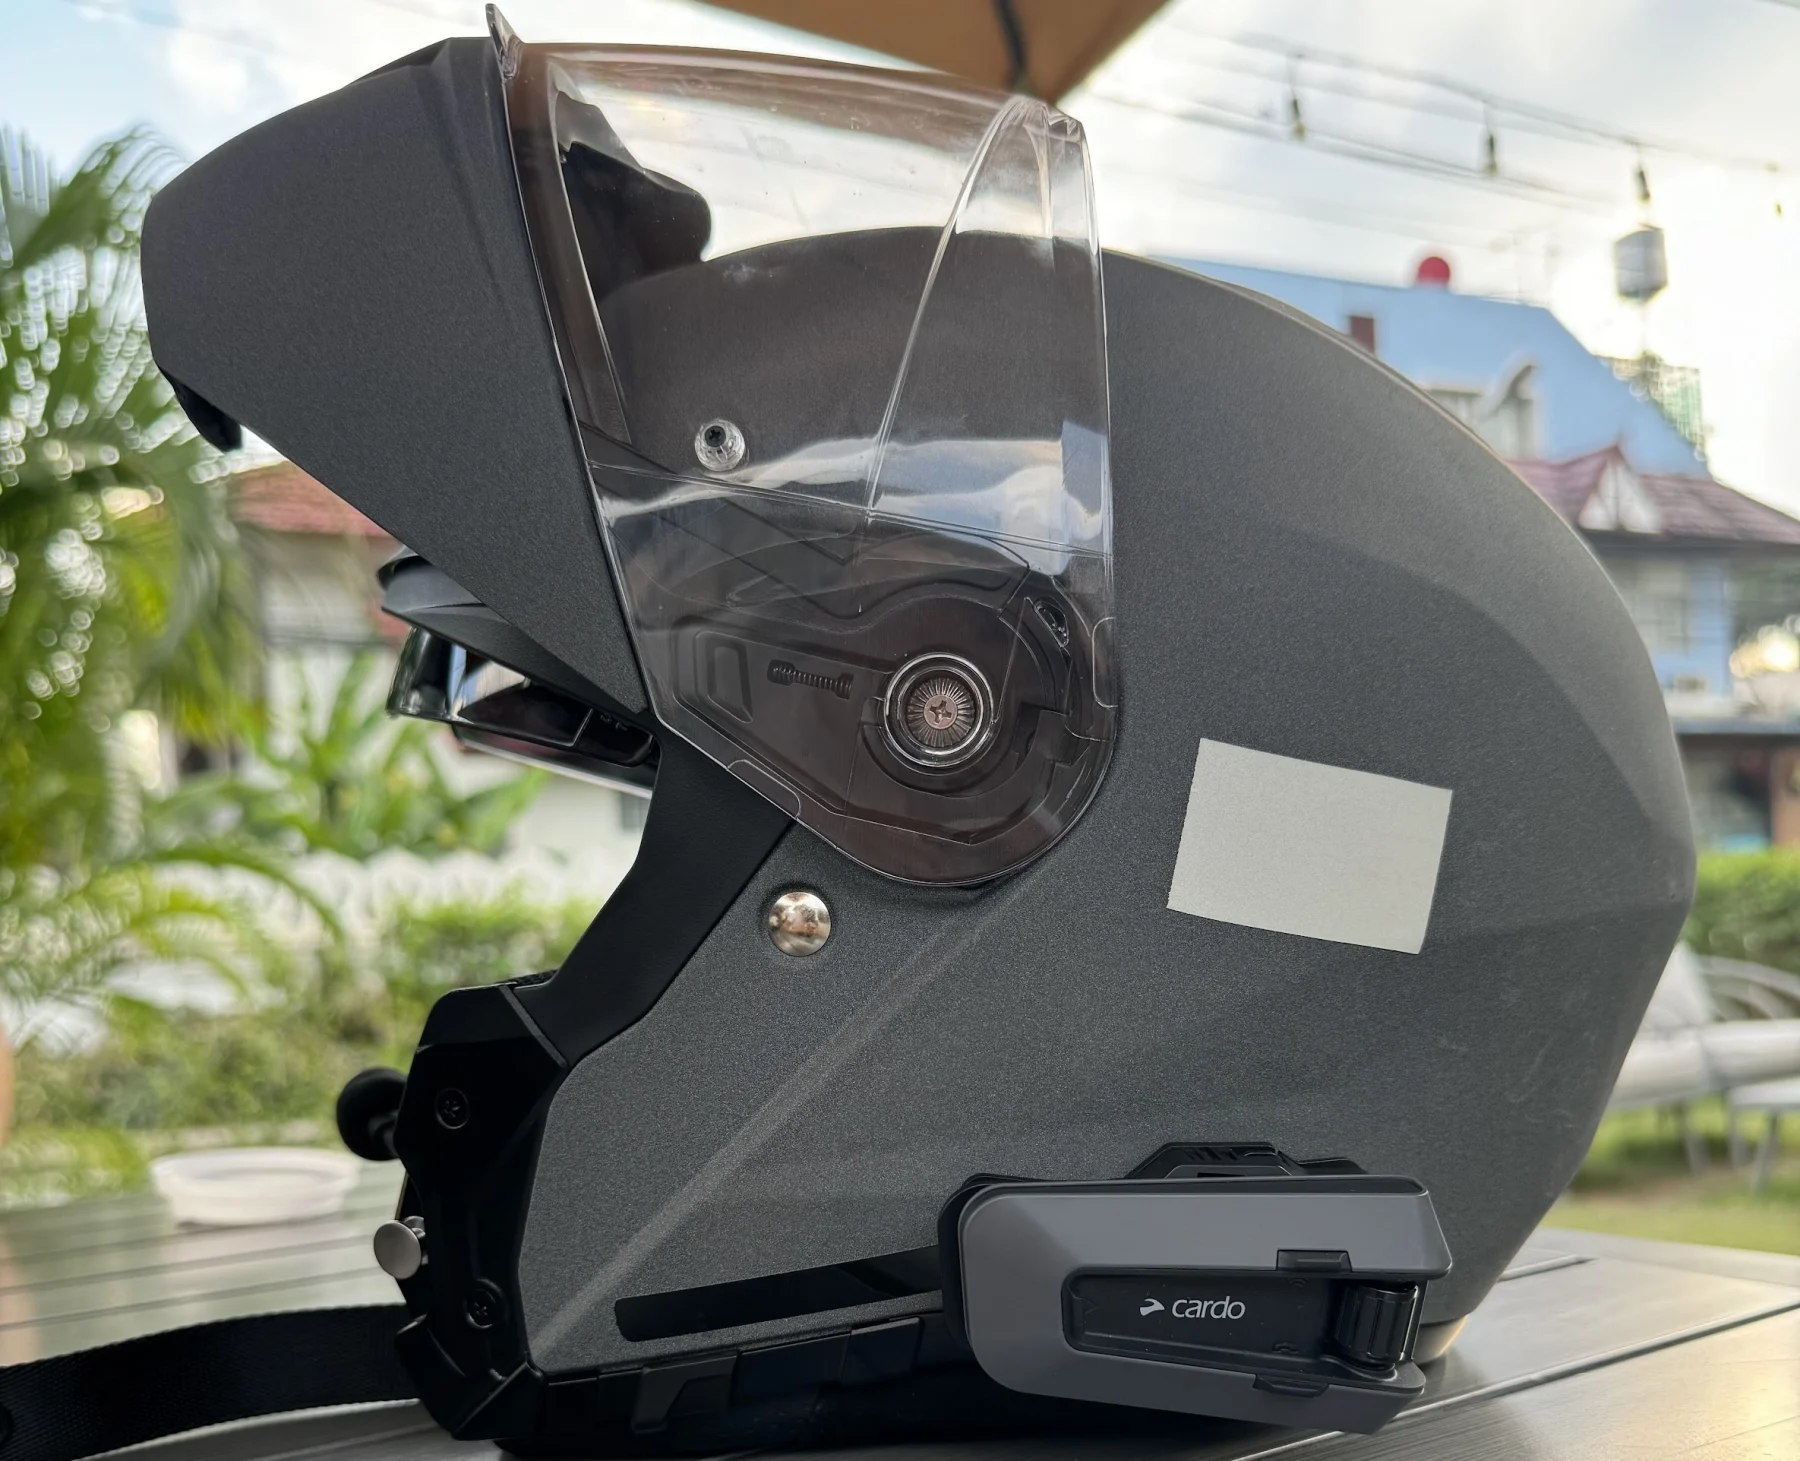
Bluetooth Helmet
Another way to get music while riding is to have a helmet that’s got speakers and Bluetooth connectivity built in.
You get all the benefits of the headset setup but no bulky buttons cramping your style or ill-fitting speakers rubbing against your ears.
Our favorite integrated helmet for motorcycle riding is the Sena Stryker. Using Mesh technology you can intercom with up to 24 riders with up to five miles between you. As you’d expect, you can pair it with your phone and get your playlists direct to your helmet.
Speakers for Helmets
A cheaper and simpler method to pipe music for riding is to add a speaker set to your helmet.
Rather than needing a full Bluetooth headset, you can connect speakers to your phone or MP3 with an audio jack or Bluetooth connection to get your motorcycle music fix.
It’s generally a much cheaper option than a full headset and you can still get great quality speakers. The IASUS XSound 3 is our pick for standalone speakers, delivering good volume and great sound quality.
Earbuds
When you want to play music while riding and everywhere else in your life, earbuds could make a great investment.
Earbuds sit snug in your ear and wirelessly connect to your phone. Top-quality ones, such as Sony’s WF-1000XM4, come with active noise cancelation to reduce wind and other noise during your favorite song – even sporting eight hours battery life.
If you’re a fan of all things Apple, the latest 3rd Generation AirPods give you adaptive EQ to drown out external noise like cars, lets you use Siri without reaching for your phone, and will keep playing your songs for six hours on one charge, with three more charges in the box. The Airpods Pro also provide a seal in your ear canal and active noise cancellation.
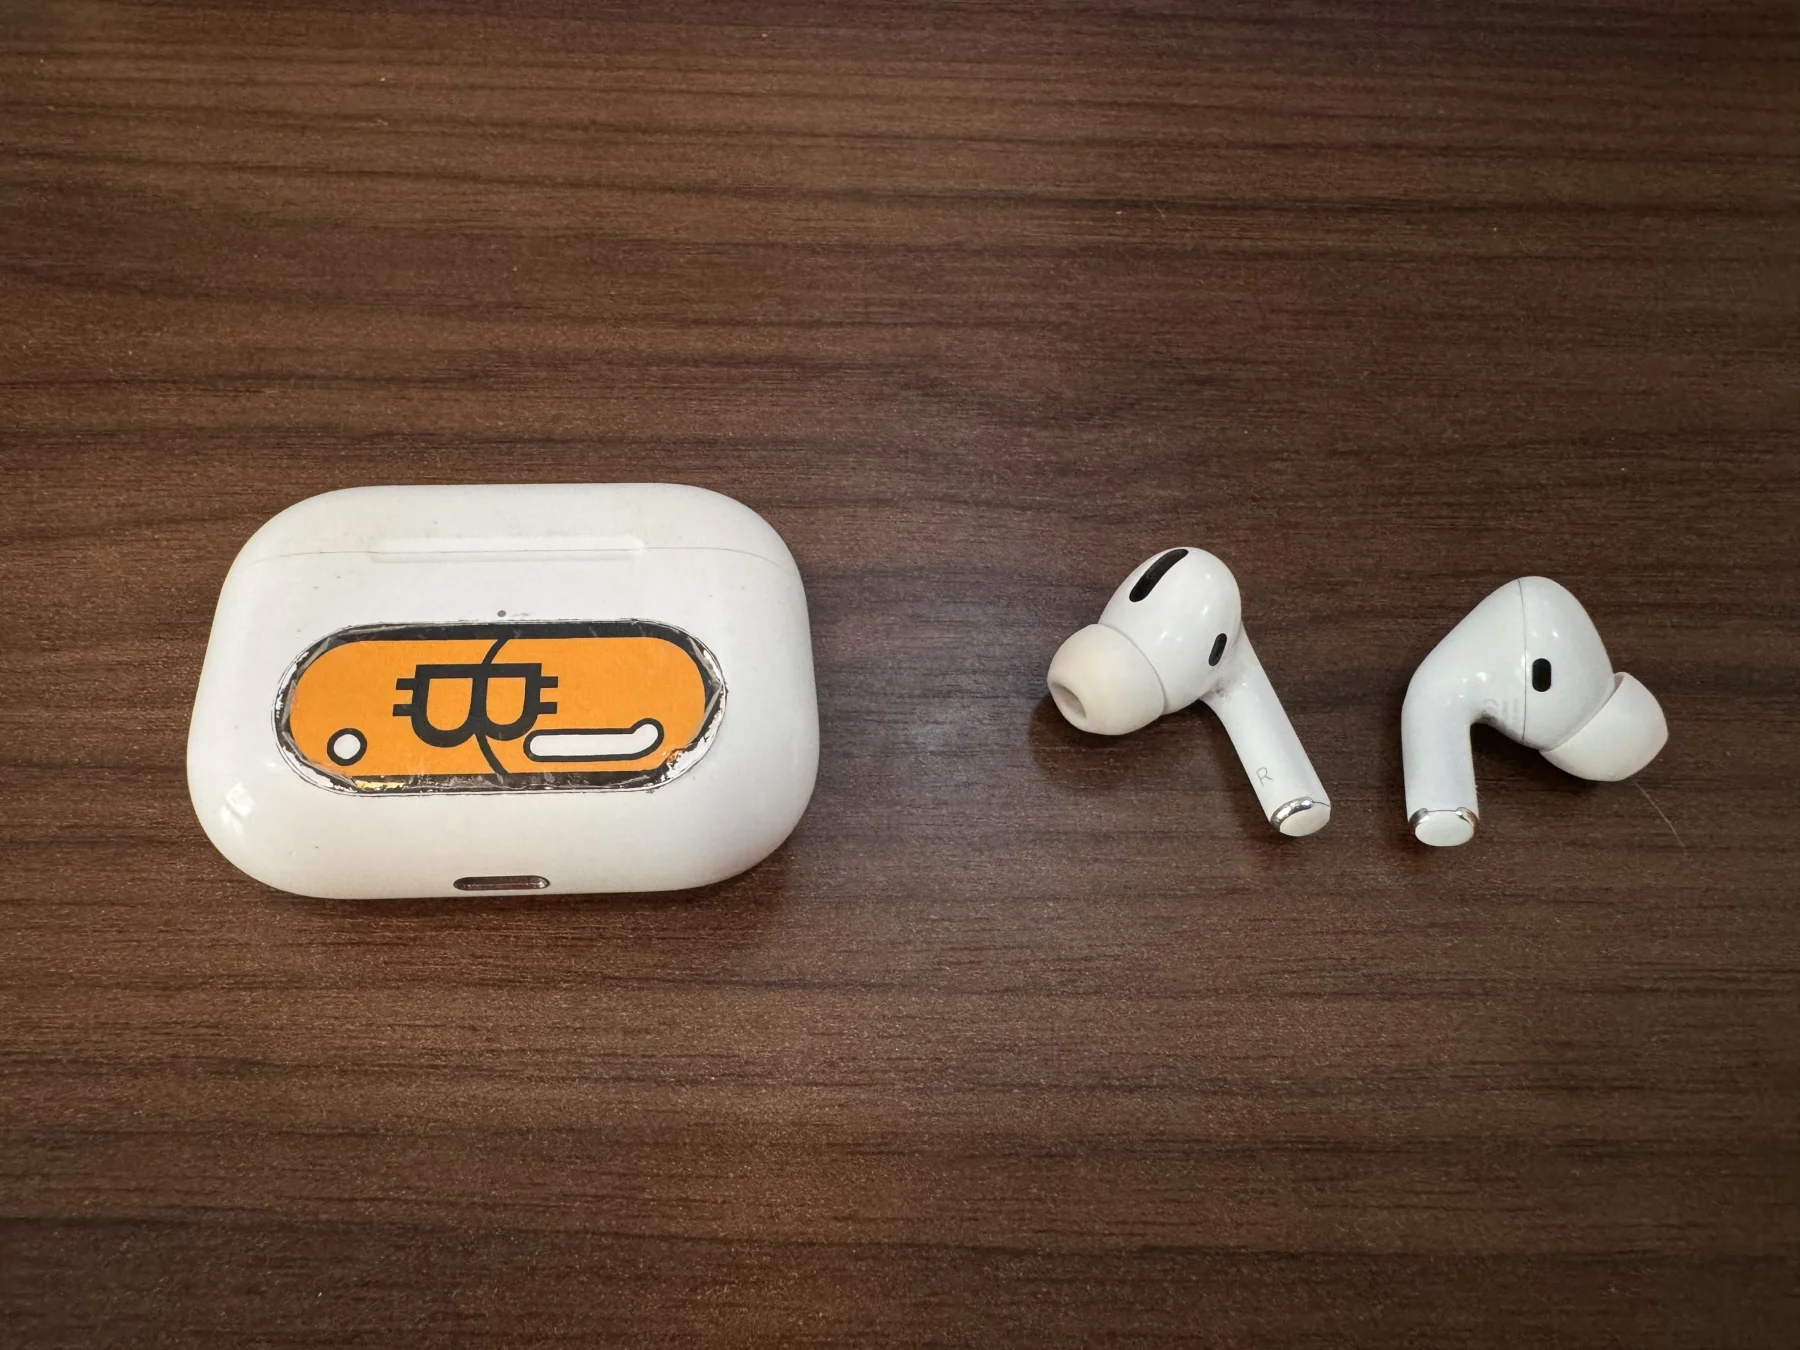
Motorcycle Stereo System
Concerns about hearing loss from the loud volume of in-helmet speakers and earbuds are real, so if you want an alternative method for listening to music while riding a motorcycle that lets you keep the earplugs in, you can check out the sounds from a stereo system.
You have a range of options available with a bike-mounted speaker system. They all work in a similar way – you attach one or more speakers to your bike, connect them to your bike’s power source, pair with your phone, and the tunes are blasting.
For a simple unfussy look for music on a motorcycle, check out the Kuryakyn 2720 MTX Road Thunder Motorcycle Sound Bar. It gets decent volume; you’ll be able to hear the music while riding up to around 70mph before wind noise starts to cancel it out (4).
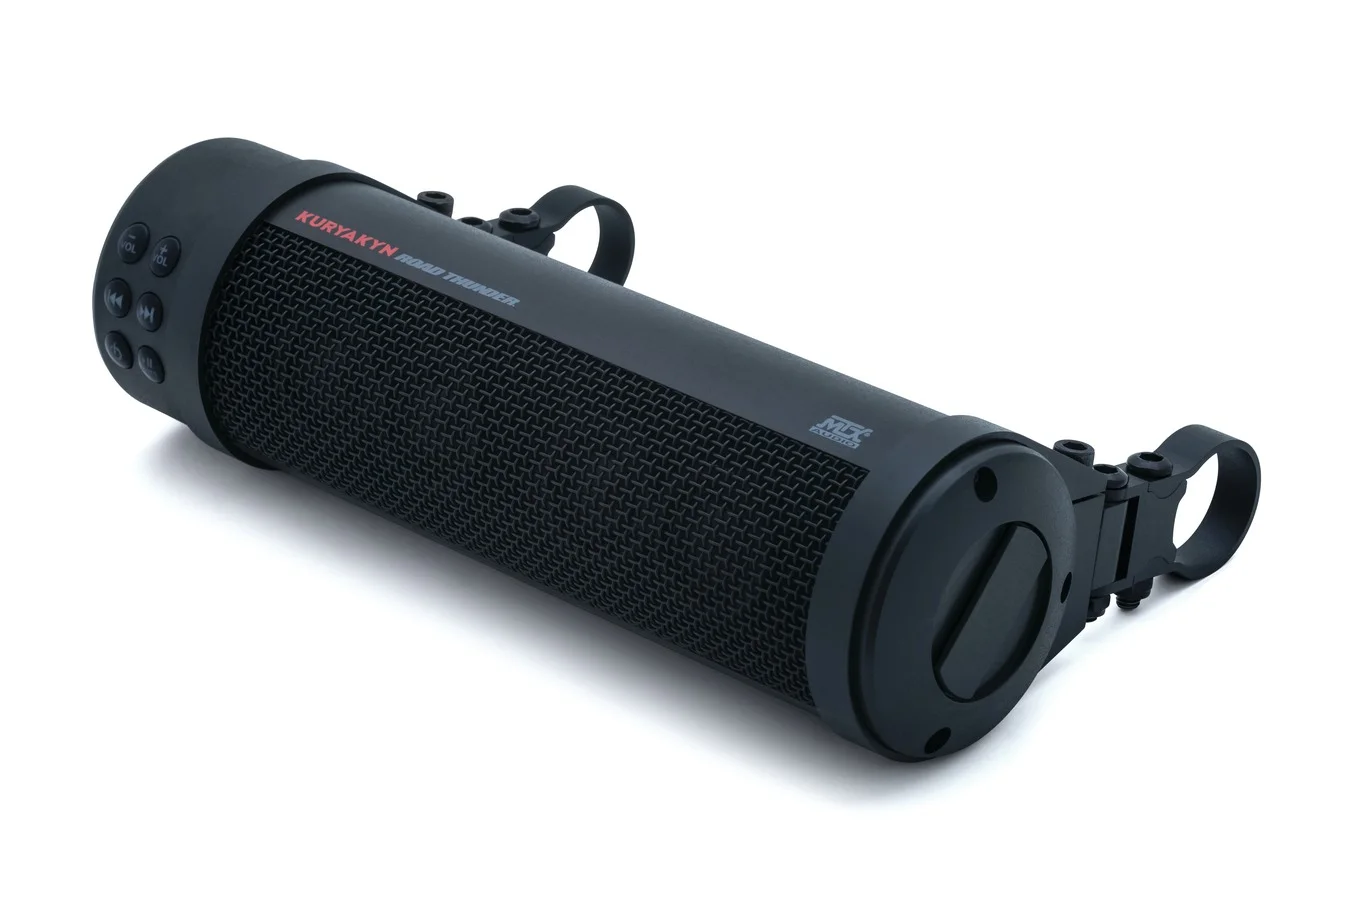
The best thing about adding a sound bar or speaker array for listening to music while riding a motorcycle is that it shouldn’t violate any laws about listening to music – there are no earphones, which are what most states regulate.
The Definitive List of Motorcycle Headphone Laws in the USA
Under the US legal system, you’ll already know that there are different laws when it comes to listening to music while riding a motorcycle but hunting down each state’s law can be a bit of a hassle.
We’ve done the search for you and found the laws for riding a motorcycle with music playing for all 50 states. We’ve included a link for each source – be sure to double check because these things do change.
| State | Website Source | Law |
| Alabama | Alabama Law Enforcement Agency | No specific law (5) |
| Alaska | Alaska State Legislature | Cannot use headphones, headsets or earplugs for entertainment in a car or on a bike. Can use for motorcycle to motorcycle communication or to get GPS directions |
| Arizona | No specific law | |
| Arkansas | No specific law | |
| California | California Legislative Information | Can only wear earphones, headsets, or earplugs in one ear when driving a vehicle |
| Colorado | Colorado Legislature | No earphones or headsets allowed, helmets with integrated speakers are allowed |
| Connecticut | No specific law | |
| Delaware | No specific law | |
| Florida | Florida Legislature | No earphones or headsets allowed, helmets with headsets fitted so the speakers don’t touch the ears and the rider can hear outside noise are allowed |
| Georgia | Georgia Department of Public Safety | Can use one earphone and can only make and take calls |
| Hawaii | No specific law | |
| Idaho | No specific law | |
| illinois | Illinois General Assembly | Can use only one earphone, only when connected to a mobile phone when driving any vehicle |
| Indiana | No specific law | |
| Iowa | No specific law | |
| Kansas | No specific law | |
| Kentucky | No specific law | |
| Louisiana | Lousiana State Legislature | Can use only one earphone |
| Maine | No specific law | |
| Maryland | Justia | Can only use one earphone |
| Massachusetts | Commonwealth of Massachusetts | Cannot use headphones when riding a motorcycle |
| Michigan | No specific law | |
| Minnesota | Minnesota Legislature | Can use only one earphone |
| Mississippi | No specific law | |
| Missouri | No specific law | |
| Montana | No specific law | |
| Nebraska | No specific law | |
| Nevada | No specific law | |
| New Hampshire | No specific law | |
| New Jersey | No specific law | |
| New Mexico | No specific law | |
| New York | New York State Department of Health | Can use only one earphone |
| North Carolina | No specific law | |
| North Dakota | No specific law | |
| Ohio | Ohio Legistlative Services | Can use only one earphone, speakers integrated into a helmet are allowed |
| Oklahoma | No specific law | |
| Oregon | Laws vary by city and region | |
| Pennsylvania | Pennsylvania State Legislature | Can use only one earphone when connected to a mobile phone |
| Rhode Island | Rhode Island State Legislature | Can use only one earphone, helmets with headsets fitted so the speakers don’t touch the ears and the rider can hear outside noise are allowed |
| South Carolina | No specific law | |
| South Dakota | No specific law | |
| Tennessee | No specific law | |
| Texas | No specific law | |
| Utah | No specific law | |
| Vermont | No specific law | |
| Virginia | Virginia State Law Portal | Can use only one earphone |
| Washington | Washington State Legislature | No earphones or headsets allowed, helmets with headsets fitted and approved by Washington state patrol are allowed |
| West Virginia | No specific law | |
| Wisconsin | No specific law | |
| Wyoming | No specific law |
Headphone Motorcycle Laws in Other Countries
The UK
There is nothing in UK law that bans headsets or earphones for listening to music or for communications when riding a motorcycle.
France
The use of hand-free communication devices of any kind when driving a motorcycle – or a car or other vehicle – was completely banned in France in 2015.
Germany
You won’t find a specific law banning headsets or earphones in Germany. However, under the Road Traffic Regulations section 23, you are responsible for being able to hear the noises going on around you.
The post Can I Listen to Music on a Motorcycle? first appeared on It's Better On The Road.
]]>The post Motorcycle Hand Signals You Didn’t Know (But Need To) first appeared on It's Better On The Road.
]]>What do you do when your blinkers are out? How do you communicate with large groups when you don’t have compatible Bluetooth helmets or headsets? Hand signals are your answer.
Motorcycle riders the world over get these problems and we all default to the same simple and effective tools – using our left arm and hands to get the point across. From tapping your helmet (the motorcycle signal for cop) to motorcycle group ride hand signals and turn signals, we explain all in this article.
Using the Motorcycle Safety Foundation’s guide as a base, we’re going to go through:
- Motorcycle hand signals for safety (using left arm)
- How to tell your fellow riders what’s happening
- Organizing riders as a group leader
- The universal sign for “police ahead”
- What two fingers pointed down (peace symbol) means
Plus we’ll look at the biker sign of respect and answer your questions about it.
By the way, these little devices are FANTASTIC for safety and general enjoyment when riding with a group – I highly recommend picking one up. Here are my favorite units:
|
Best for riding in big groups, or if you want all the features. |
Best if your group has all latest-gen Cardo units. |
Best for solo riders, pairs and passengers. |
|
|
|
|
|
|
Best for riding in big groups, or if you want all the features.
- 15+ rider intercom over Mesh (even Senas)
- Magnetic air mount
- Auto on-off
- Crash detection and emergency call
- 45mm JBL speakers in the box (the best)
- Pricey
Best if your group has all latest-gen Cardo units.
- 15+ rider intercom over Mesh
- 10+ hour battery life
- Half the price of similar units
- Connects to phone for music, GPS
- Upgrade required for Bluetooth intercom (only when connecting to old units or Senas)
Best for solo riders, pairs and passengers.
- Affordable
- Waterproof
- Basic music and intercom functionality
- Only intercom with 1 other rider
- Low quality speakers (can upgrade)
- No voice commands
Basic Hand Signs for Busted Signals
You’d hope your turn signal never gives out. From reversing into a branch and knocking out your turn signal to a random electrical fault killing your brake lights, anything can happen and you need to know how to use hand signals to let other vehicles know what you’re up to while driving to the shop.
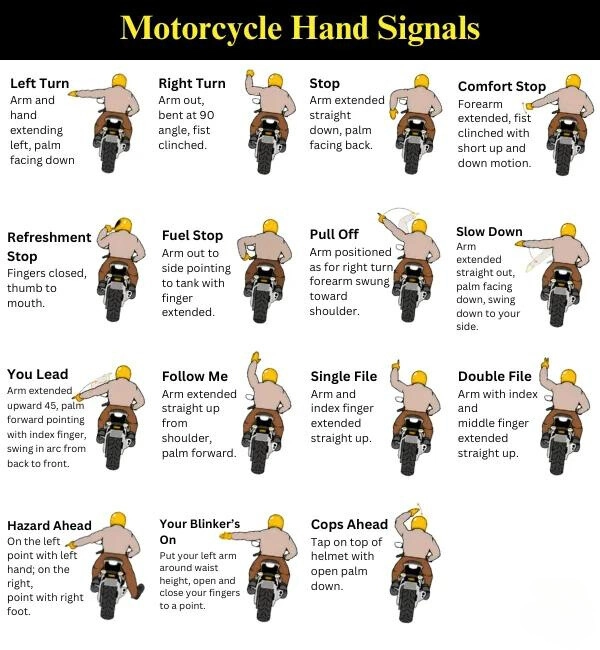
These are universal hand signals every driver and rider understands (or should!).
Left Turn
To let other road users know you’re turning left soon, you need to:
- Have your left arm extended straight out, at shoulder height
- Keep your palm facing down to the road
- Hold your left arm extended straight in that position for a few seconds
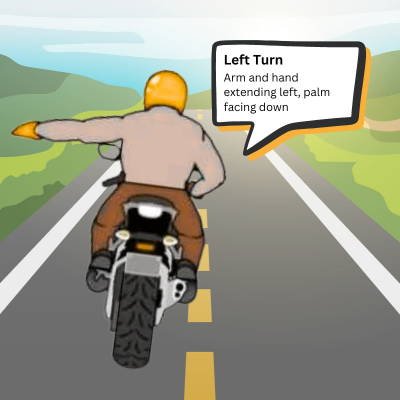
No index finger pointing needed – this guy is just showing off.
Before you make the signal, get into the correct gear so you won’t need your clutch for a few seconds before you turn left – since your left arm will be extended straight for a while! Have your hand back on your handlebar before you make a safe turn left; timing is crucial. You’ll need that left index finger for your clutch pretty soon.
Right Turn
Clearly, you’re not going to stick your right arm out to turn right!
Instead, the hand signal for a right turn is to put your left arm out at shoulder height and raise your forearm up to a 90 degree angle and make a clenched fist.
Think of it like you’re pulling the body builder pose and are ready to kiss your biceps. Don’t kiss your bicep though – eyes on the road! Let your fellow riders get the hint.

Stop
To tell the rest of the folks on the road you’re stopping, you need to:
- Extend your left arm out, in line with your shoulder
- Bend down at the elbow – the opposite of “right turn”
- Keep your palm facing backward and open so your index finger points to the road
Again, timing is important here – you still need to use your left hand on your clutch or rear brake. When your lights aren’t working and you need to use this signal, go a little slower so you can make signals in plenty of time.
Riding with Your Biker Buddies
When it’s you and a friend or two out on the open road, sometimes you need to get a message across. There aren’t lights to declare you need to take a leak to your fellow riders, so there are some standard hand signals to get this – and other needs – across.
Comfort Stop
Let’s deal with that first – how do you tell your fellow riders that you need to pee? There’s a motorcycle hand signal for exactly this purpose:
- Put your left arm extended straight out, angled down to the road – your hand should be around waist height
- Clench your fist
- Move your arm up to shoulder and back down a couple of times
This pretty much means any type of comfort break so if your ass has gone numb or your arms are starting to seize up, this is how you tell your buddies when riding a motorcycle.
Refreshment Stop
Cruising and adventuring can be thirsty business so a quick refreshment stop is always handy. This signal is pretty simple to give to your fellow riders.
Bring your left fist to the left side of your helmet and put your thumb towards the side of your visor. What it’s kinda meant to look like is that you’re drinking from your fist through your thumb.
You need to get the positioning of your hand right on this one. Bring your clenched fist to where your mouth is and the people behind won’t see your thumb out. Put your fist and thumb to your ear and who knows what you’re trying to say. It’s meant to look like you’re drinking so go for around your jawline at the side.
Fuel Stop
If you’ve ever ran out of gas on a drive, you know how you don’t ever want to be that rider again who forgets to make a fuel stop.
Let your fellow motorcyclist know you need to top up your tank by pointing at it. It’s a pretty simple signal that tells everyone what’s going on.
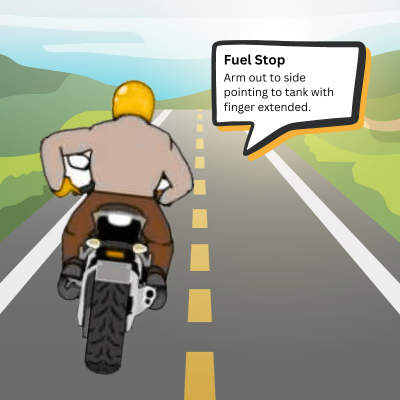
Even if you’re on a bike with a different fuel tank placement, it’s good practice to point your fingers at the space between your body and handlebars so everyone who needs to know gets what’s going on.
Pull Off
Time to come off the main road? To signal to pull off you need to:
- Extend your left arm straight
- Point your finger
- Raise your arm up so your hand is a little higher that your head
- Motion your arm forwards and repeat it a couple of times
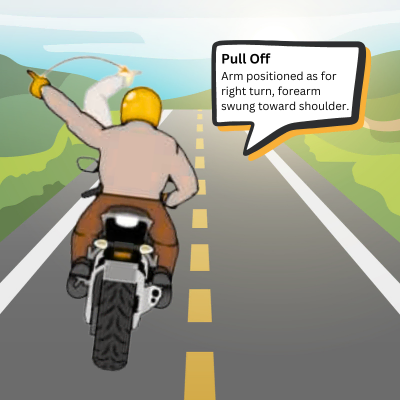
This is one of the lesser-known hand signals so if you’re riding with new people, be sure they know what it means ahead of time.
Running Group Rides
Heading out on a large group ride is a great way to spend a weekend, but it can get confusing when people don’t know what’s going on. Whether you’re leading a group or following along, knowing what each gesture means is going to keep you on track.
Slow Down
To bring the group to a slower cruising speed, extend your left arm out from the shoulder with the left palm facing the ground. Move your arm down to around waist height and back up to your shoulder a couple of times.
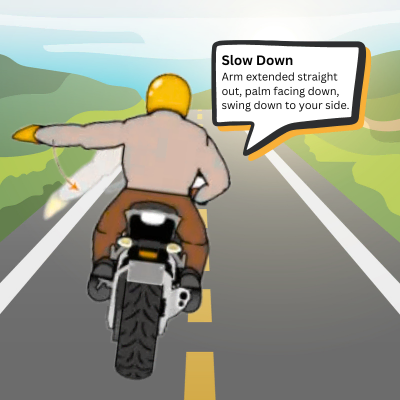
This hand signal is like “pumping down” with a vertical waving motion.
You Lead
This one can also be used as “come”, asking for a rider behind you to get closer, but it’s more commonly used to ask the person behind you to take the lead of the group.
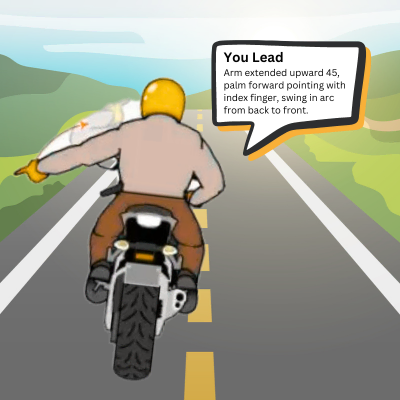
To get someone to take over leading the group:
- Extend your left arm down and out to waist height with a closed fist
- Point your left index finger to the road
- Swing your forearm forward in a sweeping motion as if you’re pointing out in front of you
Follow Me
When you’ve been given the lead of the group, you want to let all the motorcyclists on the ride know that you are their new leader.
The “follow me” signal means you lift your left arm high and forwards, palm facing flat, and point out front with your left index finger.
Single File
Merging onto freeways or highways and entering built up areas might require your group to get into single file formation. Give the signal by raising your left arm to shoulder height and do a 90 degree angle at the elbow. Raise your left index finger to show that everyone needs to get into single file.
Double File
To get your group into double file, you do the exact same action as for single file – left arm out at your shoulder, 90 degrees at the elbow – and this time, you raise two fingers. Double file commence.
Being a Good Biker
As well as running a large group or telling one or two others your needs, you can just be a decent road user. Sometimes there are road issues others need to know and there are motorcycle hand signals for them.
Hazard Ahead
Potholes, roadkill, a broken-down car – all things you want to let people behind you know about.
To point out a hazard on the right, extend your right foot away from your bike towards the hazard. For hazards on the left, use your left index finger to point at them.
Don’t go overboard with it, people don’t need to know about every bit of trash or crack in the road!
Your Blinker’s On
How annoying is it when someone leaves their blinker on and you’ve got no idea how to behave around them? Be a good road user and let other motorcyclists know so.
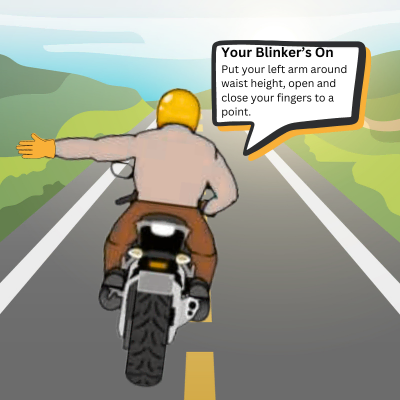
When you’re in front of the blinker offender, put your left arm out to the side, around waist height, and open and close your fingers to a point. This should see them turn off their blinkers soon enough.
Cops Ahead
No one wants a ride to be interrupted by the cops; getting pulled over is a pain. You can tell anyone behind you or those coming towards you to be careful of the road rules lest they get caught by the cops ahead. This is a simple signal.
Using your left hand, tap the top of your helmet a couple of times. Then everyone knows cops are ahead.
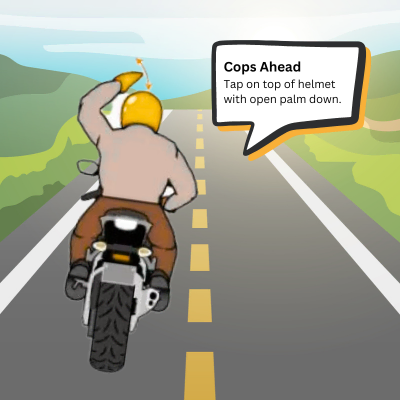
The Biker Sign of Respect
Have you heard of the biker sign of respect? It sure isn’t the middle finger or a closed fist.
What’s the biker sign of respect?
To give the biker sign of respect to another rider, put your left arm out and down and point your index and middle fingers out and to the ground. It looks something like an inverted “peace sign” hand gesture.
Where did the biker sign of respect come from?
Legend has it that the two inventors of Harley Davidson were driving past each other and gave this signal – it caught on with the motorcycling community every since, sometimes referred to as the “cruiser wave”
Other stories say it all began with World War 2 veterans giving the sign – lots of them came home and started riding former military bikes. It came to mean “keep two wheels on the ground”, or stay safe.
When can I give the sign of respect?
You can do the motorcycle hand signal for respect whenever you want, but we’d say don’t overdo it. On your commute, in traffic, stopped at lights – all times that you probably want to focus on other things.
Out on the road, passing another biker is the time to give the wave that every biker should know.
The Alternative to Hand Signals
Tired of waving around like a maniac to your riding group? Want to communicate what you need without foot pointing, open palm, waving motion, flat palm, yadda yadda?
The best way to communicate with other riders is to use a great motorcycle Bluetooth intercom like the Cardo PackTalk series. With these devices you can seamlessly chat with up to 15 riders in one group. Even if the order of riders changes or you separate by more than a mile from the rest of the group, you’ll still be in contact with everyone.
Pretty neat. Forget all these hand signals just for a comfort stop at the next exit and enjoy your ride even more!
FAQs
Why do bikers use hand signals?
Motorcycle hand signals have a range of uses, such as when your lights aren’t working and you need to stop or turn left safely, or when you’re out on a ride with a group of motorcyclists and need to communicate without using comms systems.
What are the alternatives to motorcycle hand signals?
Some motorcycle hand signals can be replaced by using your lights – or getting them fixed. You can also invest in a Bluetooth helmet or a Bluetooth headset but be sure that either everyone has the same brand of Bluetooth or that everyone’s set can connect across brands.
What does it mean when a motorcyclist taps their helmet?
When a passing motorcyclist taps their helmet, this signal means there’s law enforcement or cops ahead. If a motorcycle comes past you and the rider taps his helmet, check your speed and stop the shenanigans or you might be in for a hefty fine. Especially in the twisties where riders might be heavy on the throttle, this is a great signal to let your fellow riders know of a speed trap ahead.
A mad scramble to tap the helmet usually means there’s a cop very close who is eager to slap you with a ticket; so slow down! Same goes for car driver’s flashing their lights at other drivers to warn them of speed traps.
What is the Harley wave?
The Harley wave is another name for the biker sign of respect we described up top – left hand low with two fingers down. It’s not only for Harley riders so you can use it no matter which bike you own.
Should a sports bike wave at a cruiser?
You can wave at whoever you want when out on your motorcycle. If other riders want to get snobby about the bike you ride, that’s on them.
The post Motorcycle Hand Signals You Didn’t Know (But Need To) first appeared on It's Better On The Road.
]]>
